 Image 1 of 5

 Image 2 of 5

 Image 3 of 5

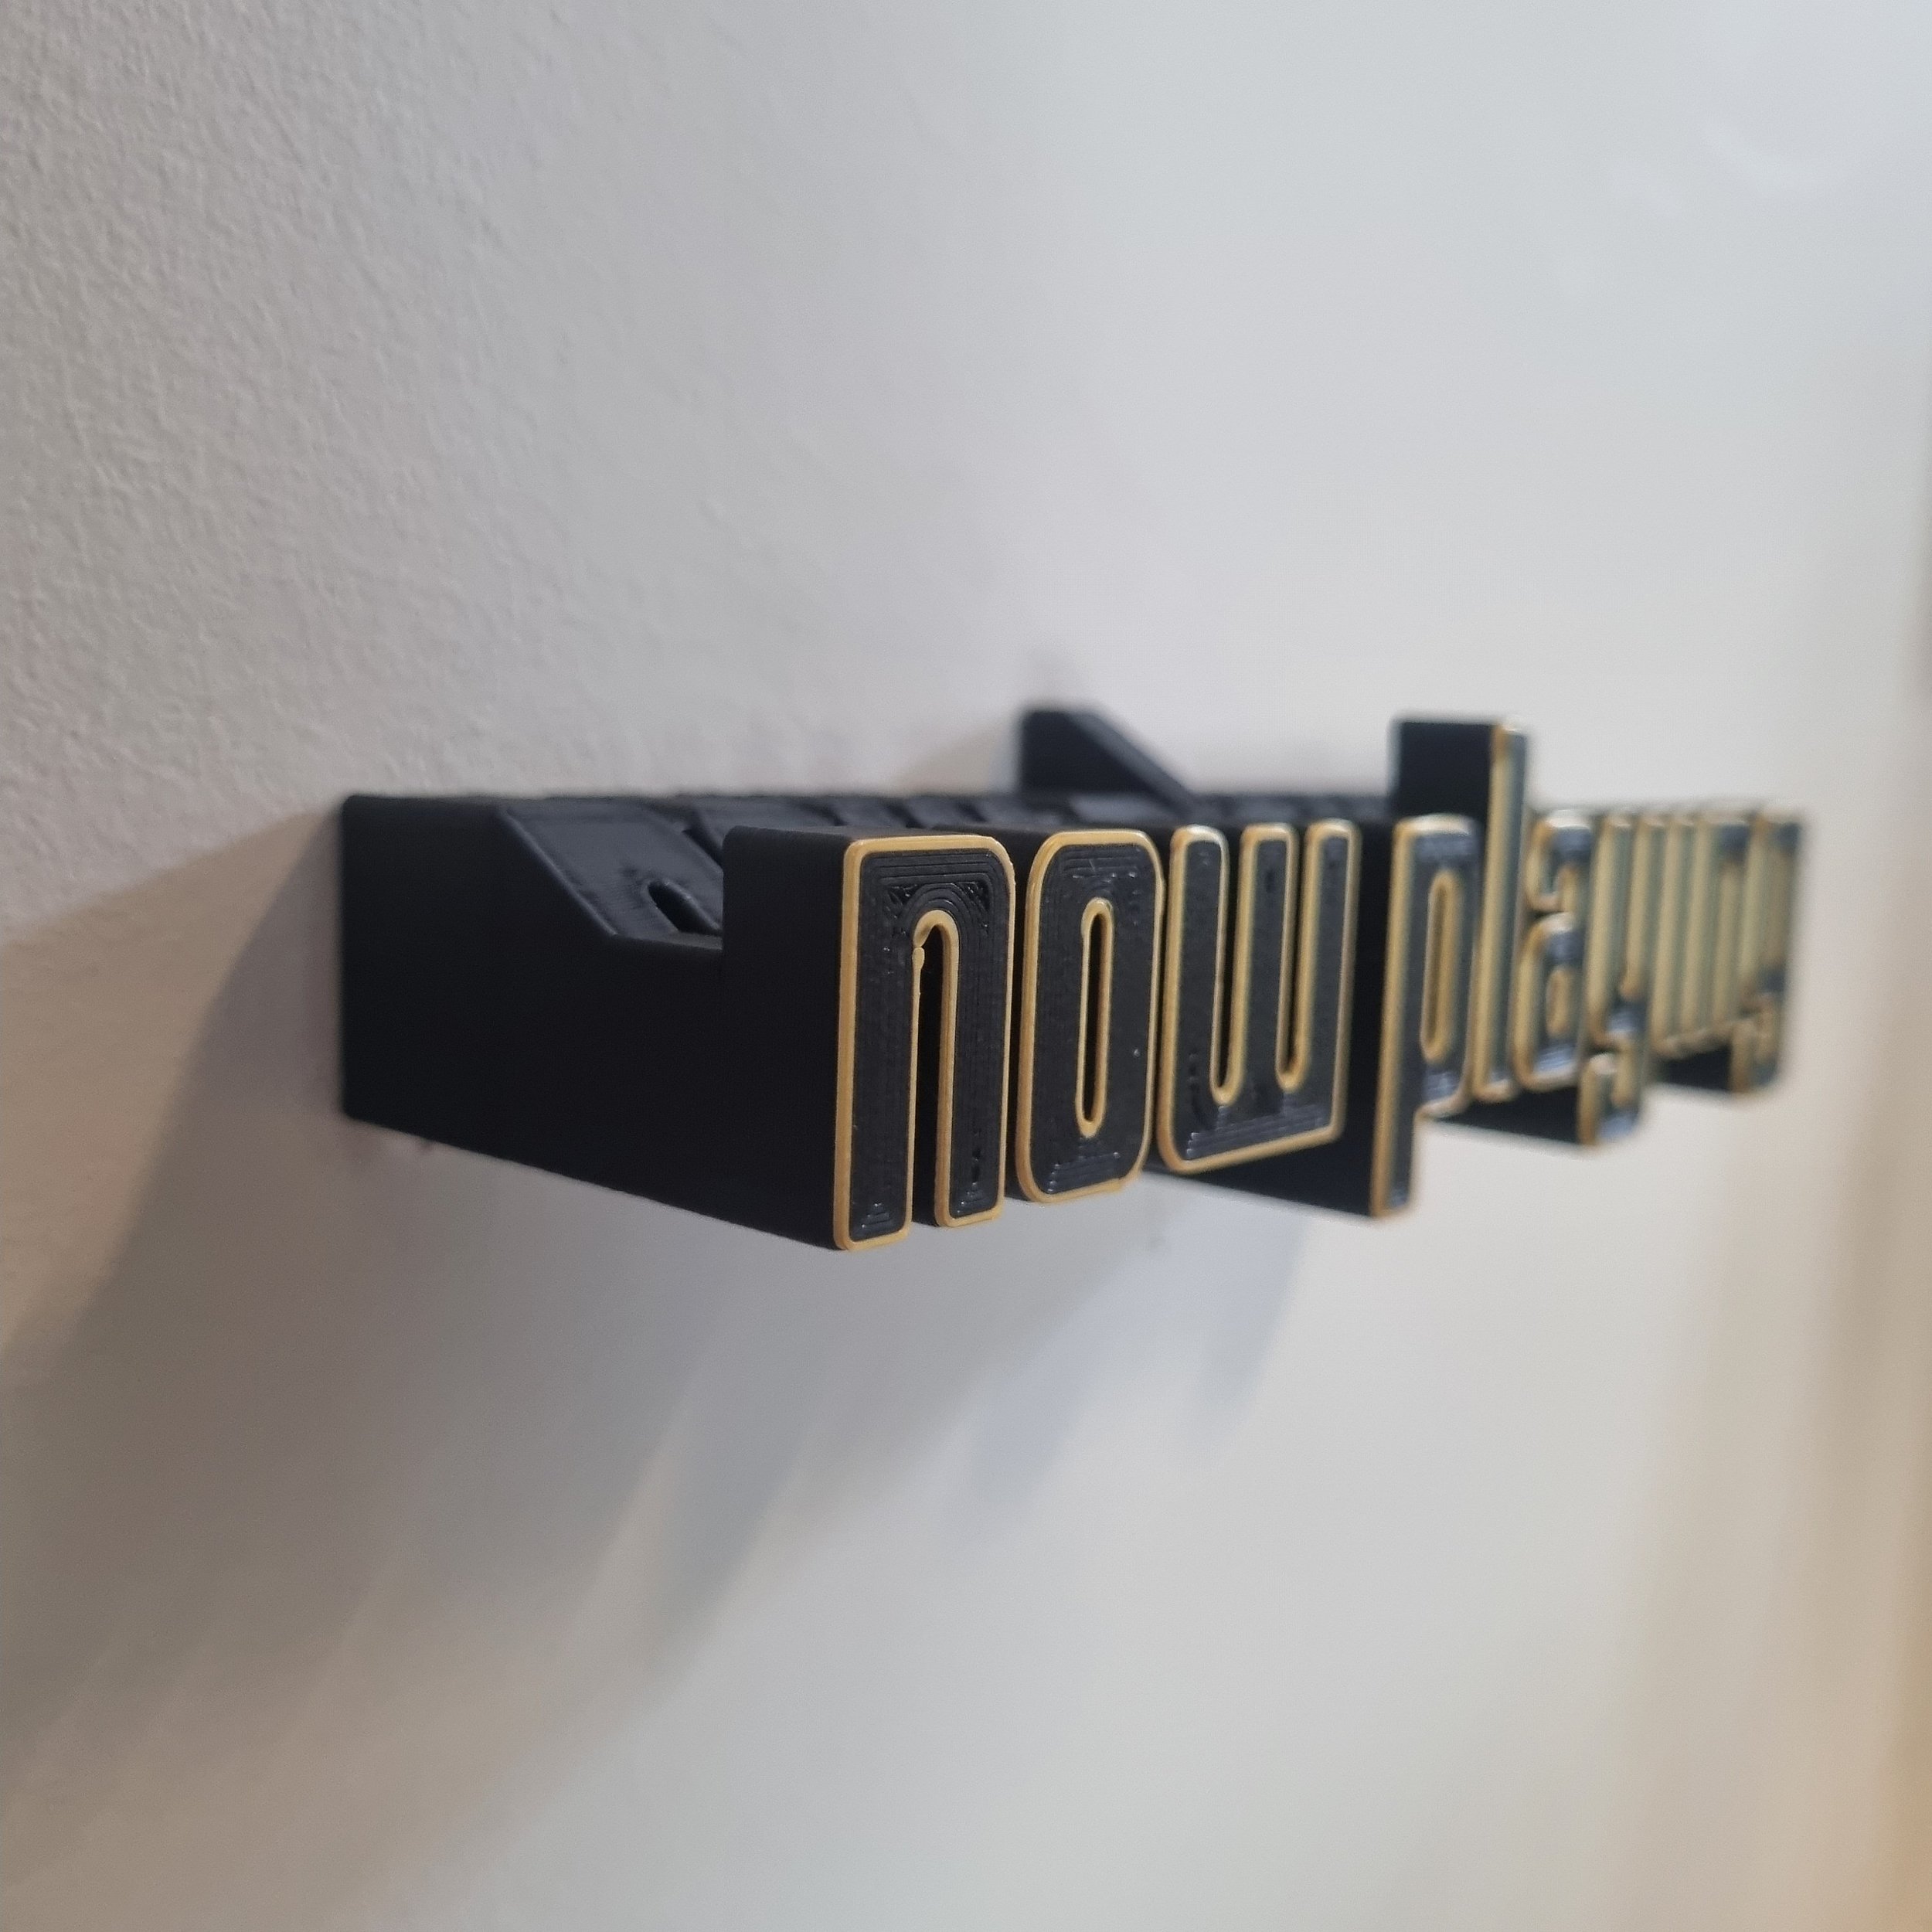 Image 4 of 5

 Image 5 of 5


Now Playing CD Shelf, Wall Mounted CD Display Ledge
£19.99
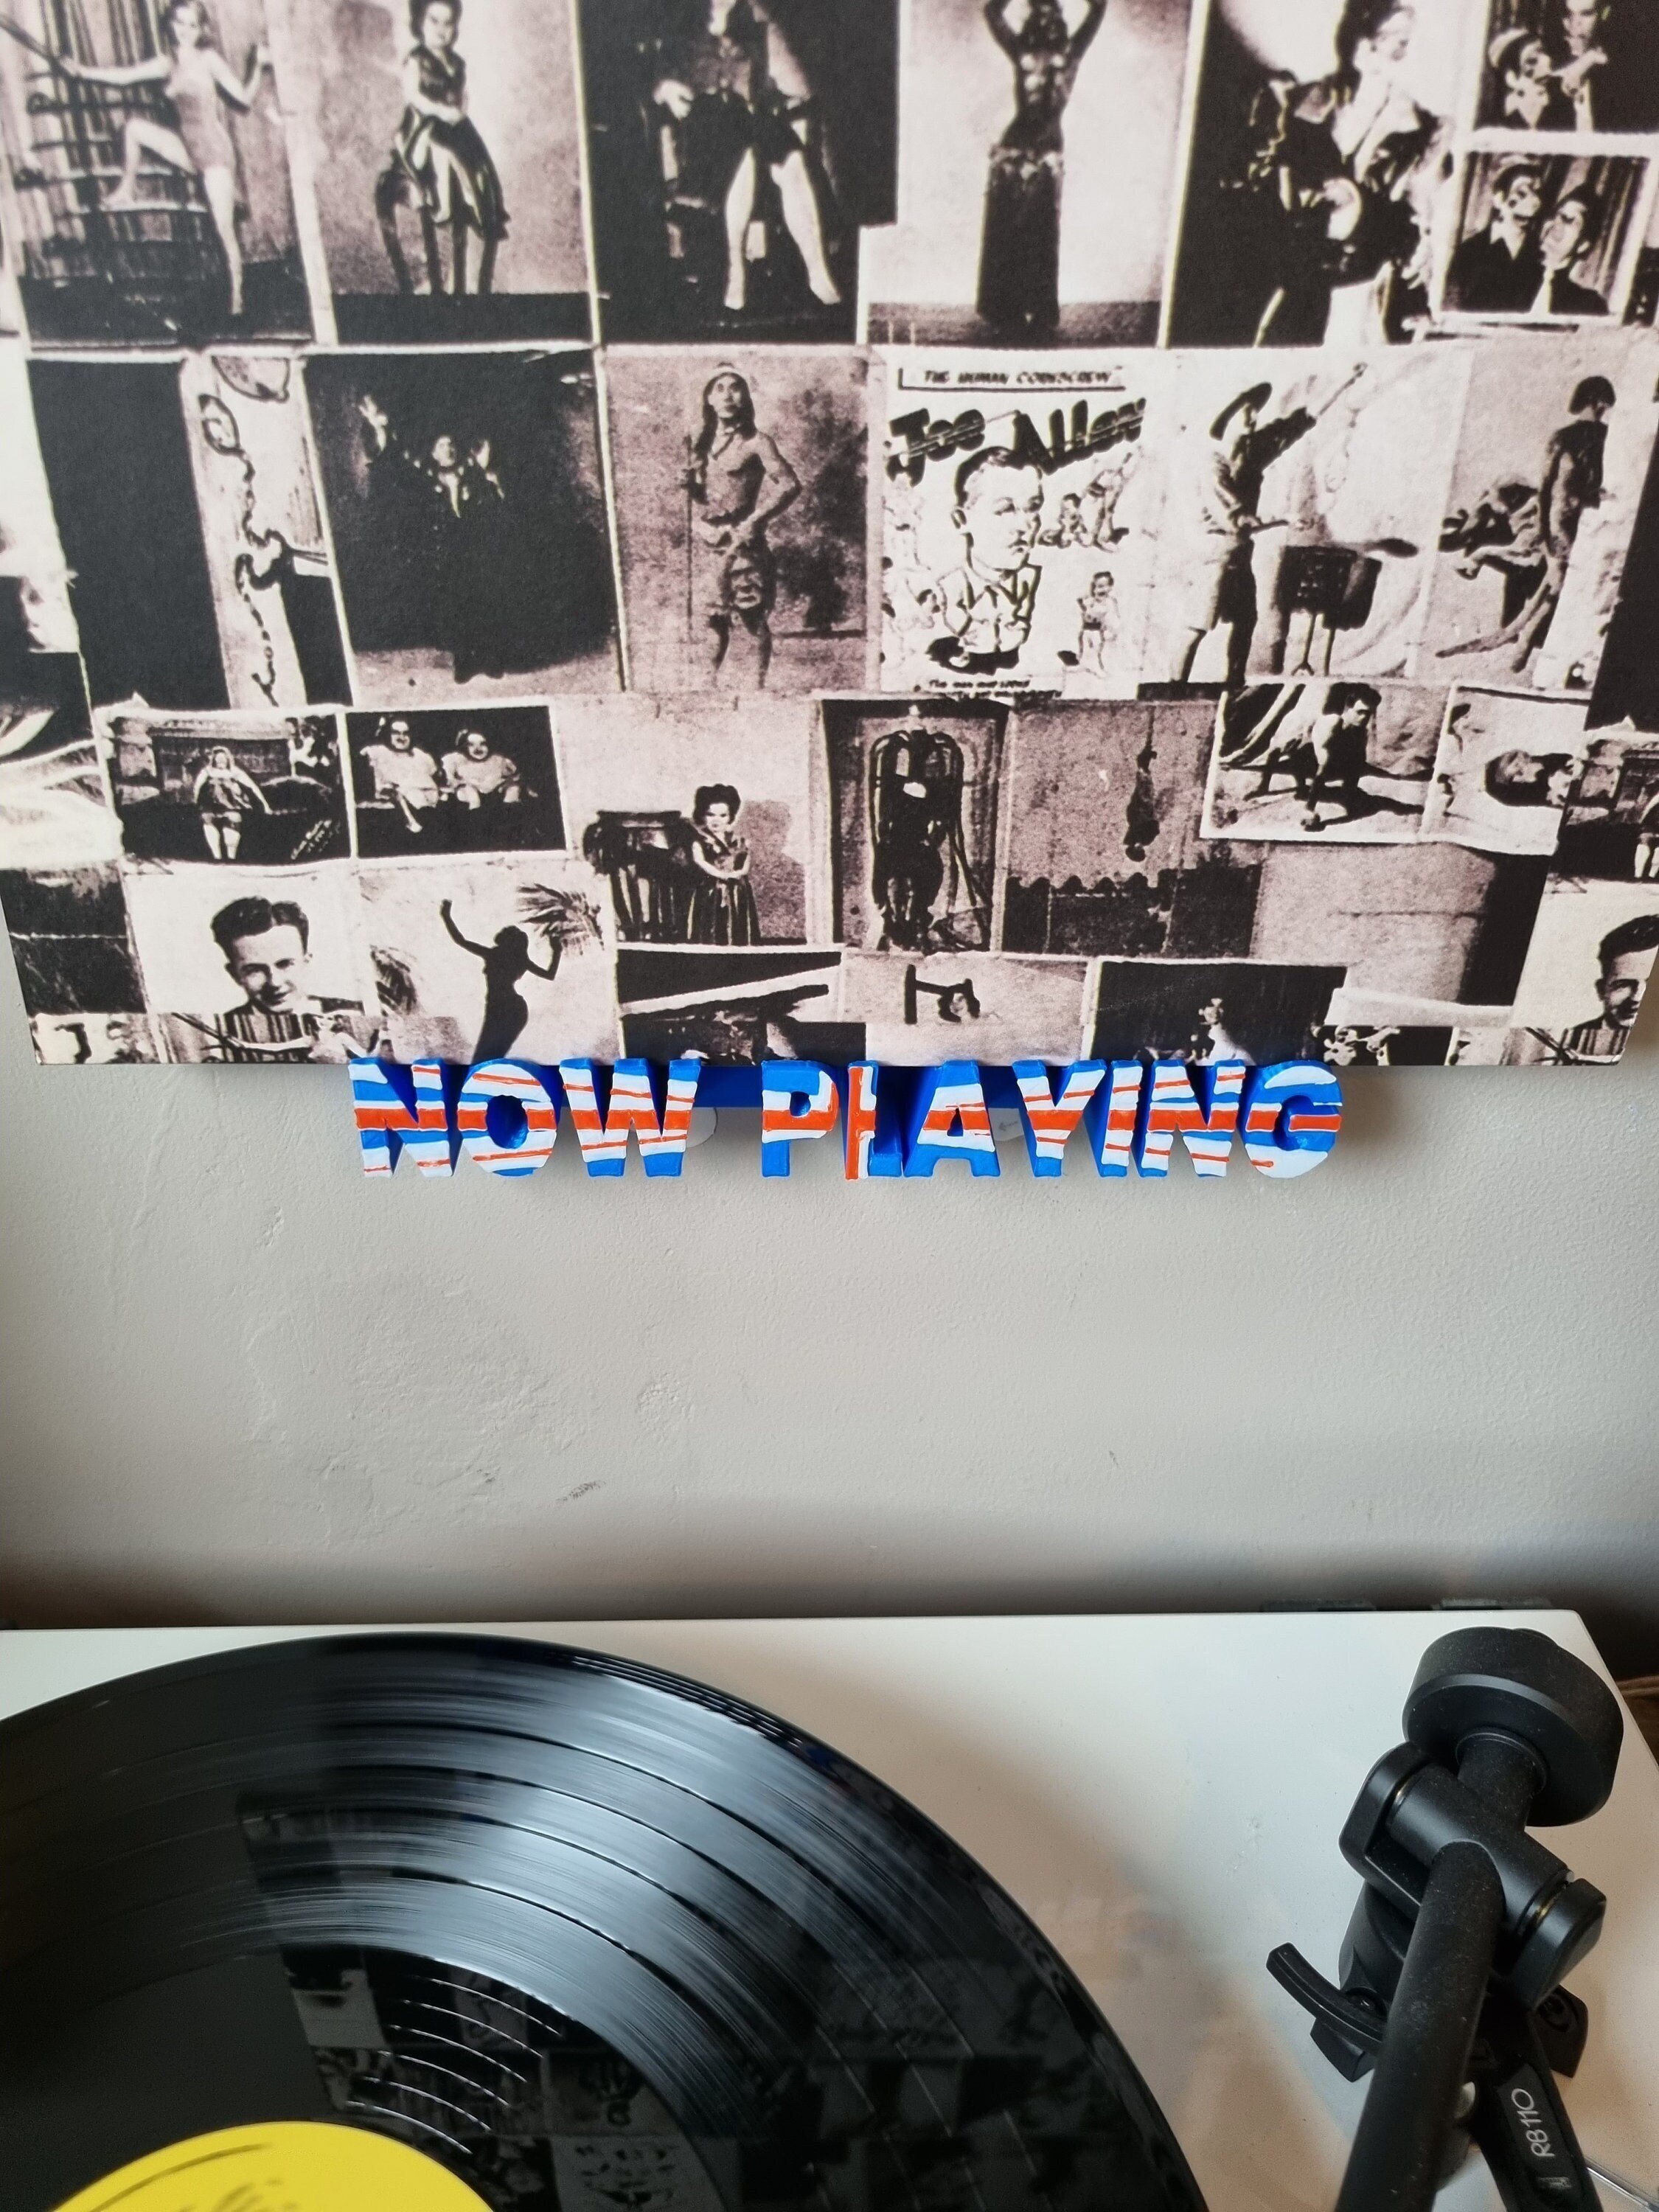
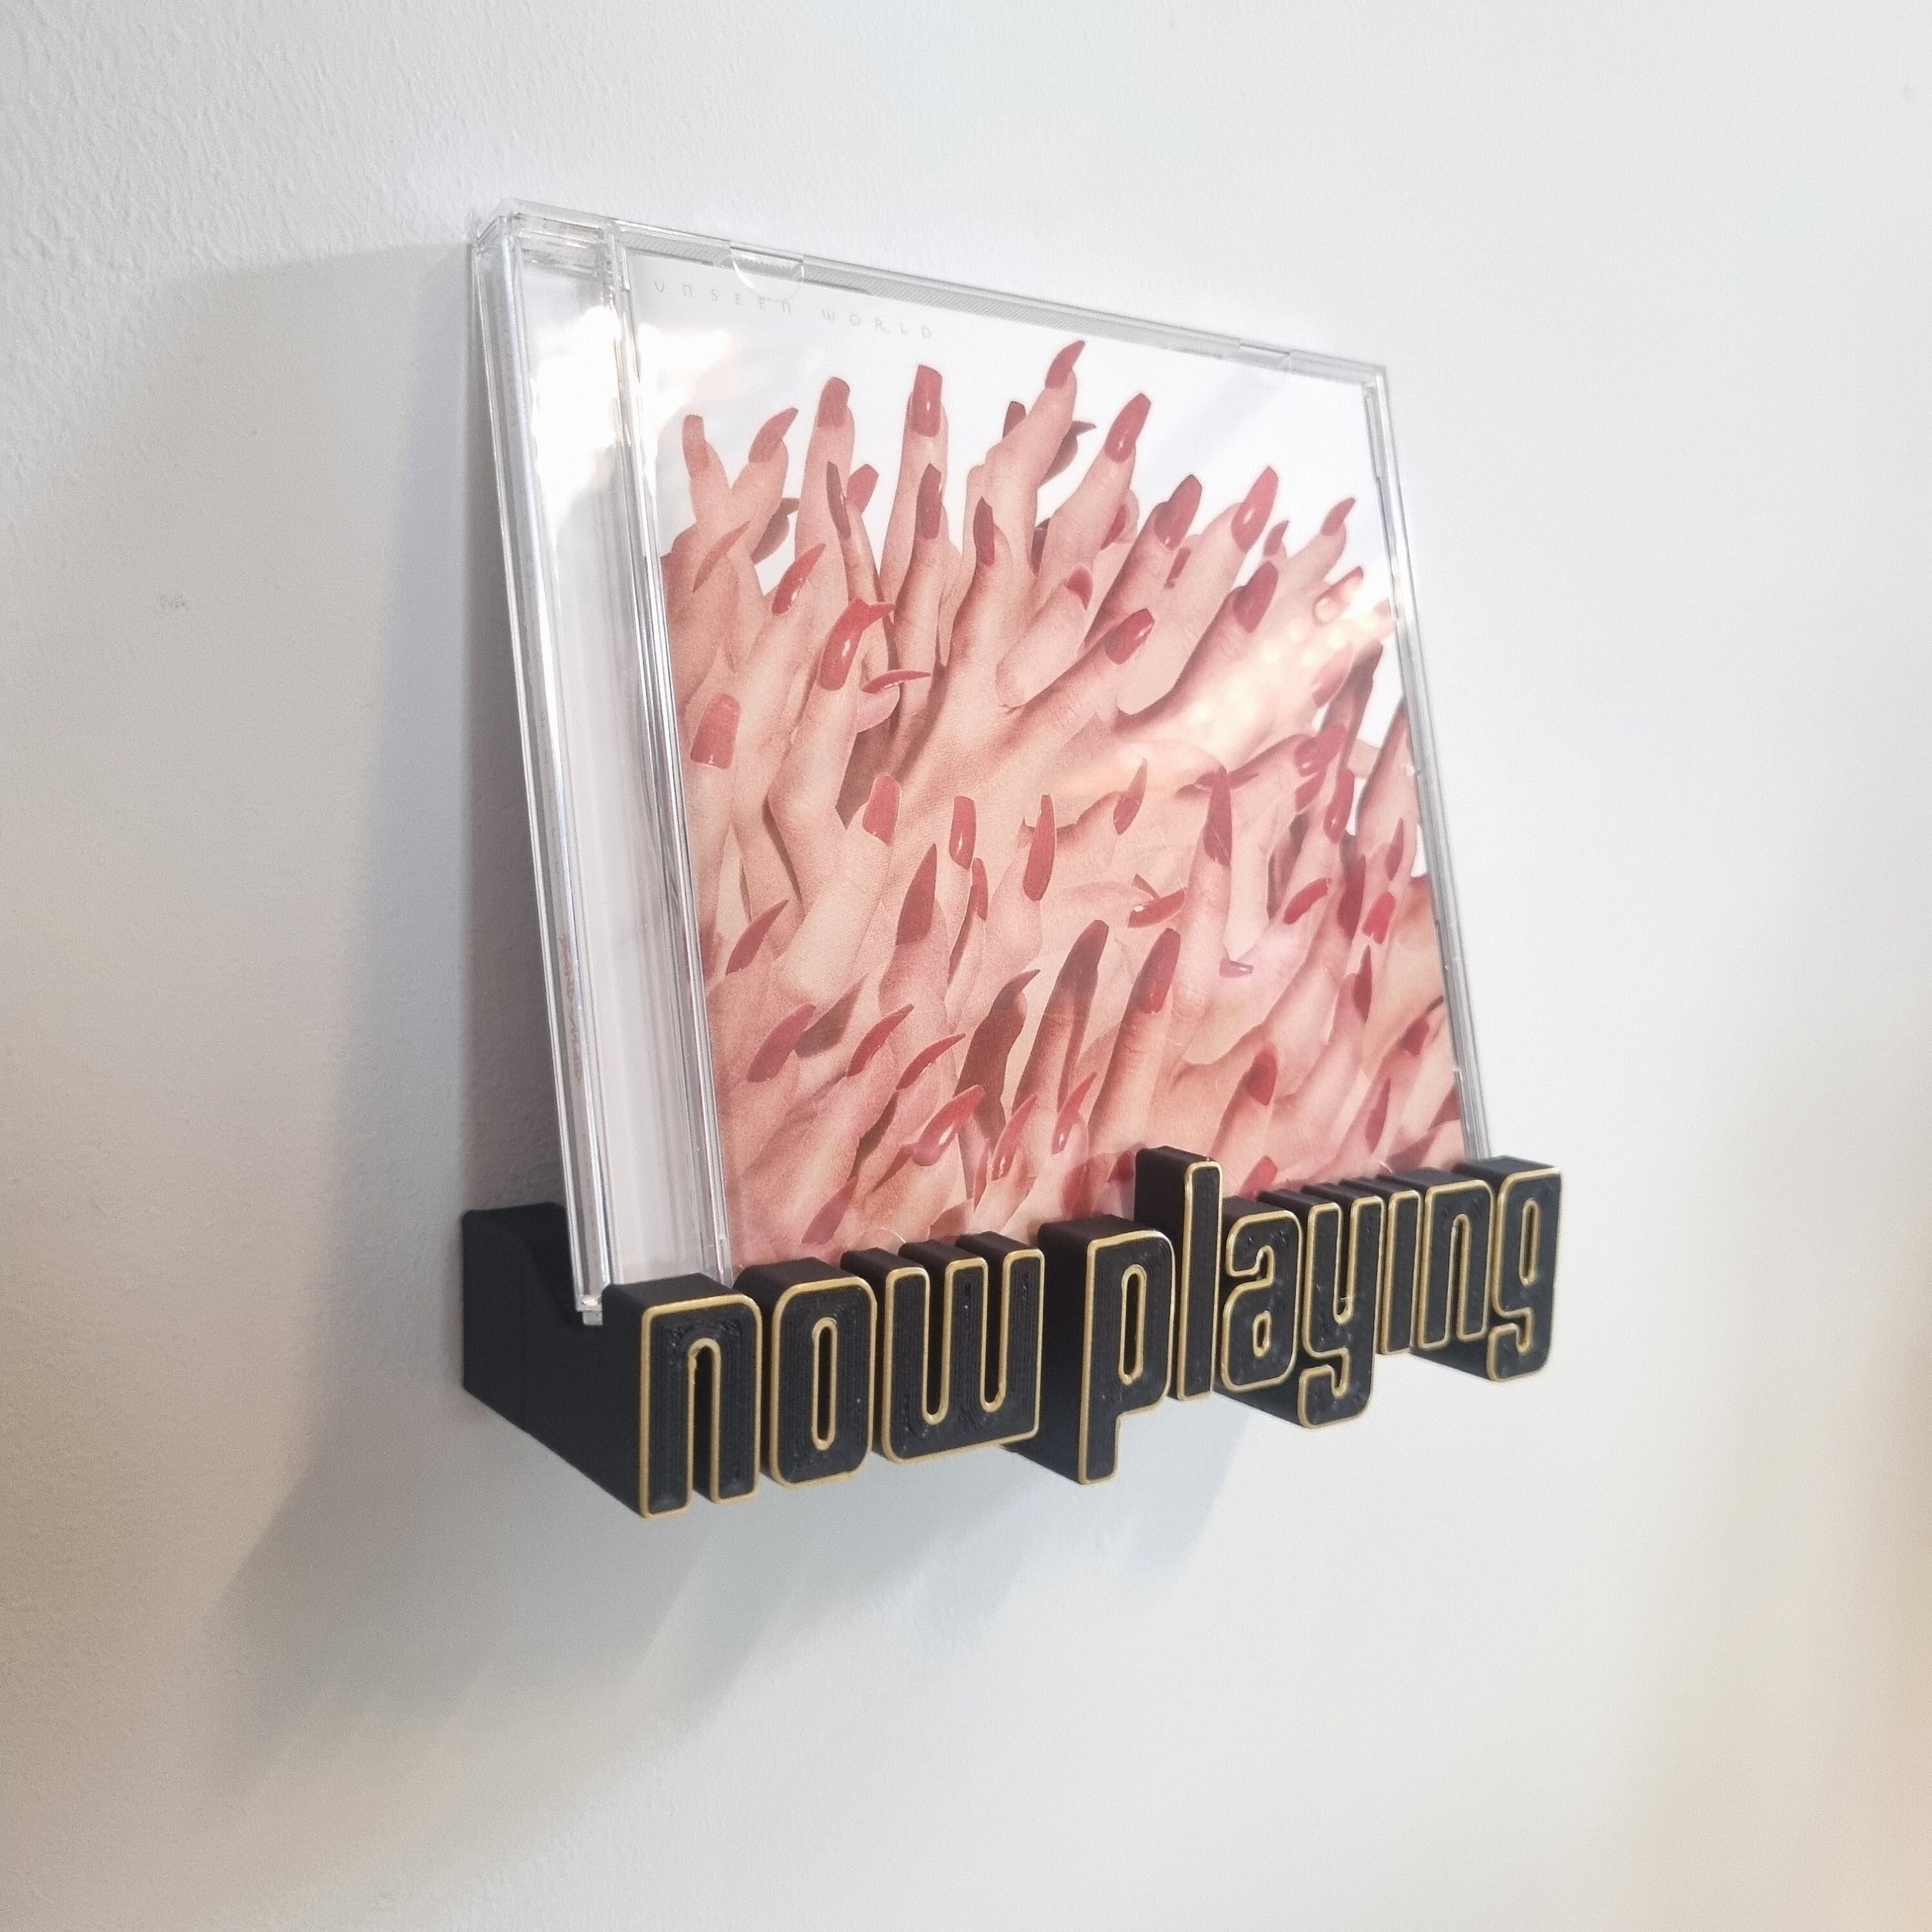
This is a Now Playing shelf to be attached to a wall, for CDs (and records, though I have a bigger version for those too). It uses the font from the Compact Disc logo. Please see below for fitting instructions.
You'll receive one shelf plus fixings. I'll include Command Strips and screws & plugs, so you can choose how you want to attach it.
It's a 3D printed item so bear in mind you'll get some surface texture, but it's neat and tidy and is only really noticeable up close and is, for me at least, part of the appeal. Why have something 3d printed if it looks injection moulded?
The shelf measures about 14.5cm (6") across and is about 5cm (2") deep.
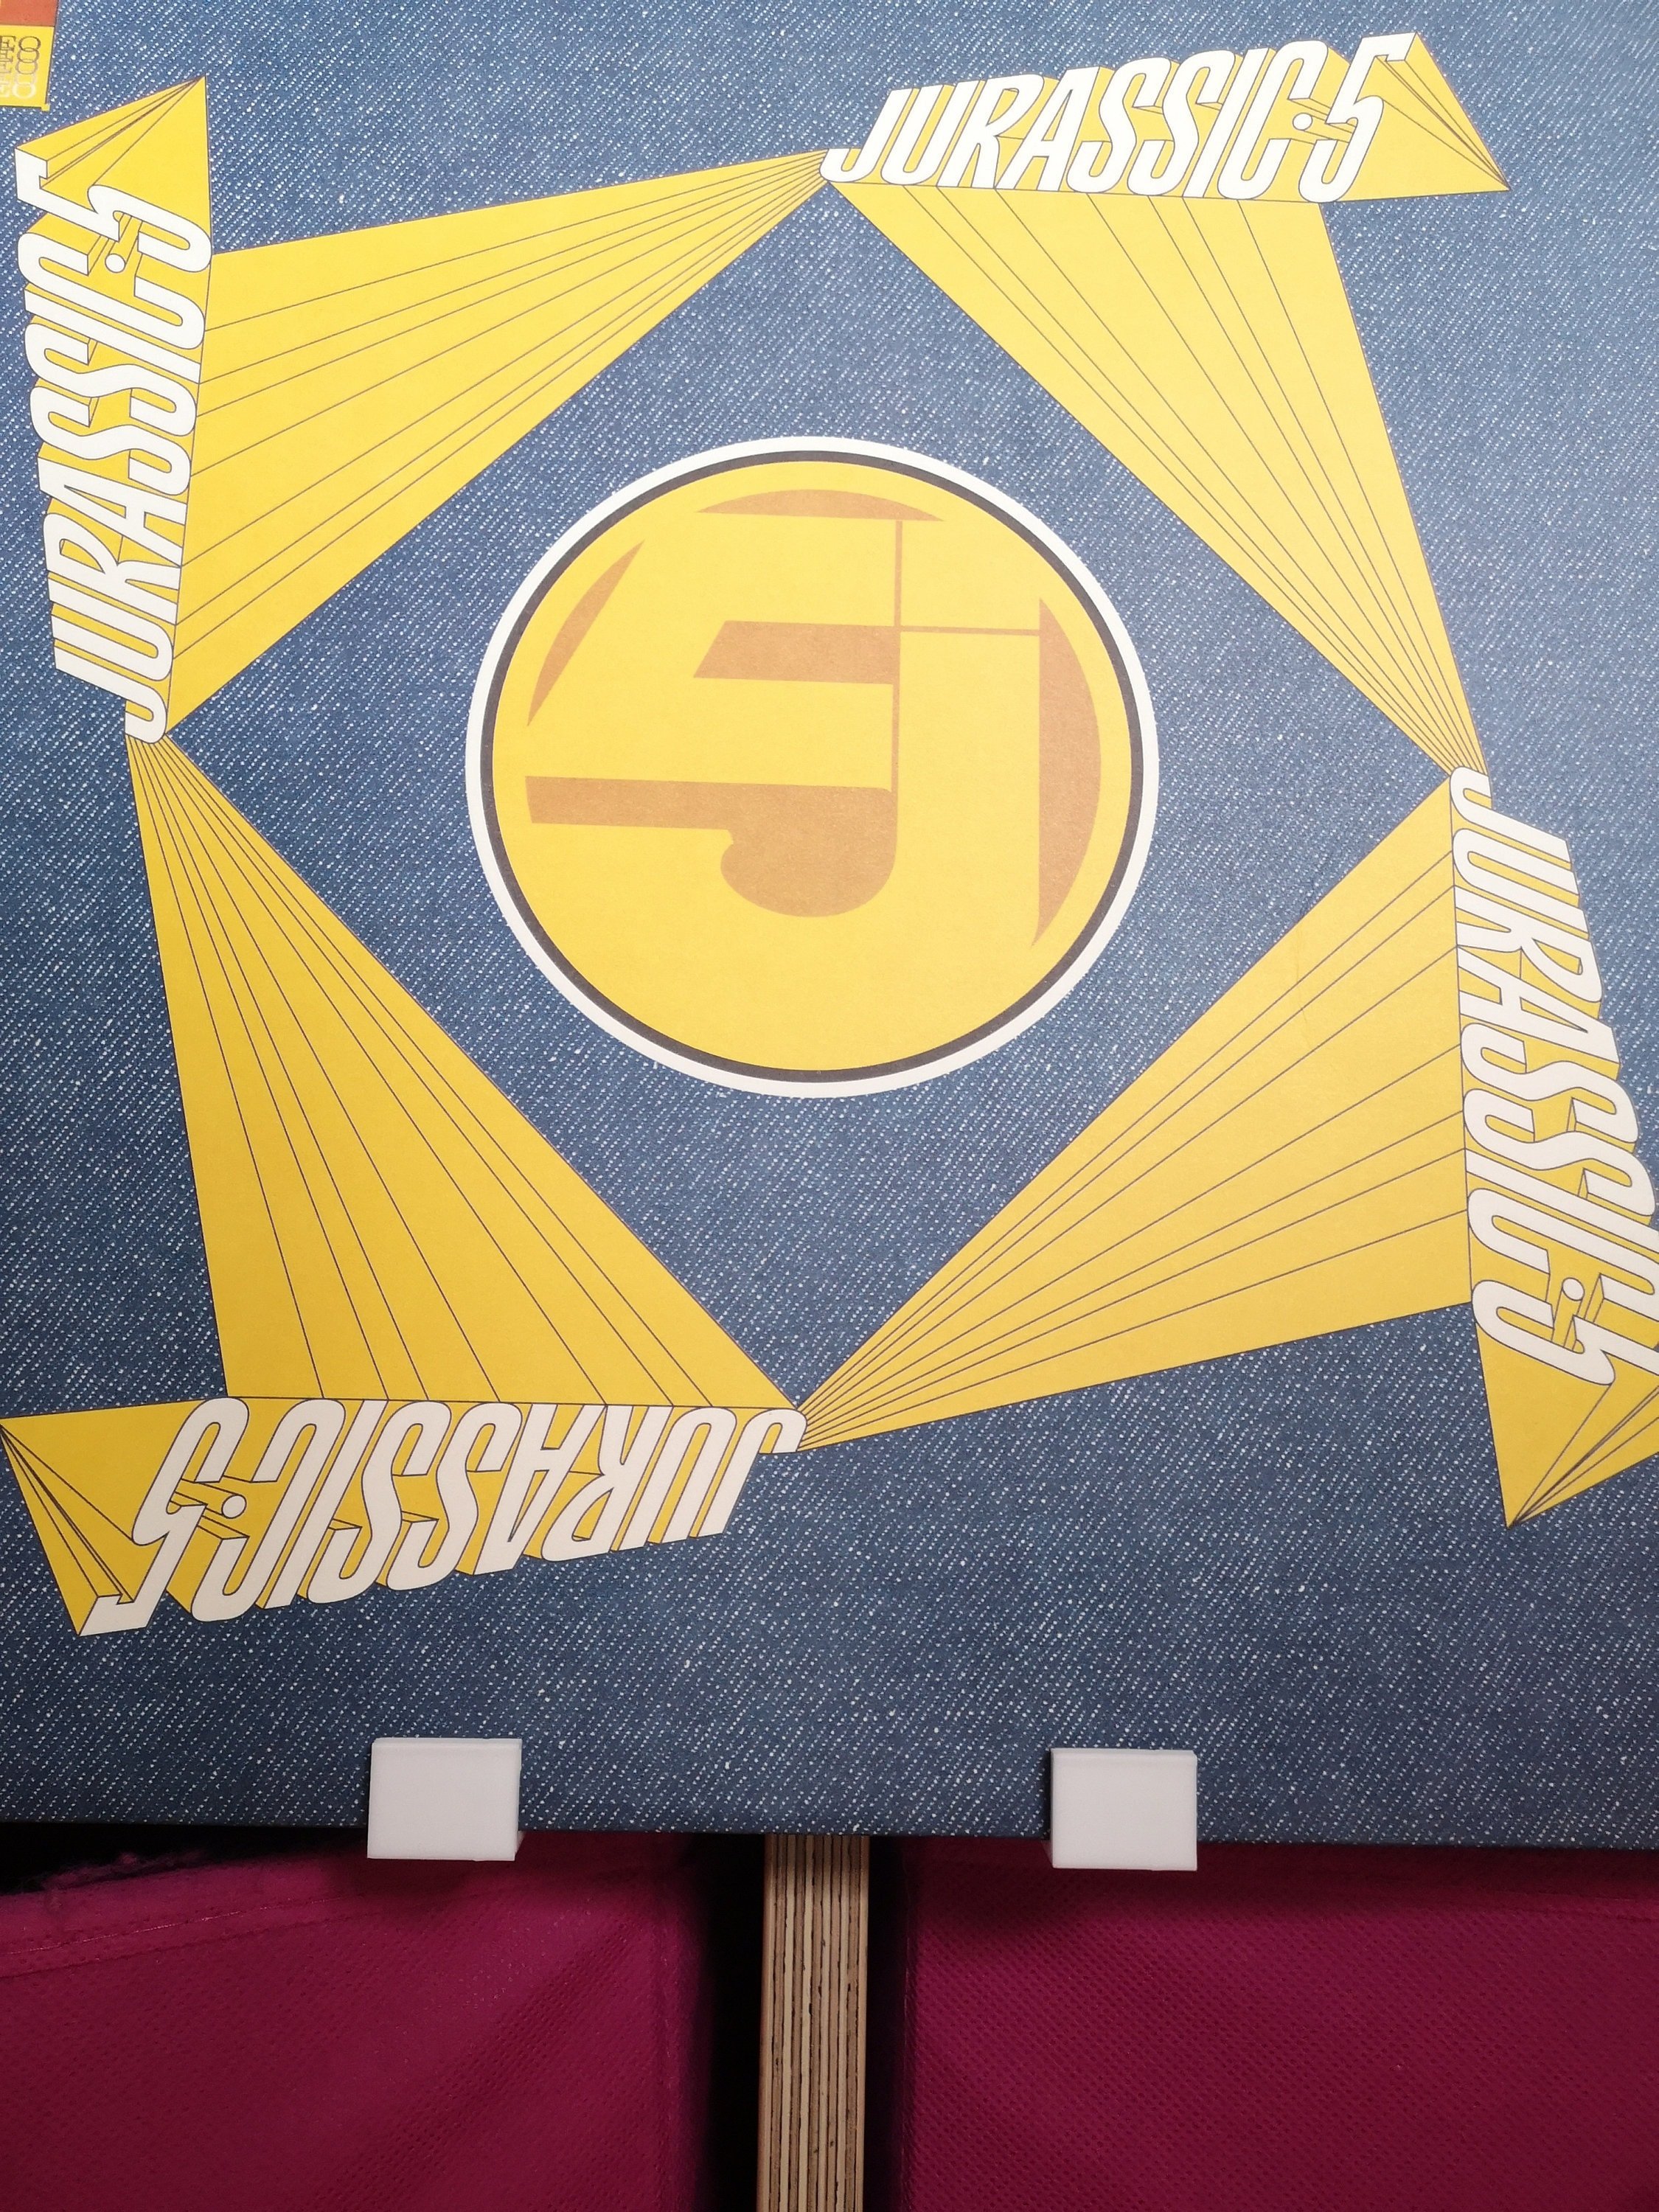
Fitting instructions: The shelf is held up with a bracket that attaches to the wall. To fit the bracket, either use the included Command Strips or the screws. The Command Strips should only be used if the wall is painted and smooth. If it's wallpapered, or textured in any way (or if you have any concerns about whether the paint is well-adhered) you should use the screws. Either way, it's best to use a spirit level or laser level, and the bracket should be attached with the narrower side against the wall. (This will create a sort of long hook (a French cleat) that the shelf will sit on - you'll see what I mean when you put the two together.)
Fitting instructions (for screws): using the bracket as a template, mark where you're going to drill on the wall. Drill two 6mm holes and then insert the Rawlplugs, then screw the bracket to the wall.
Fitting instructions (for Command Strips): remove the backing paper with the red text from two Command Strips and attach them to the back of the bracket. (Remember, the narrow side of the bracket is the side that goes against the wall.) The Command Strips should meet in the middle and the removal tabs should stick out the side - they'll be hidden by the shelf. Press firmly down on a hard surface for 10 seconds to make sure they're stuck. Next remove the final backing papers (the ones that say 'wall' on them) and stick the bracket to the wall. Again, press firmly for 10 seconds to make sure it's stuck. Wait an hour or so before putting anything on it, then you can hang the Now Playing shelf on the bracket and you're good to go.
I have a whole range of display options for CDs, records, tapes and games in my shop, so if this isn't quite what you're looking for, please check my shop. Also, if you want this in a different colour I can do that - just add a note to your order letting me know what colours you want.
Any questions just shout.
Cheers
Rob
Quantity:
Add To Cart
This is a Now Playing shelf to be attached to a wall, for CDs (and records, though I have a bigger version for those too). It uses the font from the Compact Disc logo. Please see below for fitting instructions.
You'll receive one shelf plus fixings. I'll include Command Strips and screws & plugs, so you can choose how you want to attach it.
It's a 3D printed item so bear in mind you'll get some surface texture, but it's neat and tidy and is only really noticeable up close and is, for me at least, part of the appeal. Why have something 3d printed if it looks injection moulded?
The shelf measures about 14.5cm (6") across and is about 5cm (2") deep.
Fitting instructions: The shelf is held up with a bracket that attaches to the wall. To fit the bracket, either use the included Command Strips or the screws. The Command Strips should only be used if the wall is painted and smooth. If it's wallpapered, or textured in any way (or if you have any concerns about whether the paint is well-adhered) you should use the screws. Either way, it's best to use a spirit level or laser level, and the bracket should be attached with the narrower side against the wall. (This will create a sort of long hook (a French cleat) that the shelf will sit on - you'll see what I mean when you put the two together.)
Fitting instructions (for screws): using the bracket as a template, mark where you're going to drill on the wall. Drill two 6mm holes and then insert the Rawlplugs, then screw the bracket to the wall.
Fitting instructions (for Command Strips): remove the backing paper with the red text from two Command Strips and attach them to the back of the bracket. (Remember, the narrow side of the bracket is the side that goes against the wall.) The Command Strips should meet in the middle and the removal tabs should stick out the side - they'll be hidden by the shelf. Press firmly down on a hard surface for 10 seconds to make sure they're stuck. Next remove the final backing papers (the ones that say 'wall' on them) and stick the bracket to the wall. Again, press firmly for 10 seconds to make sure it's stuck. Wait an hour or so before putting anything on it, then you can hang the Now Playing shelf on the bracket and you're good to go.
I have a whole range of display options for CDs, records, tapes and games in my shop, so if this isn't quite what you're looking for, please check my shop. Also, if you want this in a different colour I can do that - just add a note to your order letting me know what colours you want.
Any questions just shout.
Cheers
Rob
You'll receive one shelf plus fixings. I'll include Command Strips and screws & plugs, so you can choose how you want to attach it.
It's a 3D printed item so bear in mind you'll get some surface texture, but it's neat and tidy and is only really noticeable up close and is, for me at least, part of the appeal. Why have something 3d printed if it looks injection moulded?
The shelf measures about 14.5cm (6") across and is about 5cm (2") deep.
Fitting instructions: The shelf is held up with a bracket that attaches to the wall. To fit the bracket, either use the included Command Strips or the screws. The Command Strips should only be used if the wall is painted and smooth. If it's wallpapered, or textured in any way (or if you have any concerns about whether the paint is well-adhered) you should use the screws. Either way, it's best to use a spirit level or laser level, and the bracket should be attached with the narrower side against the wall. (This will create a sort of long hook (a French cleat) that the shelf will sit on - you'll see what I mean when you put the two together.)
Fitting instructions (for screws): using the bracket as a template, mark where you're going to drill on the wall. Drill two 6mm holes and then insert the Rawlplugs, then screw the bracket to the wall.
Fitting instructions (for Command Strips): remove the backing paper with the red text from two Command Strips and attach them to the back of the bracket. (Remember, the narrow side of the bracket is the side that goes against the wall.) The Command Strips should meet in the middle and the removal tabs should stick out the side - they'll be hidden by the shelf. Press firmly down on a hard surface for 10 seconds to make sure they're stuck. Next remove the final backing papers (the ones that say 'wall' on them) and stick the bracket to the wall. Again, press firmly for 10 seconds to make sure it's stuck. Wait an hour or so before putting anything on it, then you can hang the Now Playing shelf on the bracket and you're good to go.
I have a whole range of display options for CDs, records, tapes and games in my shop, so if this isn't quite what you're looking for, please check my shop. Also, if you want this in a different colour I can do that - just add a note to your order letting me know what colours you want.
Any questions just shout.
Cheers
Rob

