
Your Collection. Your Way.
[Details]
Whether you organise by genre or band, alphabetically or autobiographically, you’ll find everything much easier to find - and to put away again - when using dividers. There’s loads of options out there… you can even make your own… but if you want something that’s both functional and beautiful, you’re in the right place.
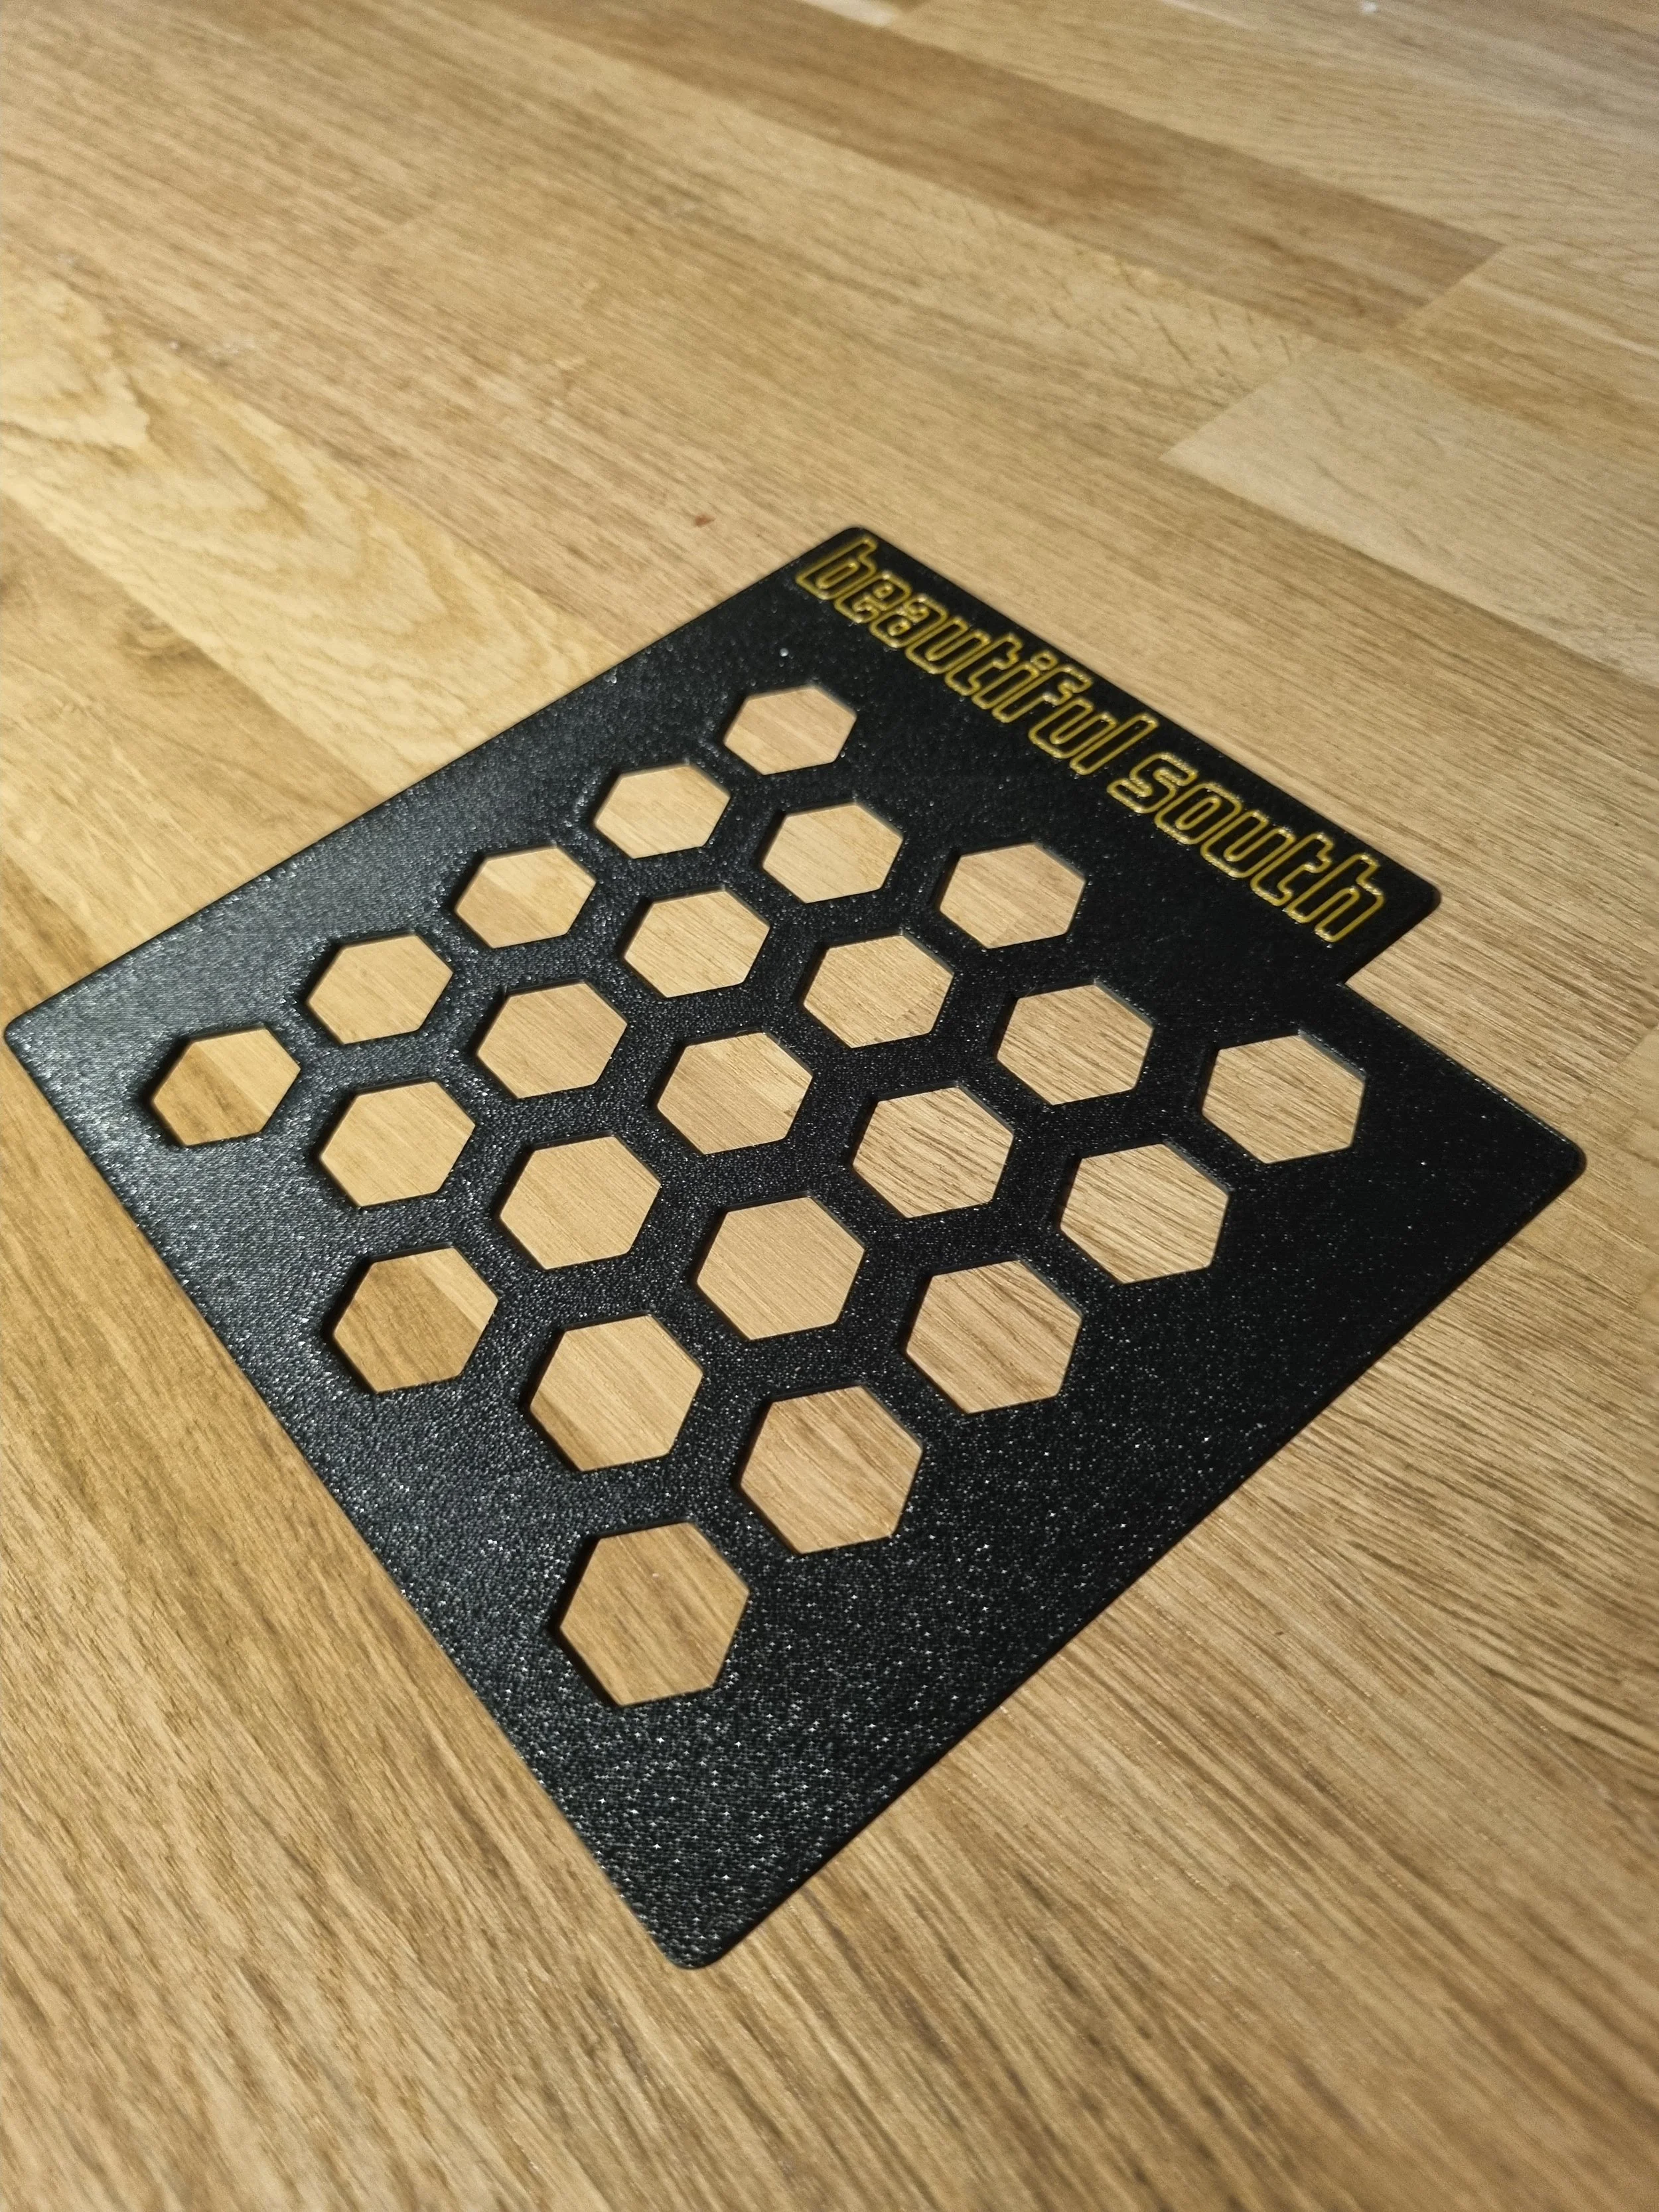
These dividers are sized to fit CD jewel cases, with 1.5cm (5/8”) letters at the top (or the side, depending on the layout you choose and how you use them).
The wording appears on a tab that’s shaped for a classic look. In contrast to that classic look, a modern hexagon pattern covers the main body. That’s hidden when they’re between CDs, but it’s a feature that helps to save material and weight, and looks good too. The dividers are 1.2mm (1/16”) thick, which makes them thicker than your average Amazon special, but thin enough to not take up a load of room - unlike those wooden ones that have been spamming my Facebook timeline for the last few months.
You can choose what you want them to say. I use Compact Disco as standard for the font, which is based on the Compact Disco logo, and by default I’ll do them in black with gold text, but if you want a different font or colours using then just add a note to let me know. I can also change the shape of the tab at the top if you want something really personal.
Any questions, concerns or ideas, just shout.
Cheers
Rob
[Instructions]
To order, choose which way you want them to be oriented.
To use, put them between yours CDs and marvel at how brilliant they look.
[Processing]
These will usually take about a week to make for smaller orders, possibly a bit longer for larger ones.

[Details]
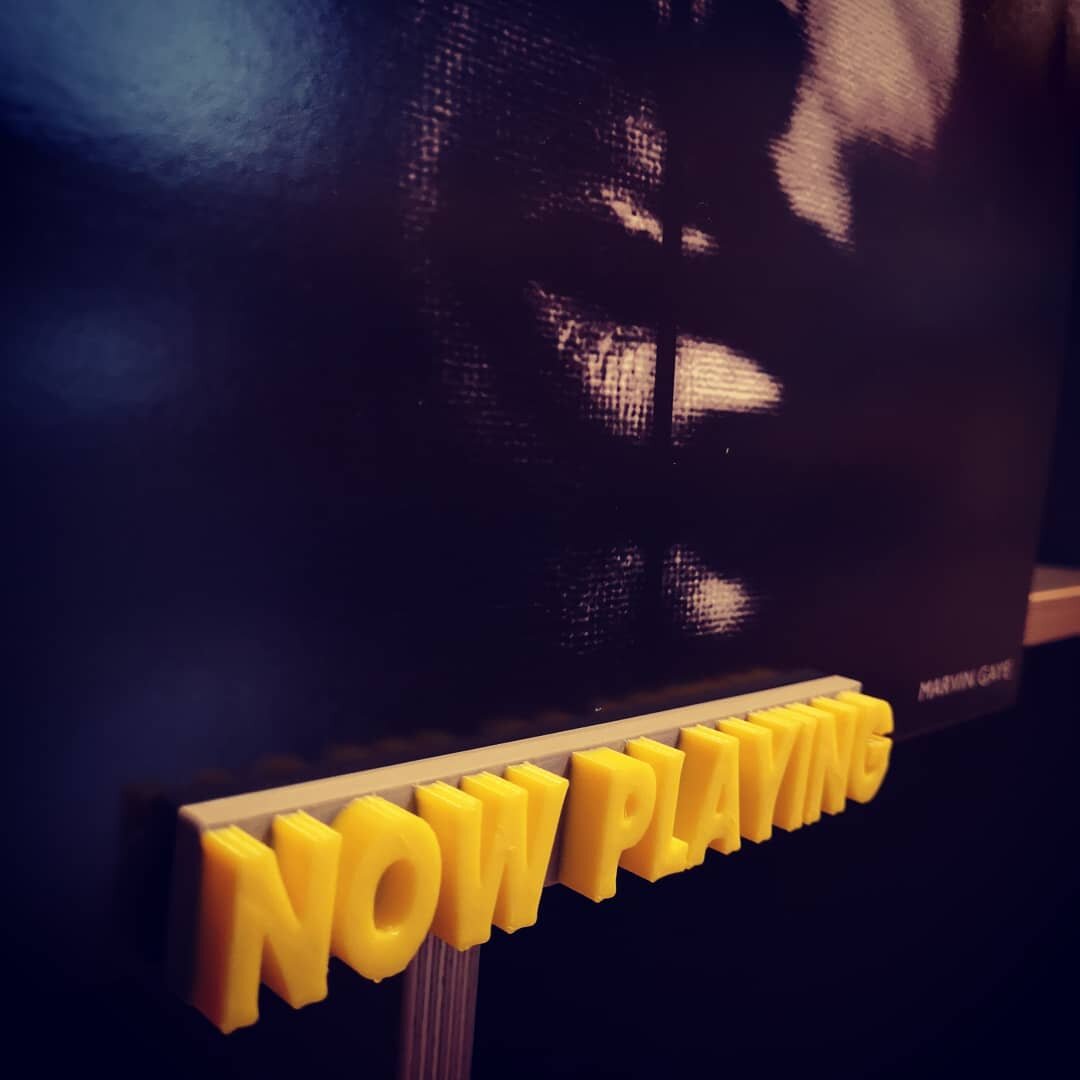
This is a free-standing Now Playing or Now Spinning stand for vinyl records or CDs.
You'll receive one stand, which consists of a stand that holds the record and a front piece with the text. The text piece attaches to the stand with a couple of dovetailed keys, and it's designed so that the text piece can hinge slightly to allow for different-sized sleeves. It'll hold singles, doubles and triples just fine.
When you click Add to Cart a pop-up will appear and you can choose the colour of the text and then the colour of the outline and stand. You can also select whether you want it to say Now Playing or Now Spinning.
It's a 3D printed item so bear in mind you'll get some surface texture, but it's only really noticeable up close and is, to me at least, part of the appeal. Why have something 3d printed if it looks injection moulded?
The stand measures about 13cm across, and the front measures about 21cm wide and just under 5cm tall.
Any questions just ask.
Cheers
Rob
[Instructions]
Set the front piece onto the base. It’ll move easily - that’s fine.
[Processing]
These will usually take 2 or 3 days to produce.

[Details]
A 420 Now Playing shelf to go on your wall, with a weed leaf instead of the O, to hold the sleeve of the vinyl record you're currently listening to. Unlike my other shelves, this one's only available in one colour: green. Because of course it is.
The shelf measures about 20cm (7 1/2") across and is about 3.5cm (1 1/4") deep.
What's In The Box?
You'll receive one shelf and fixings - screws and plugs (with a drilling template). (There are keyholes hidden in the back for the screws, which means there's nothing visible above the shelf when nothing is on it and you can't see the screws at all.)
[Instructions]
Using the included template, mark where you're going to drill on the wall. Use a spirit level. Drill two 6mm holes and then insert the Rawlplugs. Screw in so that the face of each screw is 5mm from the surface of the wall, then slot the shelf onto the screws. If it's not quite tight enough or a little loose, remove and turn the screws a quarter turn whichever way you need, and repeat until it's right.
[Processing]
This is a limited edition and stock is available until it’s not. I’ll usually dispatch within a couple of days.
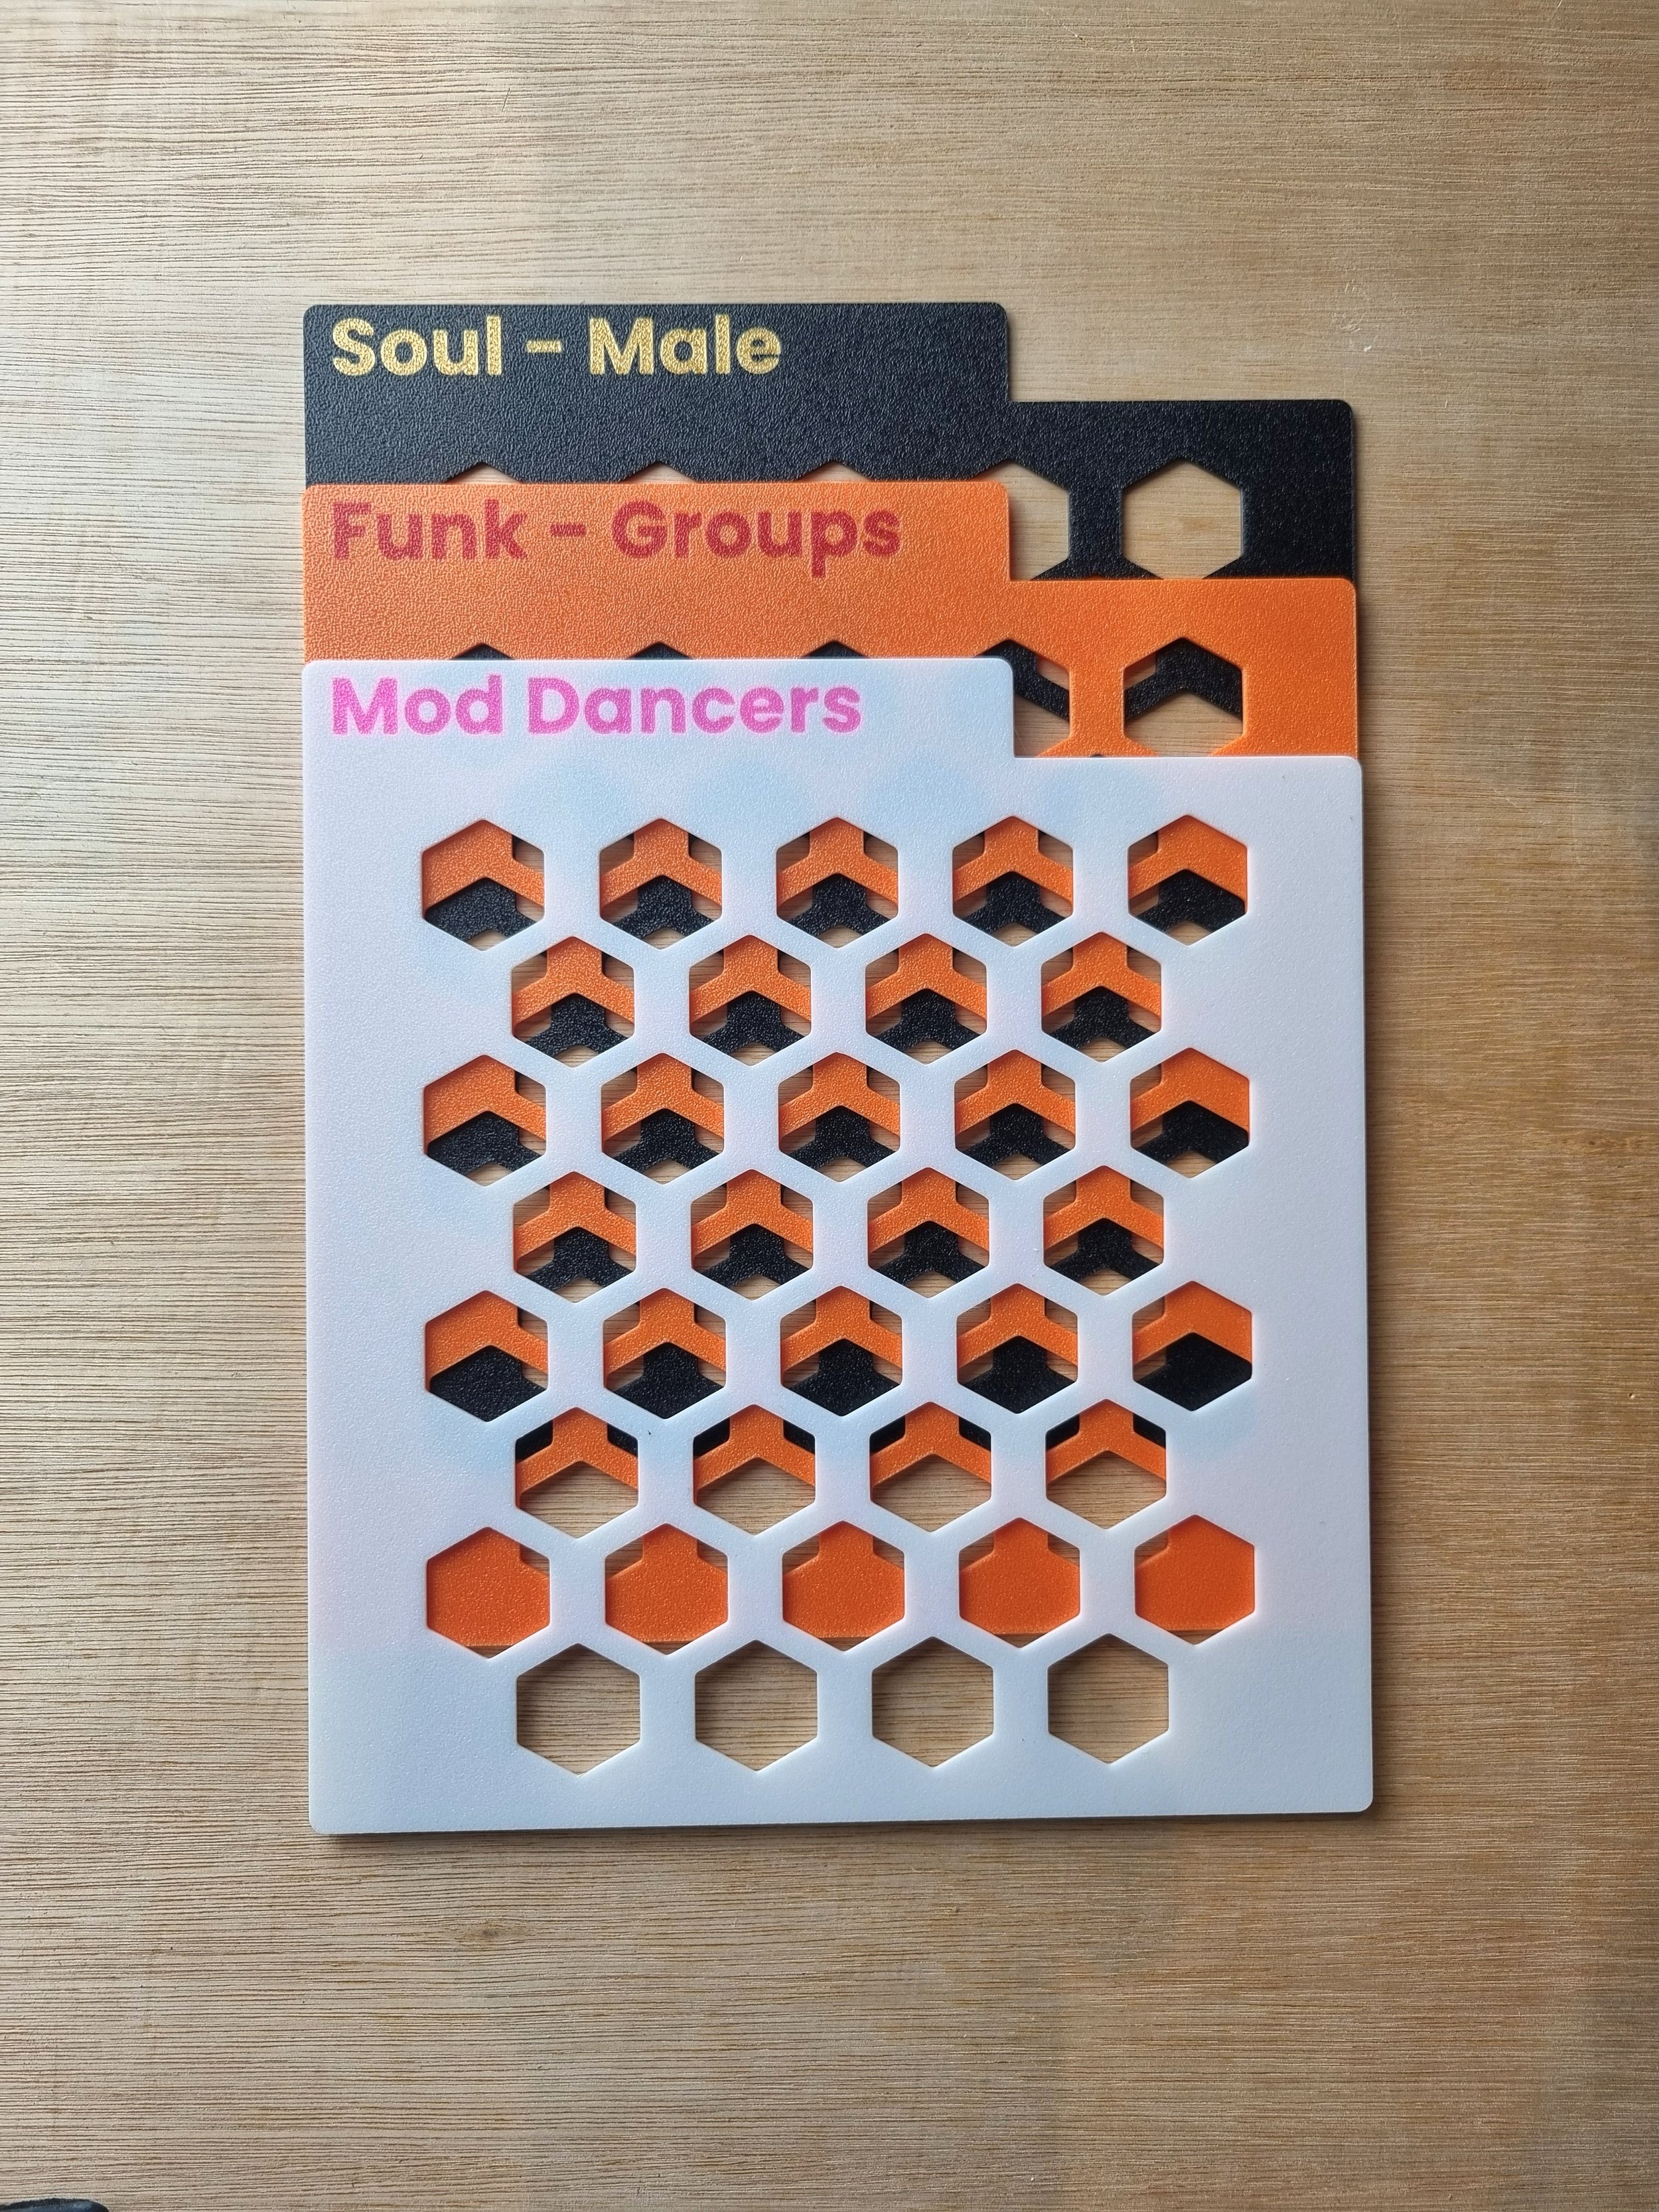
These dividers are for 7" singles (45s). Whether you organise by genre or band, alphabetically or autobiographically, you’ll find everything much easier to find - and to put away again - when using dividers. There’s loads of options out there - you can even make your own - but if you want something that’s both functional and beautiful, you’re in the right place.
HOW TO ORDER: Select the number of dividers and a body colour, and click to add to basket. A popup will appear, where you can list the wording you want and text colour. If you want a mix of body colours, you can give me those details here, too.
These dividers are 19cm (7 1/2”) wide and 20.5cm (8”) tall, with 1cm (3/8”) letters at the top, on a tab that’s shaped for a classic look. In contrast to that classic look, a modern hexagon pattern covers the main body. That’s hidden when they’re between records, but it’s a feature that helps to save material and weight, and looks good too. The dividers are 1.2mm (1/16”) thick, which makes them thicker than your average Amazon special, but thin enough to not take up a load of room - unlike those wooden ones that have been spamming my Facebook timeline for the last few months.
You can choose the colour of the main body and the colour of the text, and you can choose what you want them to say. I use Poppins Ultra Bold as standard for the font, but if you want a different font using then just add a note to let me know. I can also change the shape of the tab at the top if you want something really personal. (When I say they’re fully customizable, I mean it!)
I can only have up to 250 variants listed, so just select the body colour from the dropdown, and then add a note to your order to let me know what colour you want the text to be.
I design and make to order, and each one takes a few hours to produce, so please bear in mind that an order of a few will likely take a couple of days, but an order of ten or more will probably take a bit longer. I’ll get in touch to give you an idea of timescales if I think it’s going to take more than 3 or 4 days though.
Any questions, concerns or ideas, just shout.
Cheers
Rob
[Details]
115% of the vinyl community use IKEA's Kallax to hold their records, but 96% of those people suffer from the same problem: it can all get a bit untidy. (Stats completely made up; point totally true.)
There are some great solutions out there but they all involve sticking or screwing something to your shelves, which then means if you want to reposition them you can only use them in the same orientation as before.
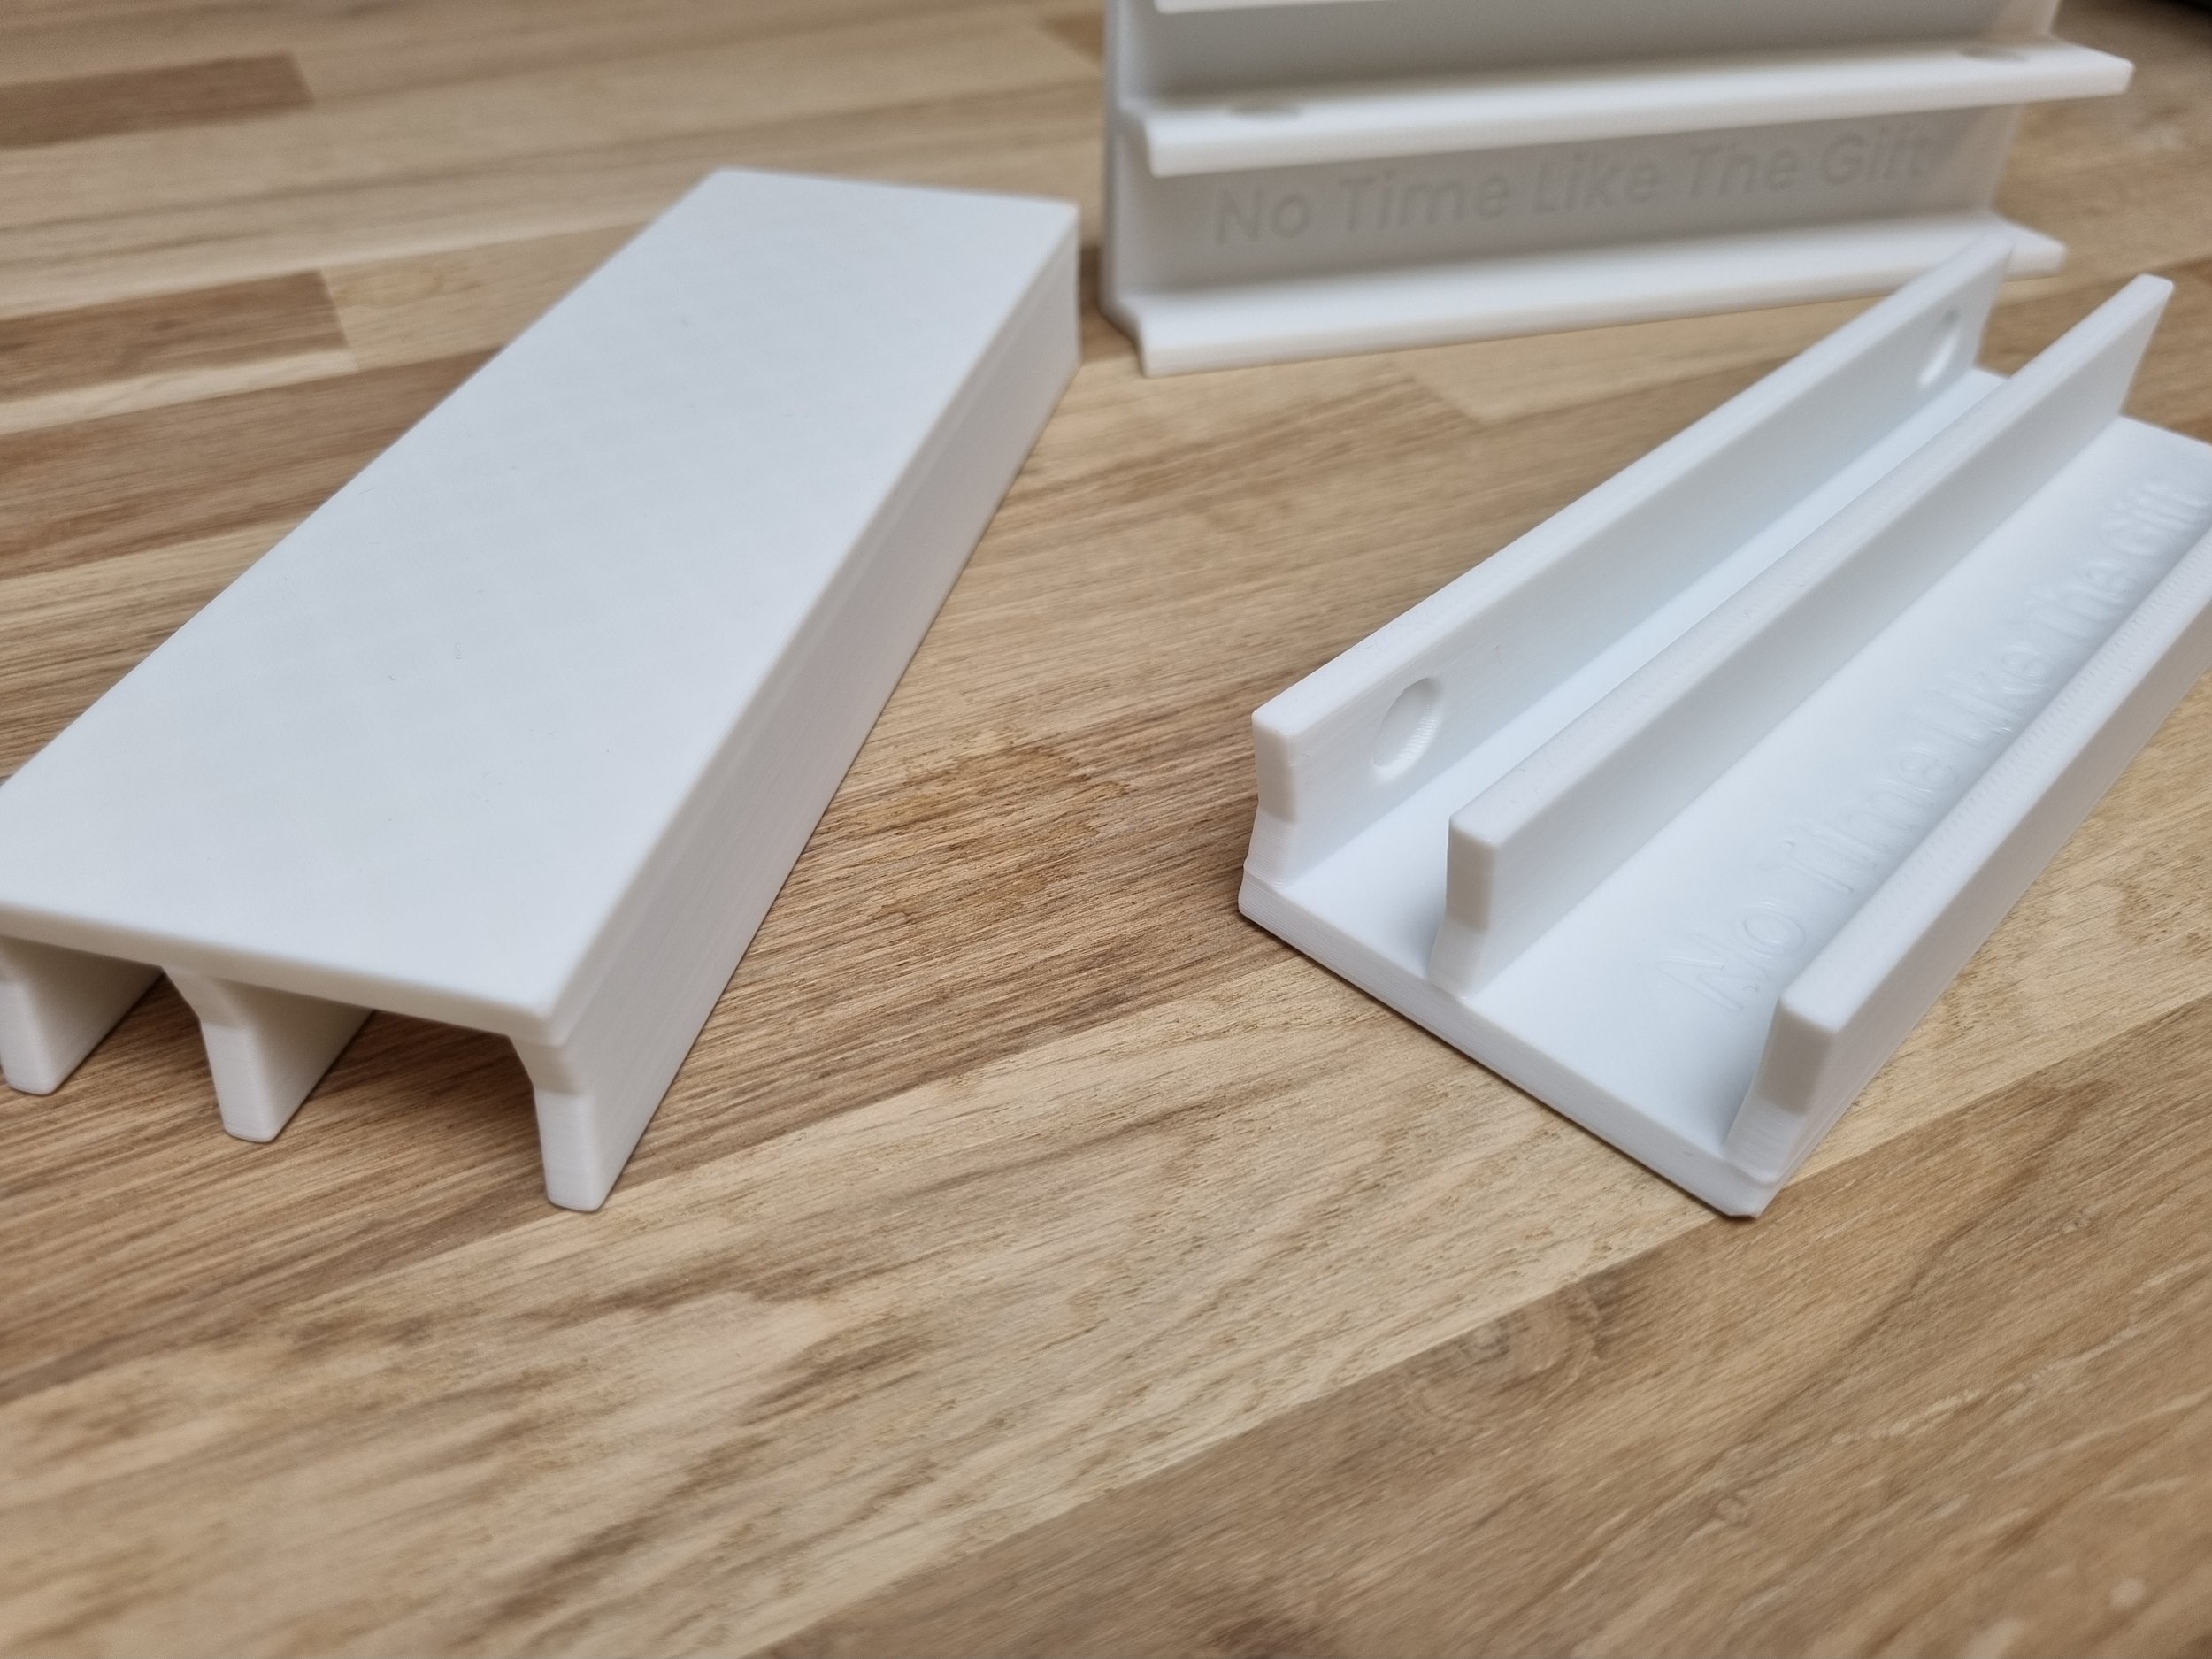
I came up with this design to solve that problem. The backstops slot over the back of your shelf and provide a fixed line for your records to butt up against. They come in pairs (which is just because it means I don't need to use the big printers to make them) and a pair will provide a backstop for the shelf (cube) they're slotted on to and the shelf (cube) underneath.
Because the thickness of Kallax shelves can vary slightly, I include self-adhesive rubber pads to grip the shelf tighter, in case you need them. (See the Instructions tab for more info on this.)
These backstops will ensure your sleeves are aligned so that they're nice and tidy, leaving a 5cm (2") space at the front. They're available in grey, white, black or beige. I can make them in different colours on request though - just add a note to your order.
You can select your Kallax size from the dropdown and I'll send the right number of backstops for your unit. Please note that for 2×3 or 3x4 they need a different number depending on orientation, so make sure you order the right type. If in doubt, email me (robcauson at yahoo dot co dot uk) and I'll help you to figure it out. If you over-order, you can always return the extras and I'll refund accordingly.
[Instructions]
The unit is intended to slot over an internal shelf, with the larger part extending down to the shelf below so that two levels are covered by each row of bumpers. If you've got an odd number of rows (3x3 or 5x5, for example) you'll have a set of smaller single shelf pieces for your top row and then the standard double pieces for the other rows.
So, for a 2×4 stood upright, you’ll have backstops slotted over the top and bottom internal shelves. For a 2×4 laid on its side, you’ll have them along the single internal shelf.
First, try slotting one onto your shelf without the pads. If it's nice and tight, you're good to go. If it's a bit loose, stick some pads into the little round recesses on one side of the smaller recess and try again. You might find you need to push quite hard to slot it onto the shelf once the pads are in place, so just be careful not to push your Kallax over in all the excitement. If they’re still loose, add a second set of bumbers into the recess on the opposite face to the first. Generally speaking, Kallax bought in the UK or Europe will probably need one set, and those bought in Northern America will probably need two - but it can vary a bit.
Once you’ve got them fitted, simply install your records, pushing them gently up to the backstop.
[Processing]
These will usually take 2 or 3 days to produce, though 4×4s and 5×5s, or multiple orders of smaller ones, might take me a day or two longer.

[Details]
Whether you organise by genre or band, alphabetically or autobiographically, you’ll find everything much easier to find (and to put away again!) when using dividers. There’s loads of options out there - you can even make your own - but if you want something that’s both functional and beautiful, you’re in the right place.
HOW TO ORDER: Select the number of dividers and a body colour, and click to add to basket. A popup will appear, where you can list the wording you want and text colour. If you want a mix of body colours, you can give me those details here, too.
These dividers are 30cm (12”) wide and 35.5cm (14”) tall, with 2cm (3/4”) letters at the top, on a tab that’s shaped for a classic look. In contrast to that classic look, a modern hexagon pattern covers the main body. That’s hidden when they’re between records, but it’s a feature that helps to save material and weight, and looks good too. The dividers are 1.2mm (1/16”) thick, which makes them thicker than your average Amazon special, but thin enough not to take up a load of room - unlike those wooden ones that have been spamming my Facebook timeline for the last few months.
You can choose the colour of the main body and the colour of the text, and you can choose what you want them to say. I use Poppins Ultra Bold as standard for the font, but if you want a different weight or font using then just add a note to let me know. I can also change the shape of the tab at the top if you want something really personal.
Any questions, concerns or ideas, just shout.
Cheers
Rob
[Instructions]
Insert.
Enjoy.
[Processing]
Processing times for these will depend on the number ordered, but it’s likely to be 1-2 weeks. Smaller orders may be quicker. Larger orders, or orders placed during a busier time, may take a bit longer.

[Details]
These hoops are made to accommodate bigger figures like the Titan Heroes, but they'll hold smaller figures, Barbies and other dolls and action figures too.
They come in a strip, with 4 hoops per strip. This will allow you to keep up to 4 figures per strip. Smaller figures will sit with their waste inside the hoop and their arms over the edge; bigger ones will hang on like the dudes in the pictures.
Toys not included!
You can choose the colour from the drop down, but if you're ordering a few and want a mix just add a note to your order.
These are attached to the wall with screws and plugs, which I'll include along with a drilling guide. (You could maybe use Command Strips, but I think if you've got a 6-year-old putting stuff away then you'd be better off with the extra strength of screws.)
I based the size on the need to hold the full range of the 12" Titan figures - the smaller ones like the Spider guy up to The Hulky one, so anything that sits within that range should be fine, but if you're not sure - or if you need them amending for your needs - just give me a shout. (And if you order and then find your stuff doesn't fit, let me know, because I can always tweak the design and swap with you.)
Any other questions just shout.
Cheers
Rob
[Instructions]
Decide where you want your brackets and hold the drilling guide in place to mark the wall.
Drill a 6mm hole at each cross and insert a red Rawlplug (included) into each hole.
Screw a screw into each one so that the head of the screw sits 5mm from the wall surface.
Fit the bracket over the screws.
If it’s a bit loose, tighten the screws a quarter turn at a time till it’s not.
If it’s a bit tight, loosen the screws a quarter turn at a time till it’s not.
[Processing]
These will usually take 3-4 days to produce and dispatch.
[Details]
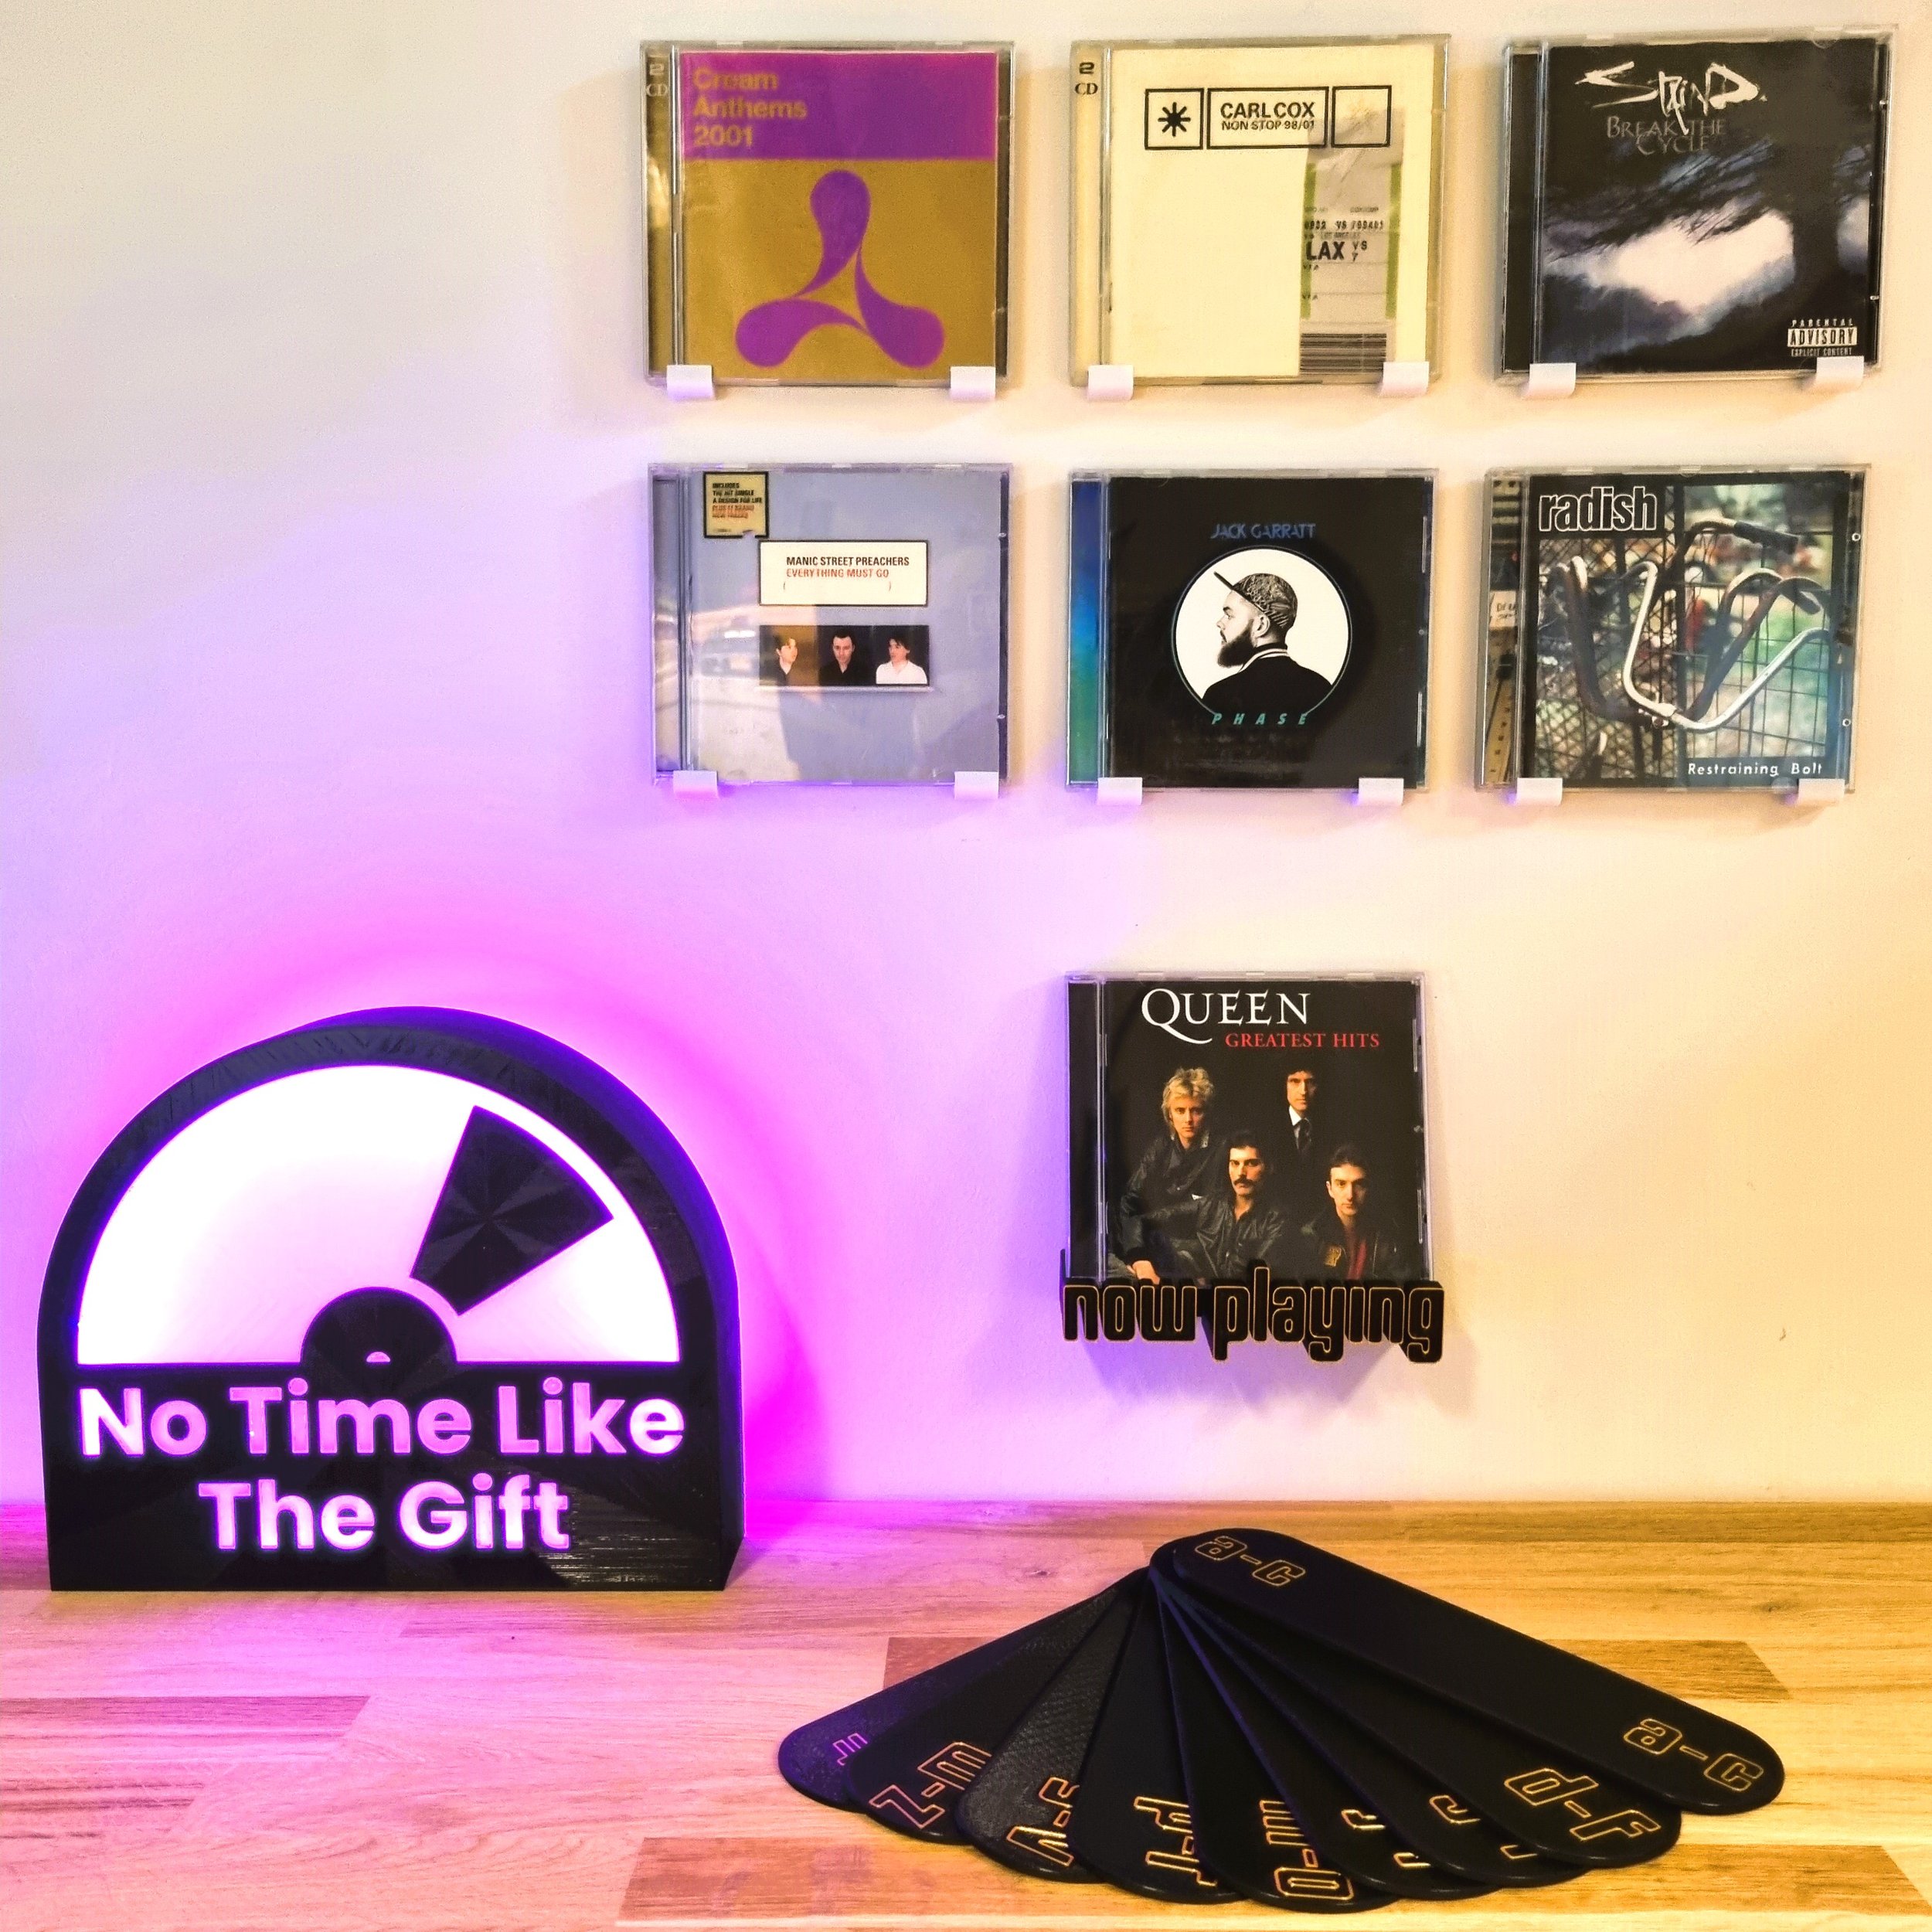
This is a gift bundle of my best selling CD organisation and display items. The perfect gift for the CD lover in your life - or just a great way to make a saving on a set for yourself. There're three options:
1. The full bundle - a Now Playing shelf, wall brackets for 6 CDs and a set of 9 grouped A-Z dividers.
2. The display bundle - a Now Playing shelf and wall brackets for 6 CDs.
3. The CD font bundle - a Now Playing shelf and a set of 9 grouped A-Z dividers.
Please see below fitting instructions.
These are 3D printed items so bear in mind you'll get some surface texture, but it's neat and tidy and is only really noticeable up close and is, for me at least, part of the appeal. Why have something 3d printed if it looks injection moulded?
The Now Playing shelf measures about 14.5cm (6") across and is about 5cm (2") deep. The brackets are deep enough to hold standard single CD jewel cases.
[Instructions]
The Now Playing shelf is held up with a bracket that attaches to the wall. To fit the bracket, either use the included Command Strips or the screws. The Command Strips should only be used if the wall is painted and smooth. If it's wallpapered, or textured in any way (or if you have any concerns about whether the paint is well-adhered) you should use the screws. Either way, it's best to use a spirit level or laser level, and the bracket should be attached with the narrower side against the wall. (This will create a sort of long hook (a French cleat) that the shelf will sit on - you'll see what I mean when you put the two together.)
Fitting instructions (for screws): using the bracket as a template, mark where you're going to drill on the wall. Drill two 6mm holes and then insert the Rawlplugs, then screw the bracket to the wall.
Fitting instructions (for Command Strips): remove the backing paper with the red text from two Command Strips and attach them to the back of the bracket. (Remember, the narrow side of the bracket is the side that goes against the wall.) The Command Strips should meet in the middle and the removal tabs should stick out the side - they'll be hidden by the shelf. Press firmly down on a hard surface for 10 seconds to make sure they're stuck. Next remove the final backing papers (the ones that say 'wall' on them) and stick the bracket to the wall. Again, press firmly for 10 seconds to make sure it's stuck. Wait an hour or so before putting anything on it, then you can hang the Now Playing shelf on the bracket and you're good to go.
The brackets use Command Strips so for those, attach a strip to each bracket, pressing firmly for 10 seconds to attach them. Line up carefully on the wall, having removed the second backing paper, and press firmly again for 10 seconds against the wall. Wait an hour before putting any weight on them then you're good to go.
[Processing]
This will usually be ready in 3 or 4 days.

[Details]
This is a 6" Now Playing shelf to be attached to a wall, for vinyl records or CDs.
You'll receive one shelf, with No More Nails removable adhesive strips and screws and plugs, plus a drilling template. The sticky tabs are rated to hold up to 2kg per strip so you should be alright with most records, though I probably wouldn't try hanging your Tchaikovsky complete works on it.
New doubles that don't stay flat will push themselves away from the wall. They're ok once they've learnt to stay flat, but that doesn't always happen immediately, so please, please bear that in mind if your collection is mostly new doubles or gatefolds. It isn't really about the shelf not being deep enough, it's that you'd need to restrict the front of the sleeve to stop it from opening, so if you find you're having issues because the majority of your collection is brand new, let me know and I'll send you a small hooked shelf that you can use upside down above this one to hold the top of the sleeve in place.
For sticky tabs, your wall needs to be a flat, clean, dry surface. If your wall is textured or wallpapered, you'll need to use screws.
It's a 3D printed item so bear in mind you'll get some surface texture, but it's only really noticeable up close and is, for me at least, part of the appeal. Why have something 3d printed if it looks injection moulded?
The shelf measures about 15cm across and is about 3.5cm deep.
A note about black: the problem with black is that you lose all the definition between the letters, so it doesn't really work very well, in my opinion. People keep asking me for it so I've made it available, but please bear that in mind. If you order black and decide when it arrives that you don't like it, I'm happy to swap though, so don't worry if that happens. (Or, if you have any spray paint, I can recommend a light spray of some lighter colour across the front to help define the letters.) The other option is Black w/ Grey, which is a grey background with black letters, just to help them stand out a bit better (though you can't really tell from the photo).
Any questions just give me a shout.
Cheers
Rob
[Instructions]
For sticky tabs: don't touch the back of the shelf. If you do, clean it with alcohol or dish soap and dry thoroughly before attaching the sticky tabs. Remove the backing from the tabs one at a time and put them on the back of the shelf. Use all three. Press firmly for 10 seconds or so on a hard surface. Once they're on there, remove the remaining backing, line up carefully (use a spirit level) and then press the shelf firmly into the wall for 10 seconds. Wait a couple of hours before putting any weight on it, then you're good to go.
For screws: using the included template, mark where you're going to drill on the wall. Use a spirit level to ensure they're level. Drill two 6mm holes and then insert the Rawlplugs. Screw in so that the face of each screw is 5mm from the surface of the wall, the slot the shelf onto the screws. If it's not quite tight enough or a little loose, remove and turn the screws a quarter turn whichever way you need, and repeat until it's right.
[Processing]
These will usually be ready in about 2 or 3 days.

[Details]
This is a Now Playing shelf to be attached to a wall, for records (and CDs, though I have a smaller version for those too). It uses the font from the Compact Disc logo. Please see below for fitting instructions.
You'll receive one shelf plus fixings. I'll include Command Strips and screws & plugs, so you can choose how you want to attach it.
It's a 3D printed item so bear in mind you'll get some surface texture, but it's neat and tidy and is only really noticeable up close and is, for me at least, part of the appeal. Why have something 3d printed if it looks injection moulded?
The shelf measures about 23cm (9") across and is about 5cm (2") deep.
This will be done in black and gold as standard. If you’d like different colours please just add a note to your order or send me an email.
Cheers
Rob
[Instructions]
The shelf is held up with a bracket that attaches to the wall. To fit the bracket, either use the included Command Strips or the screws. The Command Strips should only be used if the wall is painted and smooth. If it's wallpapered, or textured in any way (or if you have any concerns about whether the paint is well-adhered) you should use the screws. Either way, it's best to use a spirit level or laser level, and the bracket should be attached with the narrower side against the wall. (This will create a sort of long hook (a French cleat) that the shelf will sit on - you'll see what I mean when you put the two together.)
If using screws, use the bracket as a template and mark where you're going to drill on the wall. Drill two 6mm holes and then insert the Rawlplugs, then screw the bracket to the wall.
If using Command Strips, remove the backing paper with the red text from two Command Strips and attach them to the back of the bracket. (Remember, the narrow side of the bracket is the side that goes against the wall.) The Command Strips should meet in the middle and the removal tabs should stick out the side - they'll be hidden by the shelf. Press firmly down on a hard surface for 10 seconds to make sure they're stuck. Next remove the final backing papers (the ones that say 'wall' on them) and stick the bracket to the wall. Again, press firmly for 10 seconds to make sure it's stuck. Wait an hour or so before putting anything on it, then you can hang the Now Playing shelf on the bracket and you're good to go.
[Processing]
These will usually be ready to go in a few days.

[Details]
These adjustable Vinyl Display Mounts are the ultimate way to display your records and treat them as works of art.
Designed and made by me in Lincolnshire in the UK, this solution is a beautifully flexible way to show off your collection. Each set includes two brackets, four Command Strips (for damage-free, removable hanging) and a set of six spacers (three of each size) so that whether it's a single, double or even triple gatefold, your brackets will hold it. You can choose whatever colour you like, too.
(The last photo shows the colourless (frosted) option, so you can see how it looks.)
Any questions or issues please get in touch. I can do custom orders and I can offer discounts for large batches.
Cheers
Rob
[Instructions]
The pictures to the left will definitely help if any of the following doesn’t make sense.
Make sure the back of the bracket and the wall are clean and free of contaminants.
Spacing...
For horizontal spacing you probably want at least a 7.5cm (3") gap between your records so there’s room to slide them in and out. To achieve that, you need a 40cm (15.5") gap from the side of one bracket to the next. (If you want a wider spacing, increase this.)
Instructions...
* Fit two Command Strips on the back of each bracket by pressing firmly for ten seconds on a hard surface, with the removal tabs visible through the hole in the middle. (See pictures for example.)
* Using a spirit level, stick your bottom bracket to the wall, pressing firmly against the wall for ten seconds.
* Place an empty record sleeve on that bracket and fit a second bracket at the top so that the sleeve is held between the two, then stick it to the wall like the first one. Be careful to line it up vertically with the lower bracket. Remove the sleeve.
* Clip a little spacer block into the space on the back of each shelf (use the same size in both brackets). Use a fat one for a single LP, or a thinner one for thicker sleeves. Wait a couple of hours before sliding your record sleeve in from the side. If the block doesn’t clip in, try flipping it over.
These brackets will allow you to hold single, double or triple LPs, gatefold or otherwise.
[Processing]
These will usually be ready in 2 or 3 days.

[Details]
I’ve produced a range of different display options over the last few years, and this is just another option really. Whereas my others have been small shelves or slightly more substantial - but more flexible - brackets, this type of small bracket, designed to hold the sleeve in three places, seems popular. So much as I like to do my own thing, I like to make sure people can use the option they see as best for them and their situation.
My main criteria with these was that I wanted to use Command Strips, so that they’re removable. The others I’ve looked at all used mounting tape, which can be fiddly to remove and isn’t easily replaceable. Command Strips are readily available and cheap, and with two on each record will have absolutely no problem with the weight - as long as you follow the instructions I’ve given (click the menu item at the top of this page).
So for your money, you’ll get three brackets, capable of holding a single or standard gatefold double, up to about 1kg in weight. You can choose the colour, and I’ll include the right number of Command Strips.
Any questions just shout.
[Instructions]
1. I find it's easiest to choose a sleeve that has a geometric pattern so you can use that to line them all up perfectly. Pink Floyd's The Wall is perfect!
2. Clean the back of the bracket and the wall with an alcohol wipe or rubbing alcohol to ensure both are clean and free of dust and finger marks.
3. Make sure the wall is painted (not wall-papered - I don't care what anyone says, sticking an adhesive strip to wallpaper is a bad idea), is not flaking, and is flat (not textured like artex or woodchip). (The paint needs to be well-adhered to the wall. If paint peels away, that's a problem with the paint, not the Command Strips.)
4. Place the Command Strip on the back of a bracket, ensuring it doesn't overhang. Pay attention to the side you're sticking - it'll be the side with the red text that goes on the bracket, and the side with the black text goes on the wall. The removal tab will stick out the end, but make it so that’s the flat end and it'll be hidden by the record anyway. Press firmly through the back of the bracket for ten seconds onto a flat surface to stick the Strip firmly to the bracket.
5. I'd suggest you start with one of the bottom corners (see the listing for photos for how to lay them out relative to the sleeve). Remove the other backing strip, line up where you want the record to be on the wall (use a spirit level to ensure it's level) then remove the record and press firmly, with both hands, on the back surface of the bracket for another ten seconds. (It’s important to do the pressing twice - once when you put the strip on the bracket, and again when you stick the bracket to the wall. This will ensure they stick properly.)
6. Repeat this for the other bottom corner, then use the record sleeve to line up where the top one should go. I'd advise lifting it a mm or so off the top of the sleeve to make sure there's enough room to slide a sleeve in and out. Some sleeves are slightly bigger than others so it’s a good idea just to double check you’re not using a particularly small one before you do this.
7. Leave it at least two hours before putting anything on them and check they’re stuck firmly.
Please note: I'm including the removable strips, but I can't take responsibility for how you put them up. I've tested them, and I've had lots of happy customers, but if you don't put them up properly or the surface you're sticking them to isn't appropriate, they will fall down risking damage to your records and sleeves. They need to be stuck to a well-painted, smooth (non-textured, painted, not wall-papered), clean wall. If you put one up and it falls down (which really shouldn't happen if you've followed the above instructions) please don't try to re-use the Command Strip - they won't work a second time.
[Processing]
These will usually be ready to go in 2 or 3 days.
[Details]
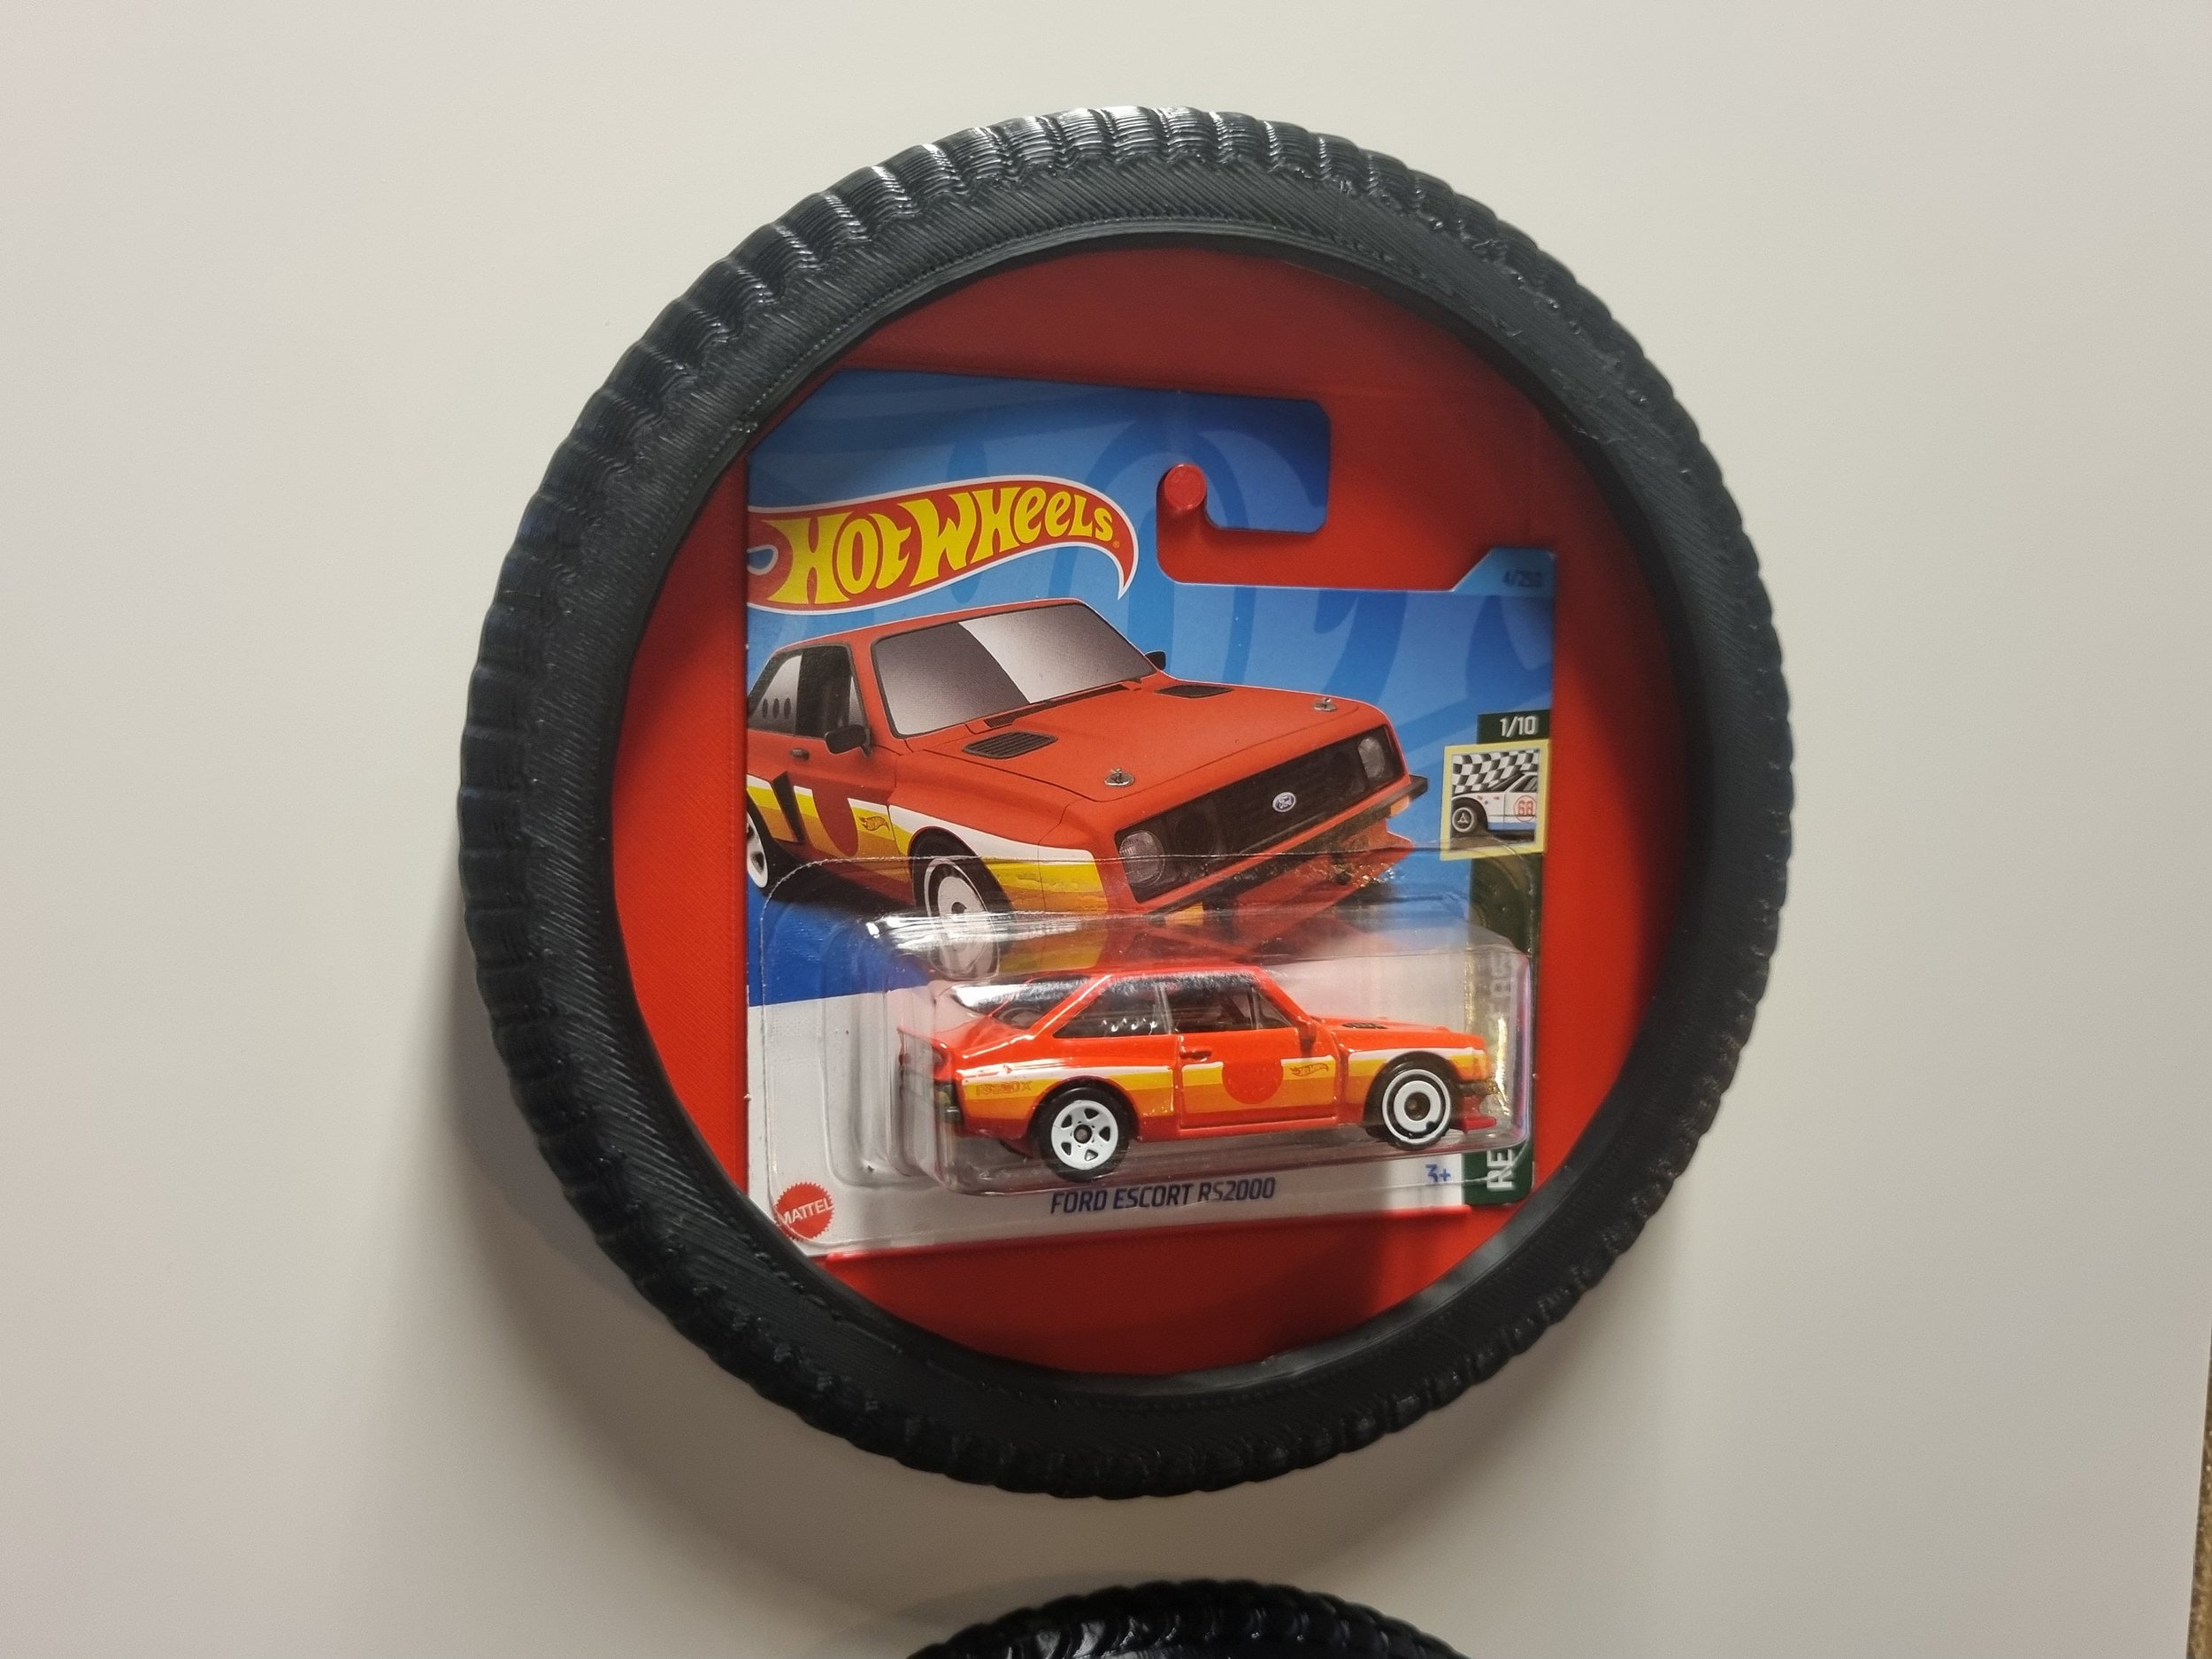
The perfect display accessory for a Hot Wheels fan, this tyre-shaped frame is designed for model cars on short cards. (I'll be making an extra fitting so it can be used for loose models, so if that's what you want just give me a shout and I'll get on with doing it. I'll figure out how to make it work for long cards too, but I'll need to get hold of one first!)
You can choose the colour of the backing plate. The tyre will be black as standard but if you want a different colour just add a note to your order. The hanging plate (the bit that attaches to the wall) may be any old colour, or even a mix, because it won't be visible anyway. The backing plate push-fits into the tyre so if you decide you want to change colours later you can order a new backing plate from me and swap them. (I don't have a listing for that because I don't know if anyone will want one, so just get in touch if you do.)
The card is held by a peg at the top that fits into the slot that would hang on a display in a store and there's a little ledge at the bottom to provide extra support.
The frame can be held up with either Command Strips or a screw - both included. There's a ridge running round the inner surface near the back, so if using a screw you just need to set the screw so that it sits in that ridge. If using Command Strips you need to place them on the back of the hanging plate as per the photo in the listing pictures (make sure you put them on the correct side, so that the hooked part will be away from the wall) and then put in your chosen spot on the wall, then the ridge in the tyre will sit on the hooked part of the hanging plate.
[Instructions]
The hooked part of the backing plate should be facing up, and away from the wall, so that the recess on the tyre can slot over it.
To fit Command Strips, place them on the hanging plate as per the picture and press firmly on a hard surface for 10 seconds. Then remove the backing paper and press firmly onto wherever you're going to hang them for a further 10 seconds. Wait a couple of hours before putting any weight on them. Command Strips should only be used on smooth surfaces, not textured or wall-papered surfaces.
[Processing]
These will usually take 4 or 5 days to produce.

[Details]
For those of you with more records than you know what to do with, you probably organise them by genre, or by year. Maybe a bit of both. (Maybe autobiographically...)
Well, whatever your choice, now you can support your organisational flare with these bright, bold and beautiful dividers. You choose the wording (there's probably a limit to the number of letters but try me and I'll let you know if there're any problems. I think the longest I've done so far is East/South African Jazz), so whether you want something common like or something more specific like Dad rock, '86-'89 you can be your own collector and do what suits you and your tastes best.
You can have whatever colour you want as well (as long as it's one I offer) so do them all the same or each one different. Again, it's up to you.
The writing runs in the same direction on all of them. Obviously it's cut through, so only readable from one side, but if you want them to be readable from the other side you just turn them over and the writing will either read top to bottom or bottom to top. You could even place them flat on the shelf if you wanted to and have the records sitting on top. I use all capitals because lower case letters are too hard to print right with any consistency.
The dividers are 8cm deep by 12.5cm tall, with the bit with the lettering being about 2.5cm wide. They're 1mm thin, so they don't take up a load of space on your shelf. (The bit that goes between the records is about 10cm of that 12.5cm.) There's a 2mm tall ridge that runs along the divider to stop it from disappearing between your records, but if your records are quite loose then you'll need to just be aware that the bit that goes between the records doesn't run a full 12" so isn't going to be pressed up against the back of the shelf. I hope that makes sense.
Any questions just shout.
Please note: as these are personalised I can't resell them if you return them, so whilst I will take returns if there's a problem, I won't take returns if the issue is something that was explained in this description. For instance, I won't take a return if you thought they'd be bigger, because the size is given in the paragraph above this one. If the shade doesn't quite work with your set-up then that's not something we could have known beforehand so that's a fair reason for return. I'd much rather try to resolve an issue than see materials get wasted though so please, if you think there's a way to fix a problem, let me know.
Cheers
Rob
[Instructions]
These are 3d printed and there will be some surface texture on one side. Don't just shove them between your records or you may damage the sleeves. It's not so rough that it's going to imprint once it's in there, but it will scratch on the way in if you're not careful. Just open up a gap, slot it in, then close the gap again. Done.
[Processing]
These will usually take 3 or 4 days to make.
[Details]
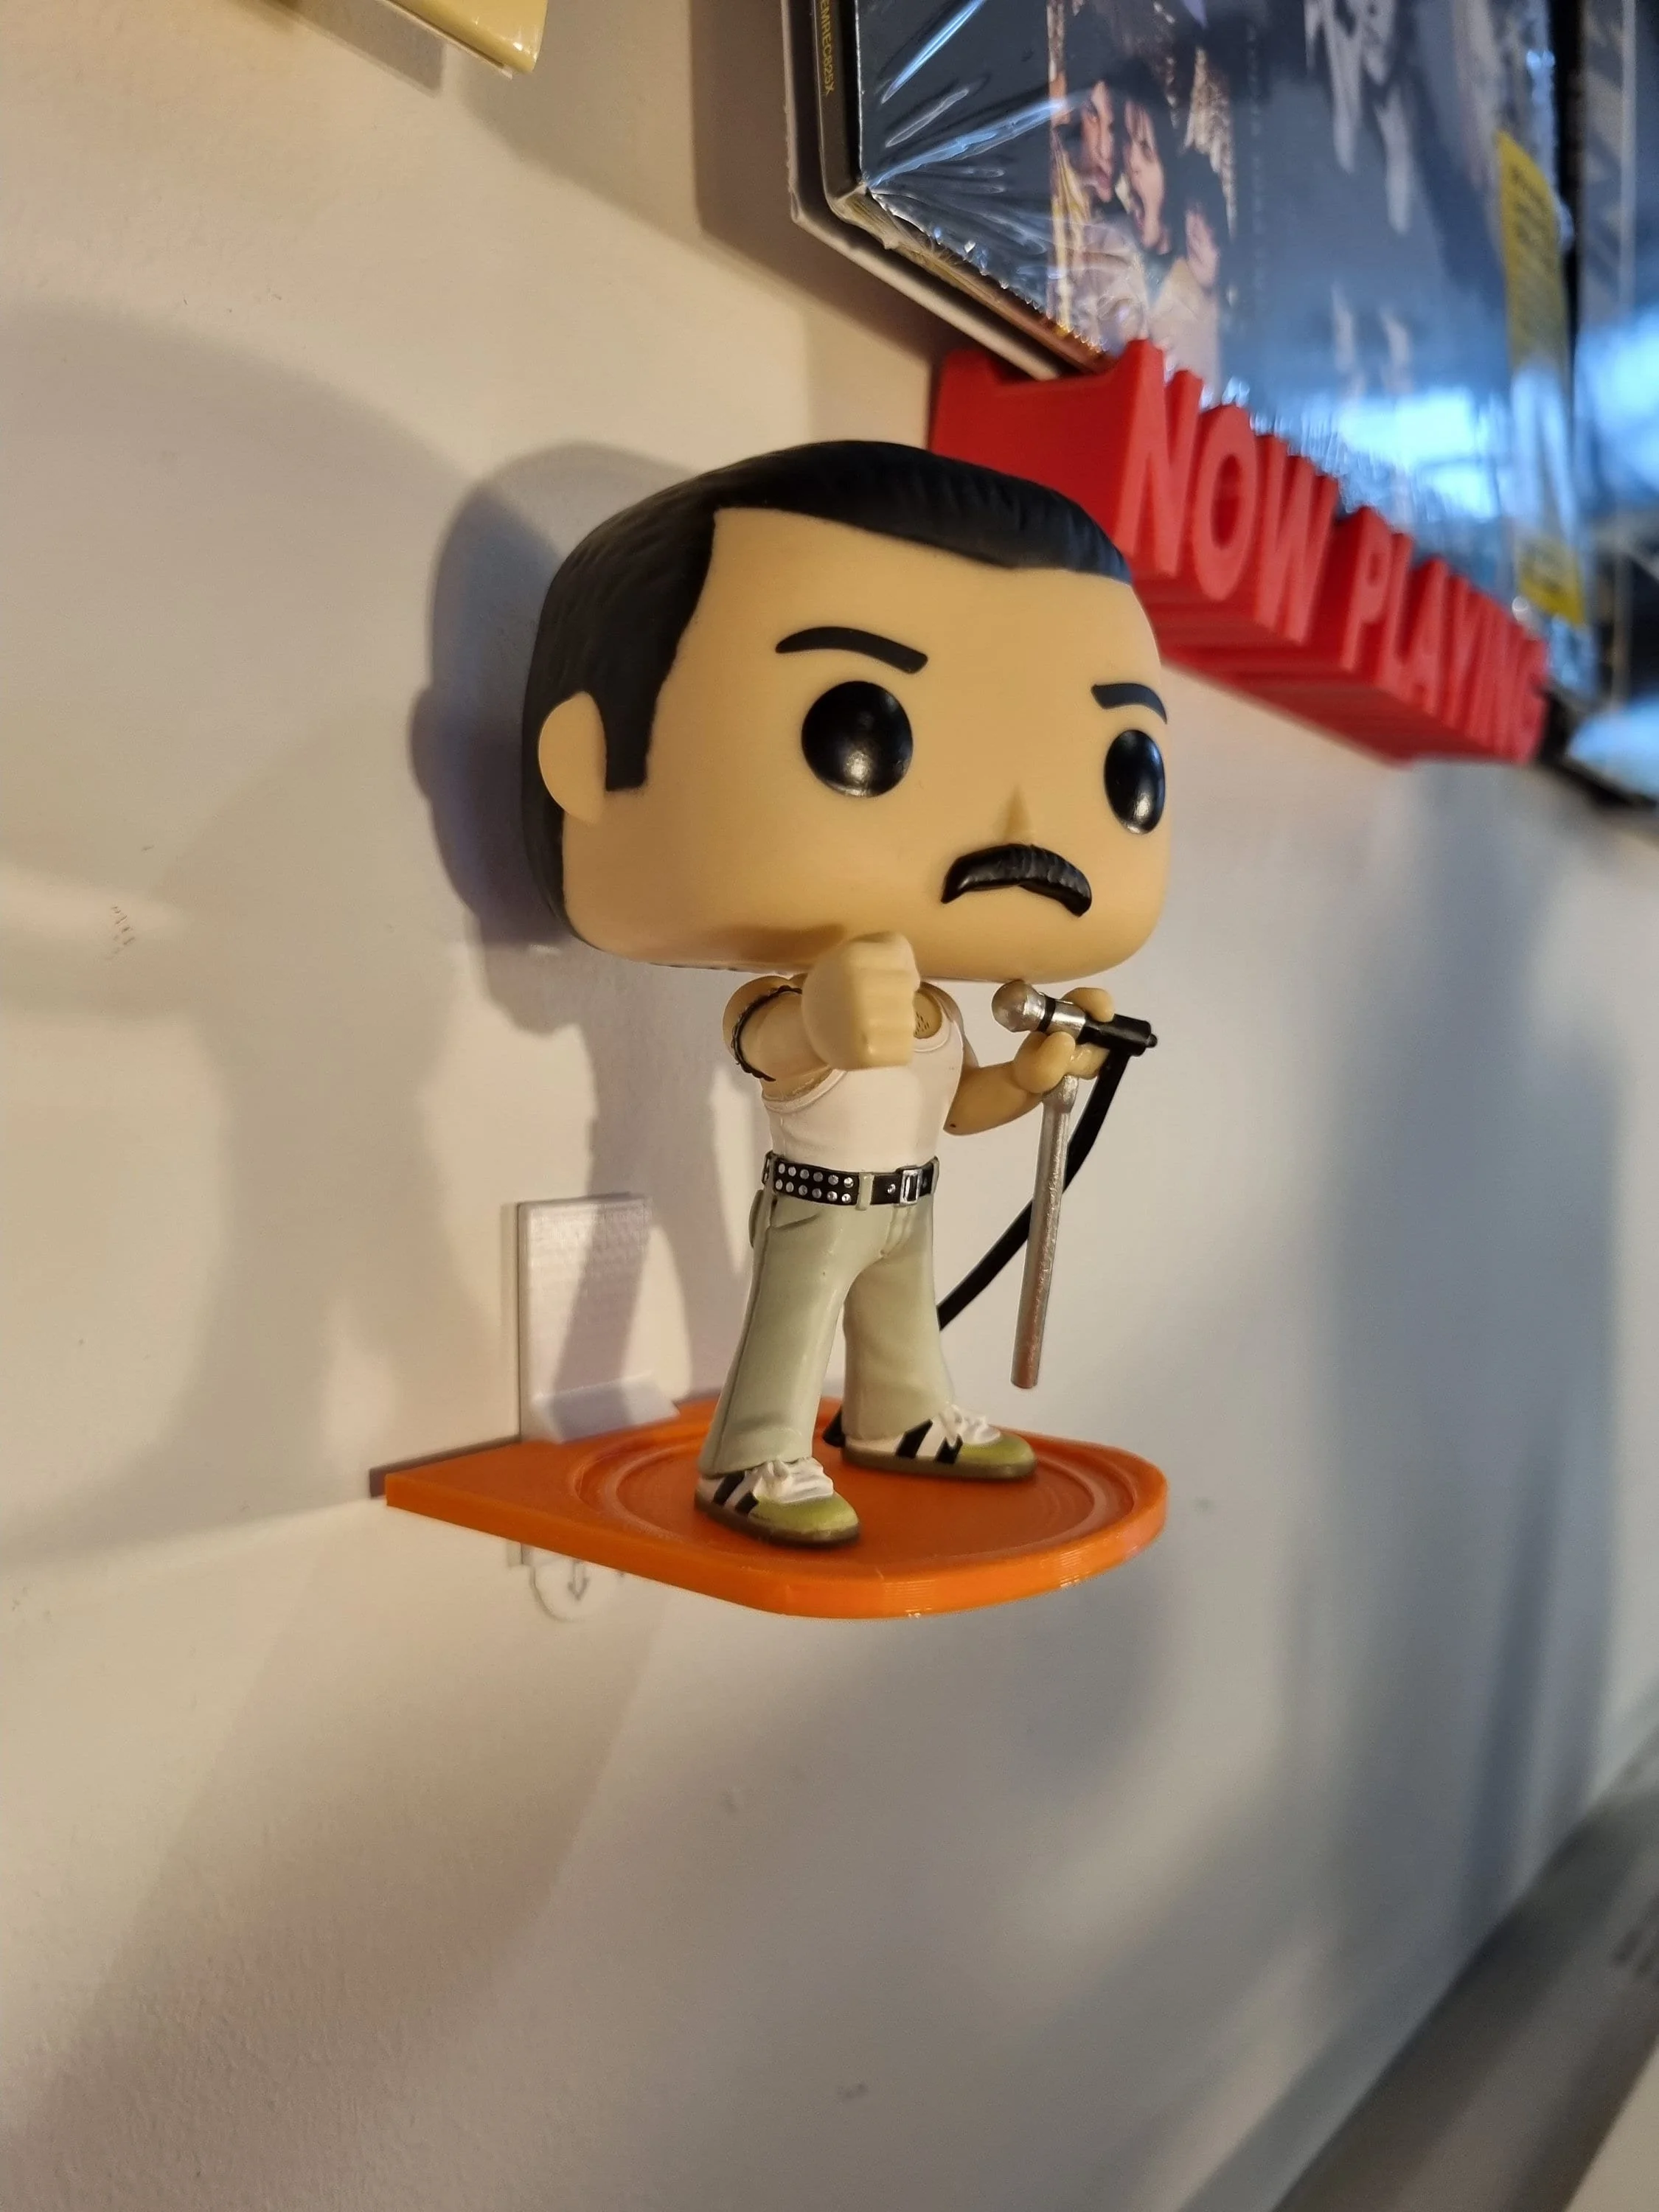
My kids got me Freddie for my birthday a couple of years ago, so I needed somewhere for him to sit. I've bought a few more since then, but I think I need a few more so I can make up a big ol' display on my wall.
The shelf consists of a backing piece and a shelf, which push fit together and attach to the wall with a single Command Strip (included). Funkopop not included.
You can choose the colour from the drop down. The backing piece and shelf piece will be the same colour as standard, but if you want them to be different, or want a mix of different colours for your set, just let me know.
Each one comes with a small Command Strip, which will hold your Funko Pop with no issues as long as you do it right. Pay attention to the wording on the Command Strip itself, which tells you which way round to put it. Press firmly against the wall when you put it up, and wait an hour or so before you put anything on it. Don't use on wallpaper, bare brick or similar surfaces, and make sure your paint is well adhered to the wall. (To be clear: these should only be used on painted, smooth surfaces.)
Please note that the tab on the Command Strip needs to be accessible to stay removable, so you can see that under the shelf. You could just paint it the same colour as the wall though if you wanted to hide it.
Now, as I've said, I only have a few Funkopops, so I don't really know if there's loads of variation in the sizing and spacing of their feet. I've made this to be 60mm wide and 65mm deep, so that's a bit over 2" in both directions. There's a circular recess in the shelf that's slightly narrower than the shelf itself, and then a secondary recess a few mm smaller again. I've done that because we've got a Jessie (from Toy Story) who doesn't stand up properly because one of her feet isn't flat, so this means she can stand with a foot slightly inclined on the inner ring.
If you put your shelf up and it doesn't fit or doesn't work, just give me a shout and let me know what needs to change and I'll make one for your specific needs. (I may charge extra for this, depending on the size.) The backing bit can stay attached to the wall and you just change the shelf bit out, so it won't involve any messing about.
The fit of the shelf into the backing piece is tight. That's deliberate so that it holds it firmly. Push it in hard and it'll go in fine. There's a couple of little marks on the back of the shelf part to show you where to put it so that it's centred. I'd suggest doing that before putting it up on the wall, and if you swap them at any point make sure you press on the backing bit to keep it in place while you remove the shelf.
[Instructions]
Command Strips should only be used on a smooth, painted wall. Not wallpaper. Not textured like artex or woodchip. Not brick etc.
To fit to the wall, just place the Command Strip on the back of the wall piece with the tab bit pointing downwards (there's a little ridge at the top of the wall piece so you can see which way round it goes - the larger of the two triangles should be at the bottom, with the Command Strip's removal tab pointing downwards), making sure to put the side with the red text on the wall piece, and the other side - which says 'wall' all over it - against the wall. Press firmly against the wall for 10 seconds and leave it an hour or two before putting anything on it. This is important to ensure the adhesive has time to bond properly.
(Please note: these aren't intended to be used with boxed Pops. Have a look in my shop for those.)
Since I can't be there to ensure they're fitted properly, I can't take responsibility for anything breaking as a result of a failure of the shelf or the Command Strip that holds it.
[Processing]
These will usually be ready in 2 or 3 days.
[Details]
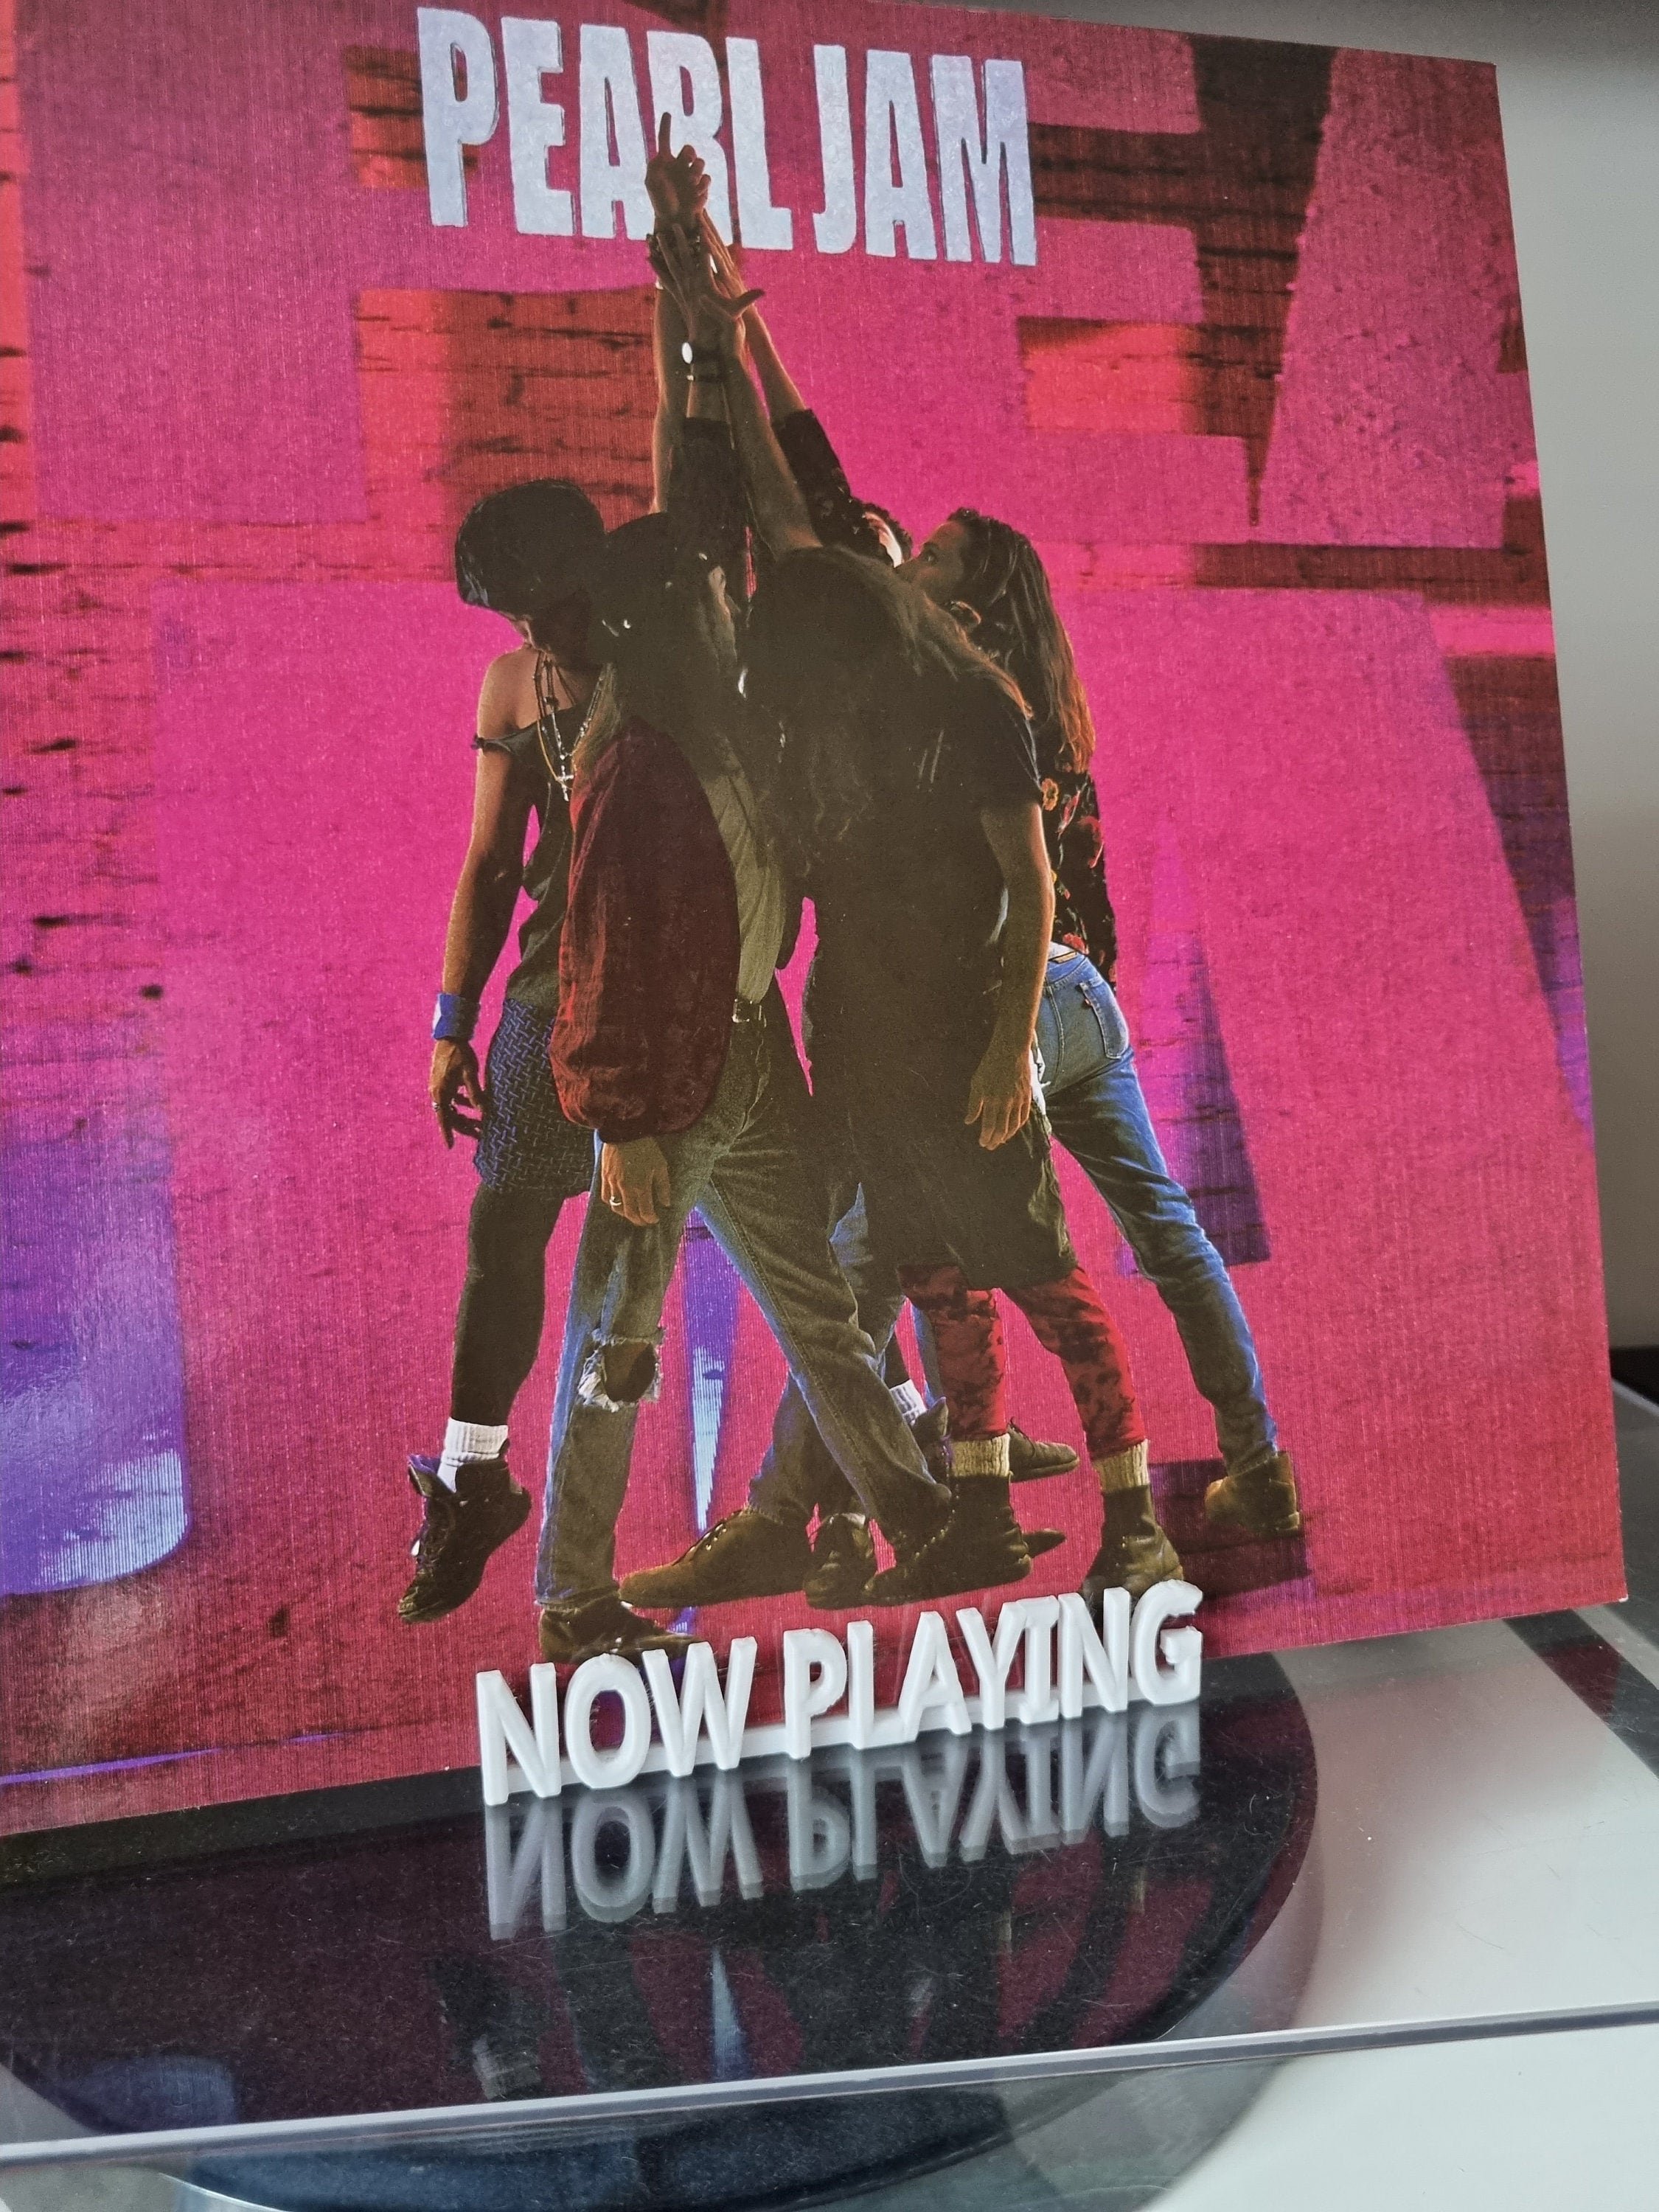
A Now Playing stand to hold and display the sleeve while your record is on the player (or deck, as the kids say).
It'll hold singles and most double LPs. It'll hold a standard jewel case (CD) but won't hold those big old doubles. I've got a separate one in my shop that will hold those though.
This is a 3D printed item so I'll print on demand in pretty much any colour you like. If the colour you want isn't listed send me a message and I'll see what I can do. Please bear in mind that 3D printed items aren't smooth, because they're printed in layers. You'll see texture on the surface. I'll always make sure I send a decent print though, and if one doesn't come out as well as I'd expect, I'll print it again rather than sending something that I don't think is very good.
Happy to consider discounts for bulk purchases. I also have a Now Spinning stand and wall mounted versions of both, as well as small record display shelves, alphabet dividers and a few other bits and pieces in my shop.
Thanks for looking.
[Instructions]
Place on a flat, level surface.
[Processing]
These will usually take 2 or 3 days to produce.

[Details]
Mount your records on your wall with these vinyl record hangers, perfect for picture discs or coloured vinyl. They're 3d printed to order in a range of colours (though you only see the spindle when they're up so I don't suppose that's a massive draw).
You can choose to buy either a set of 4 hangers, or a bundle with 4 hangers plus brackets for 4 sleeves (see pictures).
If you'd like multiples, just add more to your basket. (If you'd like a really specific number, let me know.) I'll include enough Command Strips for the number ordered.
[Instructions]
For the pegs:
For an even spacing, measure out a grid with dots 15" apart both horizontally and vertically, and place a hanger at each dot. This will ensure a 1.5" gap between records. For a smaller gap, make the dots closer together; for larger make them further apart.
1. Ensure the wall is clean and free of dust, is painted (not wall-papered) and is not flaking, and is flat - not textured like artex. If you need to clean the wall or the shelf, do so with alcohol.
b. Place the Command Strip on the back of the shelf, ensuring it only attaches to the flat surface and doesn't overhang. (The red side should be attached to the hanger; the black to the wall.)
Finally: Remove the other backing strip and press firmly on the back surface of the hanger against the wall for 30 seconds.
For the brackets:
1. I find it's easiest to choose a sleeve that has a geometric pattern so you can use that to line them all up perfectly. Pink Floyd's The Wall is perfect!
2. Clean the back of the bracket and the wall with an alcohol wipe or rubbing alcohol to ensure both are clean and free of dust and finger marks.
3. Make sure the wall is painted (not wall-papered - I don't care what anyone says, sticking an adhesive strip to wallpaper is a bad idea), is not flaking, and is flat (not textured like artex or woodchip). (The paint needs to be well-adhered to the wall. If paint peels away, that's a problem with the paint, not the Command Strips.)
4. Place the Command Strip on the back of a bracket, ensuring it doesn't overhang. Pay attention to the side you're sticking - it'll be the side with the red text that goes on the bracket, and the side with the black text goes on the wall. The removal tab will stick out the end, but make it so that’s the flat end and it'll be hidden by the record anyway. Press firmly through the back of the bracket for ten seconds onto a flat surface to stick the Strip firmly to the bracket.
5. I'd suggest you start with one of the bottom corners (see the listing for photos for how to lay them out relative to the sleeve). Remove the other backing strip, line up where you want the record to be on the wall (use a spirit level to ensure it's level) then remove the record and press firmly, with both hands, on the back surface of the bracket for another ten seconds. (It’s important to do the pressing twice - once when you put the strip on the bracket, and again when you stick the bracket to the wall. This will ensure they stick properly.)
6. Repeat this for the other bottom corner, then use the record sleeve to line up where the top one should go. I'd advise lifting it a mm or so off the top of the sleeve to make sure there's enough room to slide a sleeve in and out. Some sleeves are slightly bigger than others so it’s a good idea just to double check you’re not using a particularly small one before you do this.
7. Leave it at least two hours before putting anything on them and check they’re stuck firmly.
-------
Probably worth just noting that the pegs will fit a standard sized spindle hole, but won't fit those weird RCA records with the small hole you occasionally come across. Also, obviously, they won't fit a 45 with a big hole, but I have another hanger for those.
[Processing]
These will usually be ready in 2 or 3 days.

[Details]
This is a Now Playing stand for single cassette tape cases.
It measures 35mm (about 1 3/8") tall and has a slot in the top that reaches about halfway down, into which you place your tape case. The stand is about 15cm (about 6") long and about 7.5cm (about 3") deep.
You can choose the colour from the dropdown.
It's a 3D printed item so bear in mind you'll get some surface texture, but it's only really noticeable up close and is, for me at least, part of the the appeal. 3d printing allows for the creation of shapes and forms that either aren't possible otherwise or would be prohibitively expensive to produce via more traditional methods. The trade-off is a bit of texture... I'll take it.
A note about black: the problem with black is that you lose all the definition between the letters, so it doesn't really work very well, in my opinion. People keep asking me for it so I've made it available, but please bear that in mind. If you order black and decide when it arrives that you don't like it, I'm happy to swap though, so don't worry if that happens. (Or, if you have any spray paint, I can recommend a light spray of some lighter colour across the front to help define the letters.)
Any questions just give me a shout.
Cheers
Rob
[Instructions]
Place on a flat surface.
[Processing]
These will usually take 3 or 4 days to produce.

Crafted with precision using high-quality 3D printing technology, each mount is designed with curved sides and edges for a sleek and modern look. Each wall mount securely holds one controller and attaches effortlessly to the wall using two Command Strips, which are completely hidden behind the mount. (There’s a cutout underneath so you can get to the Command Strips’ removal tabs without them having to stick out.)
With this wall mount, you can free up valuable desk or shelf space and create a clutter-free gaming environment. No more searching for misplaced controllers. Please note: there’s no charging included with the mount. It’s just for storage.
Take your gaming experience to the next level with this convenient and stylish wall mount. Perfect for any gamer, whether you're a casual player or a competitive pro. Don't let cluttered shelves hinder your gaming performance. Get your wall mount today and start organizing like a pro!
(You can tell I used ChatGPT to write that can't you.)
Fitting instructions: place the two Command Strips on the back, with the removal tabs at the bottom. Press firmly against a hard surface. Remove the backing strips and line up carefully where you want to mount your controllers, then press firmly against the wall for ten seconds. Wait a couple of hours before putting anything in them.

[Details]
A simple stand to hold and display the sleeve while your record is on the player (or deck, as the kids say). Made to order in the colour of your choice.
It'll hold single and double LPs, though might struggle with new doubles that haven't learned to stay flat yet. (Stick them on the shelf for a week or two and they'll fit right in.) It'll hold a standard CD jewel case.
This is the stand part of one of the Now Playing stands I do, so if you want to add that part later just get in touch and I'll set up a listing for that.
Thanks for looking.
[Instructions]
Put your sleeve on the stand. That’s it.
[Processing]
These will usually be ready in two or three days.

[Details]
However you organise your CDs (assuming it's alphabetically) these dividers will keep you right. You'll get a set of 9 (a-c, d-f, g-i, j-l, m-o, p-r, s-v, w-z, #).
I've used a font that's derived from the compact disc logo, and they'll come as standard in black with gold lettering - though if you want different colours just add a note to your order to let me know what you want.
There are letters on both ends, meaning you can put them in either way round and the letters will either be visible from the left or the right. (There aren't letters on the back, so you will only be able to see the letters from one side or the other.)
The dividers are 20.4cm (8") long and 6cm (2 3/8") tall with rounded ends. They're 2mm thick so they won't take up a load of space on your shelves. They're designed to be the right size for CDs, but you could absolutely use them for records or anything else really.
These are 3D printed, and so you will have some surface texture.
Any questions just shout.
Cheers
Rob
[Instructions]
Decide which way round you want them to be and insert between your CDs.
[Processing]
These will usually take 3 or 4 days to produce.
[Details]
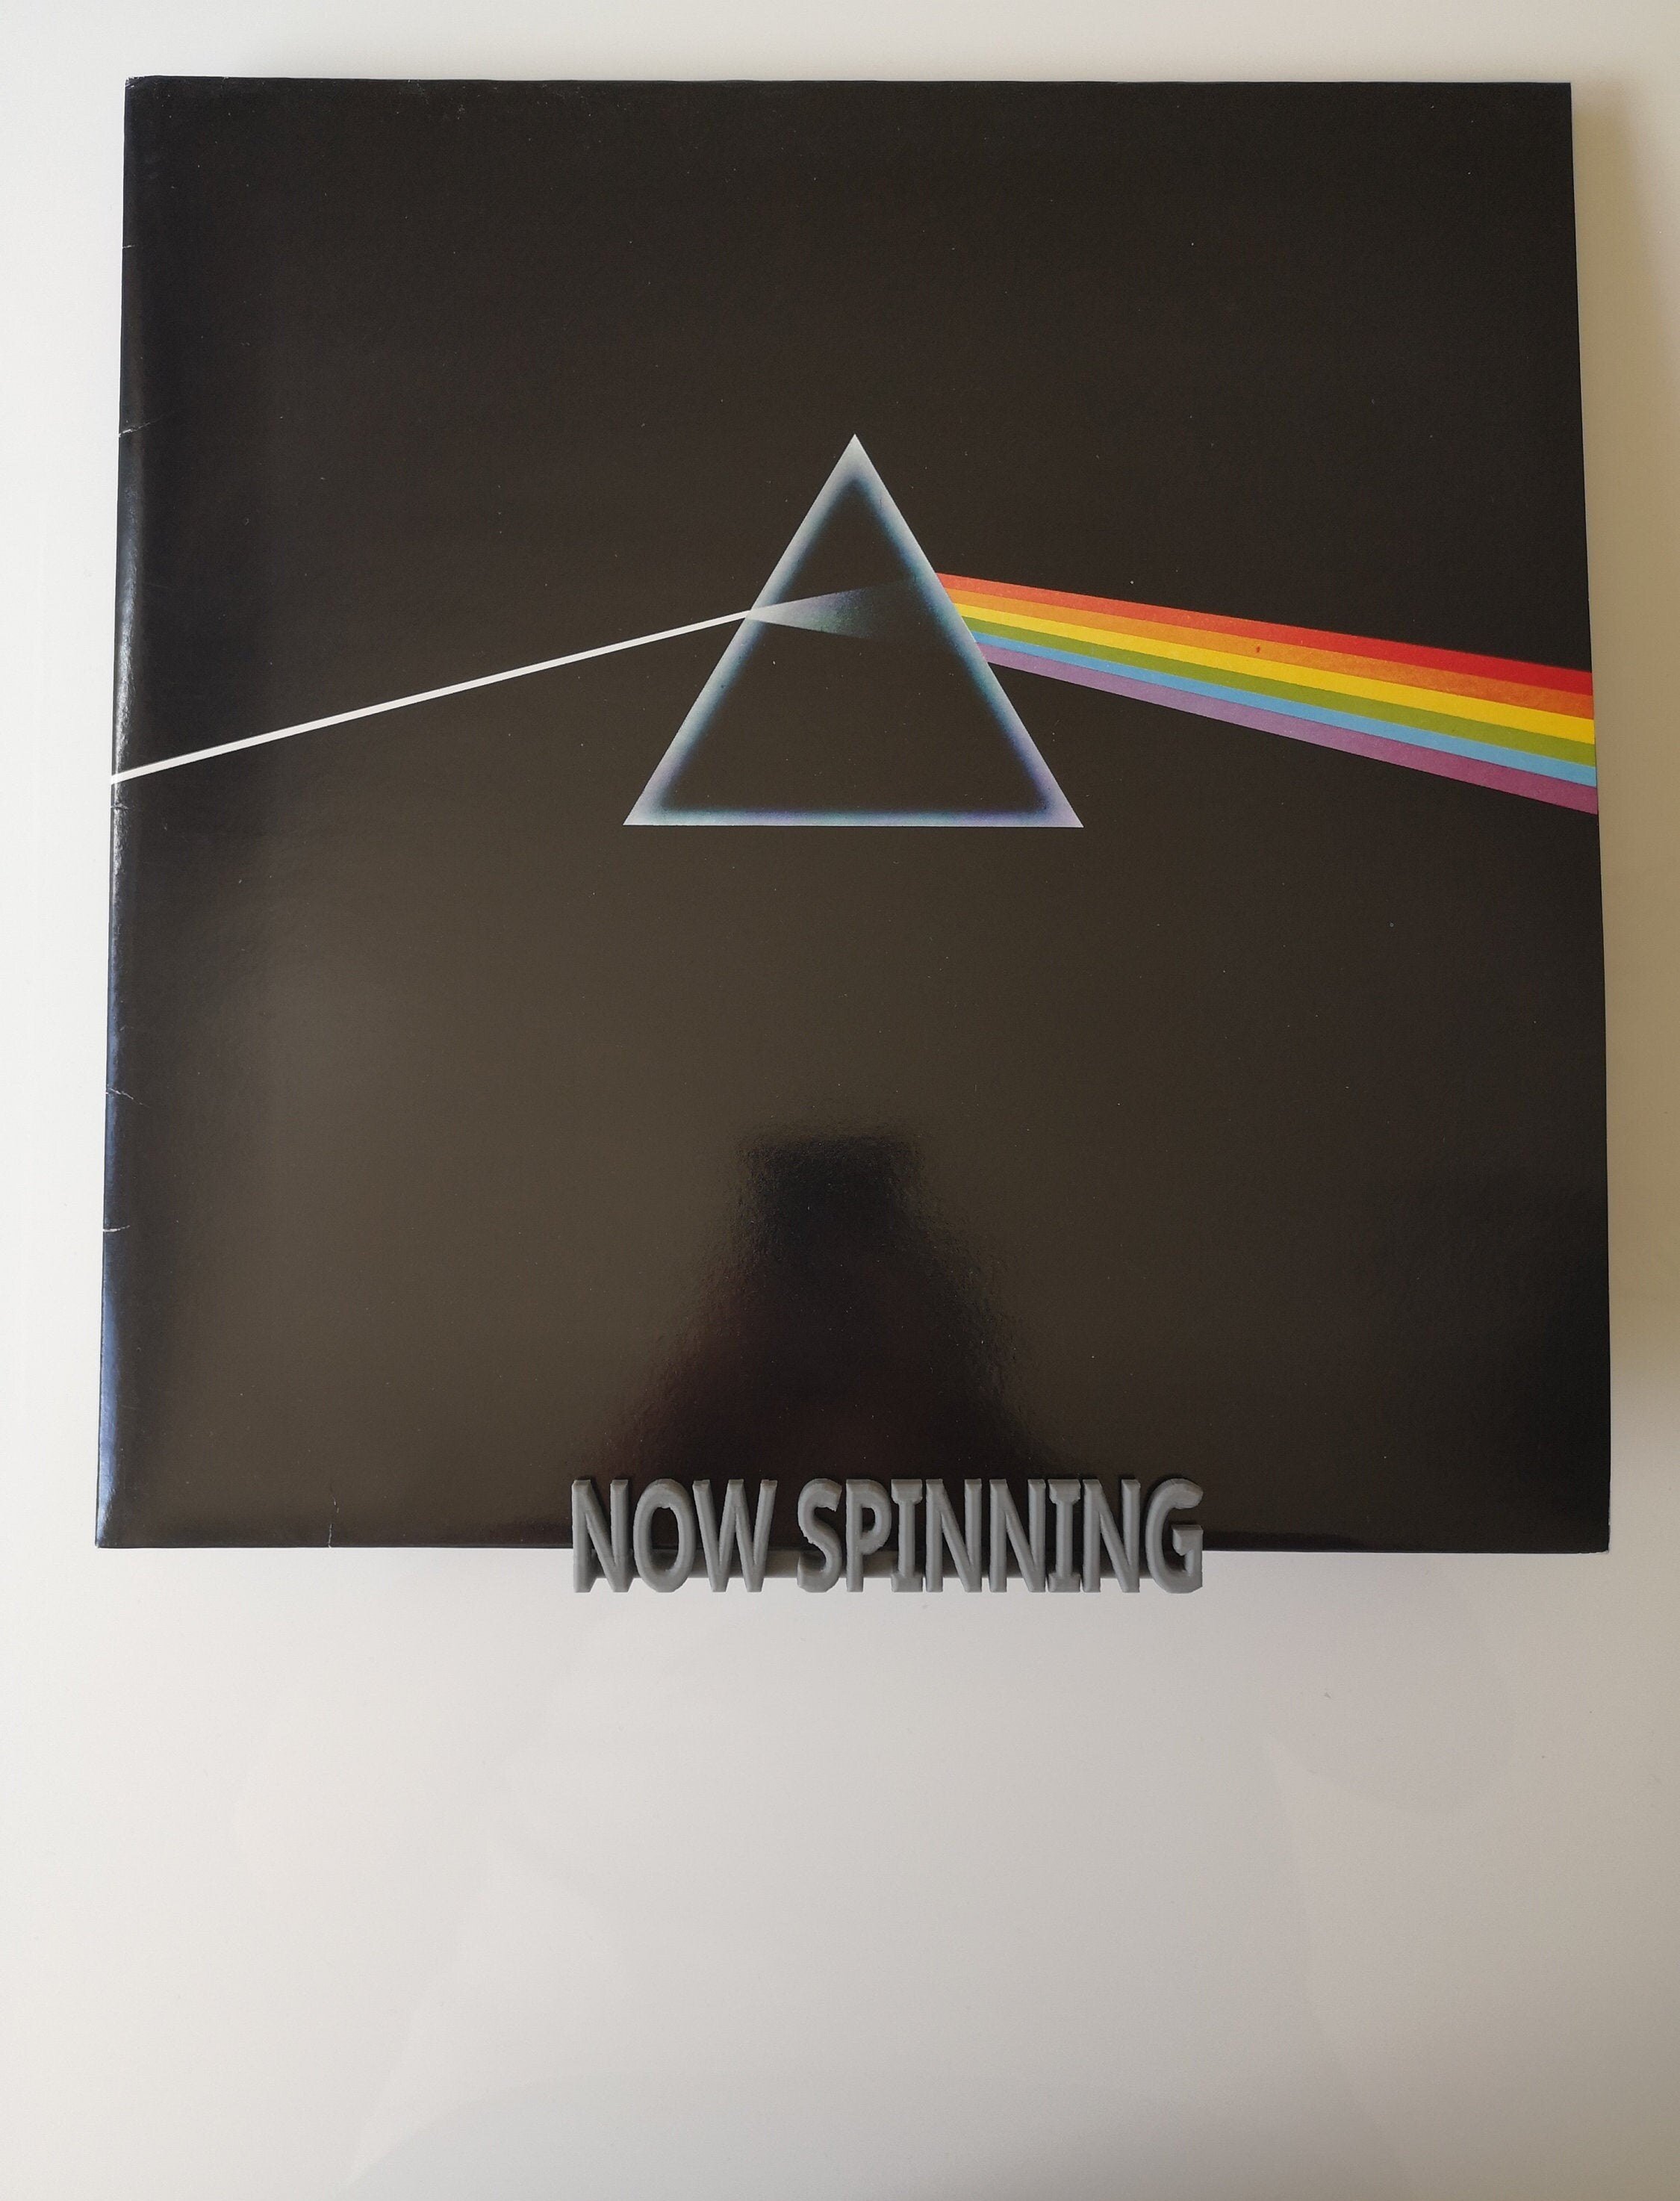
Designed and made by me for you or the record lover in your life, this stand holds a record sleeve while the record is playing. It'll hold a single and most doubles but probably won't hold a triple or bigger.
Ideal gift, but why not buy one for yourself too. (I have them made in various colours and swap them around when I fancy a change.)
Happy to consider discounts for bulk purchases. Have a look at my CD stand if records aren't your thing. (My daughter uses that one in her room.)
Thanks for looking.
Rob
[Instructions]
Place the stand on a flat surface. Place the sleeve in the stand.
[Processing]
These will usually take 2 or 3 days to produce.
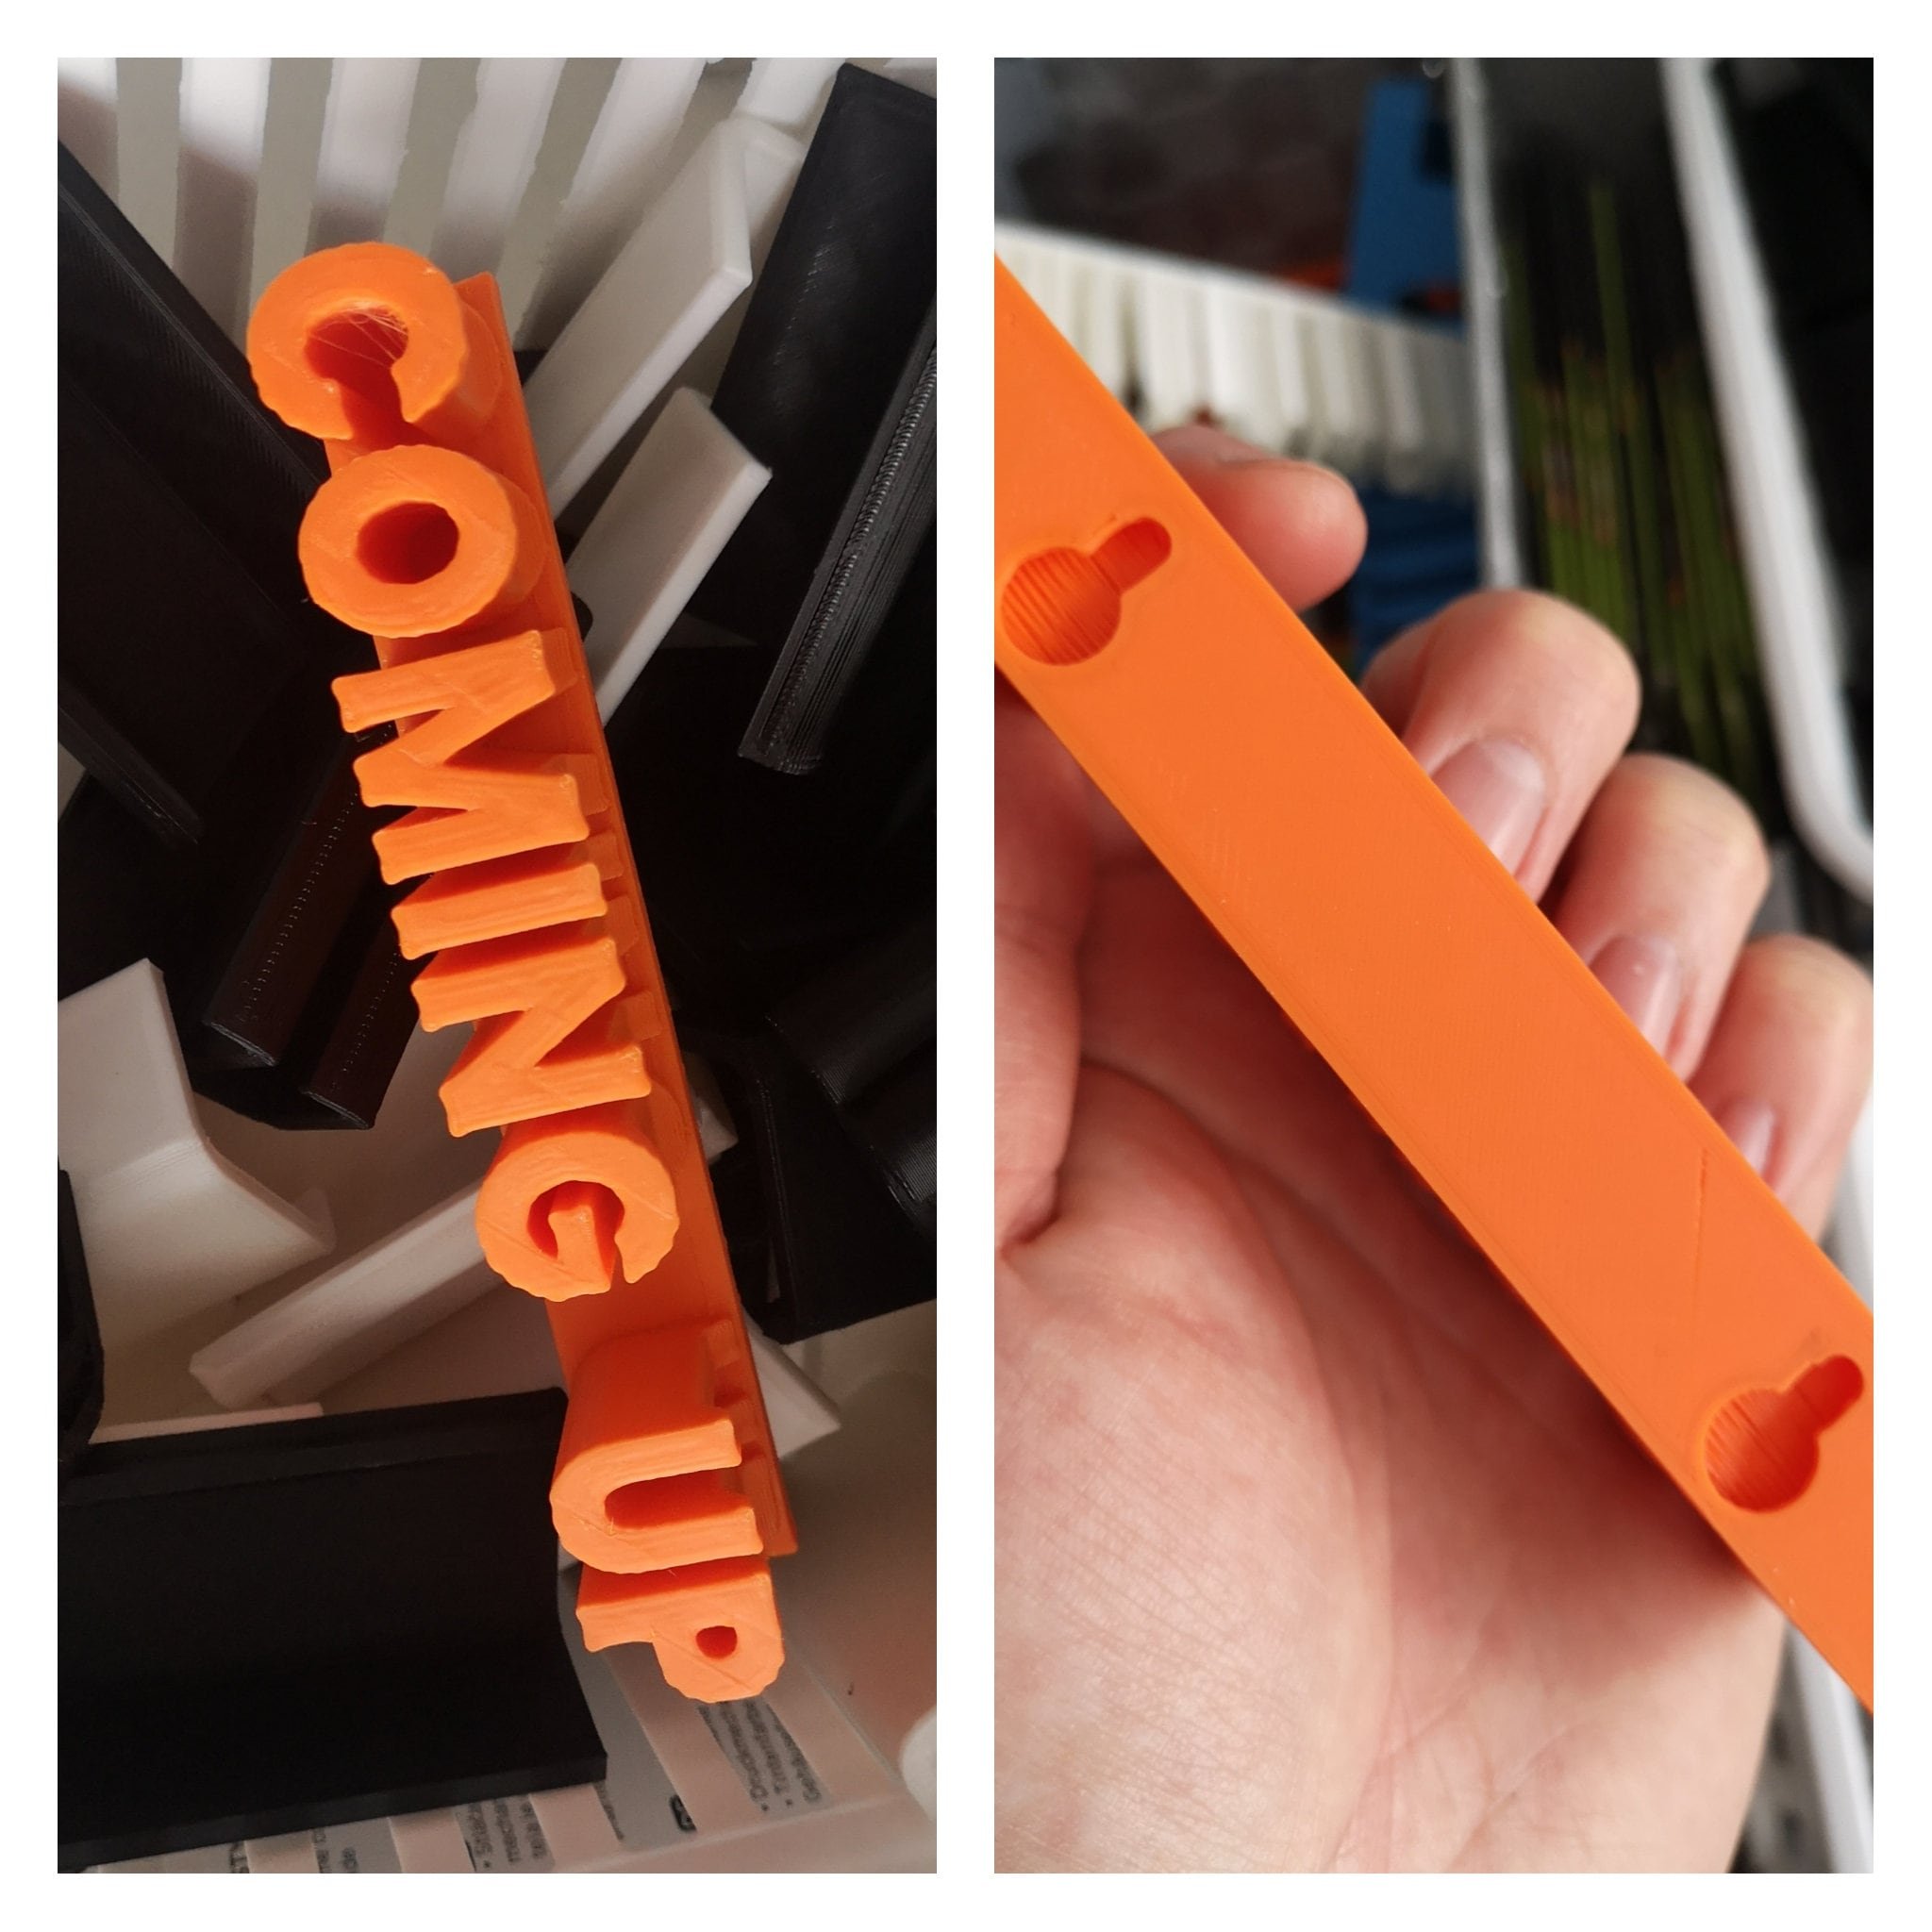
[Details]
You've already got a Now Playing shelf, but you need somewhere to queue the next one up. Right?
This is a 3D printed item so I'll print on demand in pretty much any colour you like. If the colour you want isn't listed send me a message and I'll see what I can do. Please bear in mind that 3D printed items aren't perfect. You'll see texture on the surface. I'll always make sure I send a decent print though, and if one doesn't come out as well as I'd expect, I'll print it again rather than sending something that I don't think is very good.
Happy to consider discounts for bulk purchases. I also have Now Playing and Spinning stands and wall mounted versions of both, as well as small record display shelves, alphabet dividers and a few other bits and pieces elsewhere on my site.
Thanks for looking.
[Instructions]
For No More Nails strips, make sure you don’t touch the back of the shelf since oils from your fingers will interfere with the adhesive. Remove the backing paper from the three strips and press them onto the back of the shelf. Press down on a hard surface for ten seconds. Then remove the remaining backing paper, line up with a spirit level and press firmly against your wall for ten seconds. Wait a couple of hours before putting any weight on.
No More Nails strips (and any other Command-style strips) must only be used on smooth, painted surfaces where the paint is sound and well-adhered. They must not be used on wallpapered or textured surfaces.
For screws, use the included drilling template to make two 6mm in holes in your wall, then insert the Rawlplugs. Screw the screws in so that the heads are 5mm from the surface of the wall, then slot the shelf onto the screws. If it’s too loose, tighten the screws a quarter turn at a time. If too tight, loosen them.
[Processing]
These will usually be ready in 2 or 3 days.
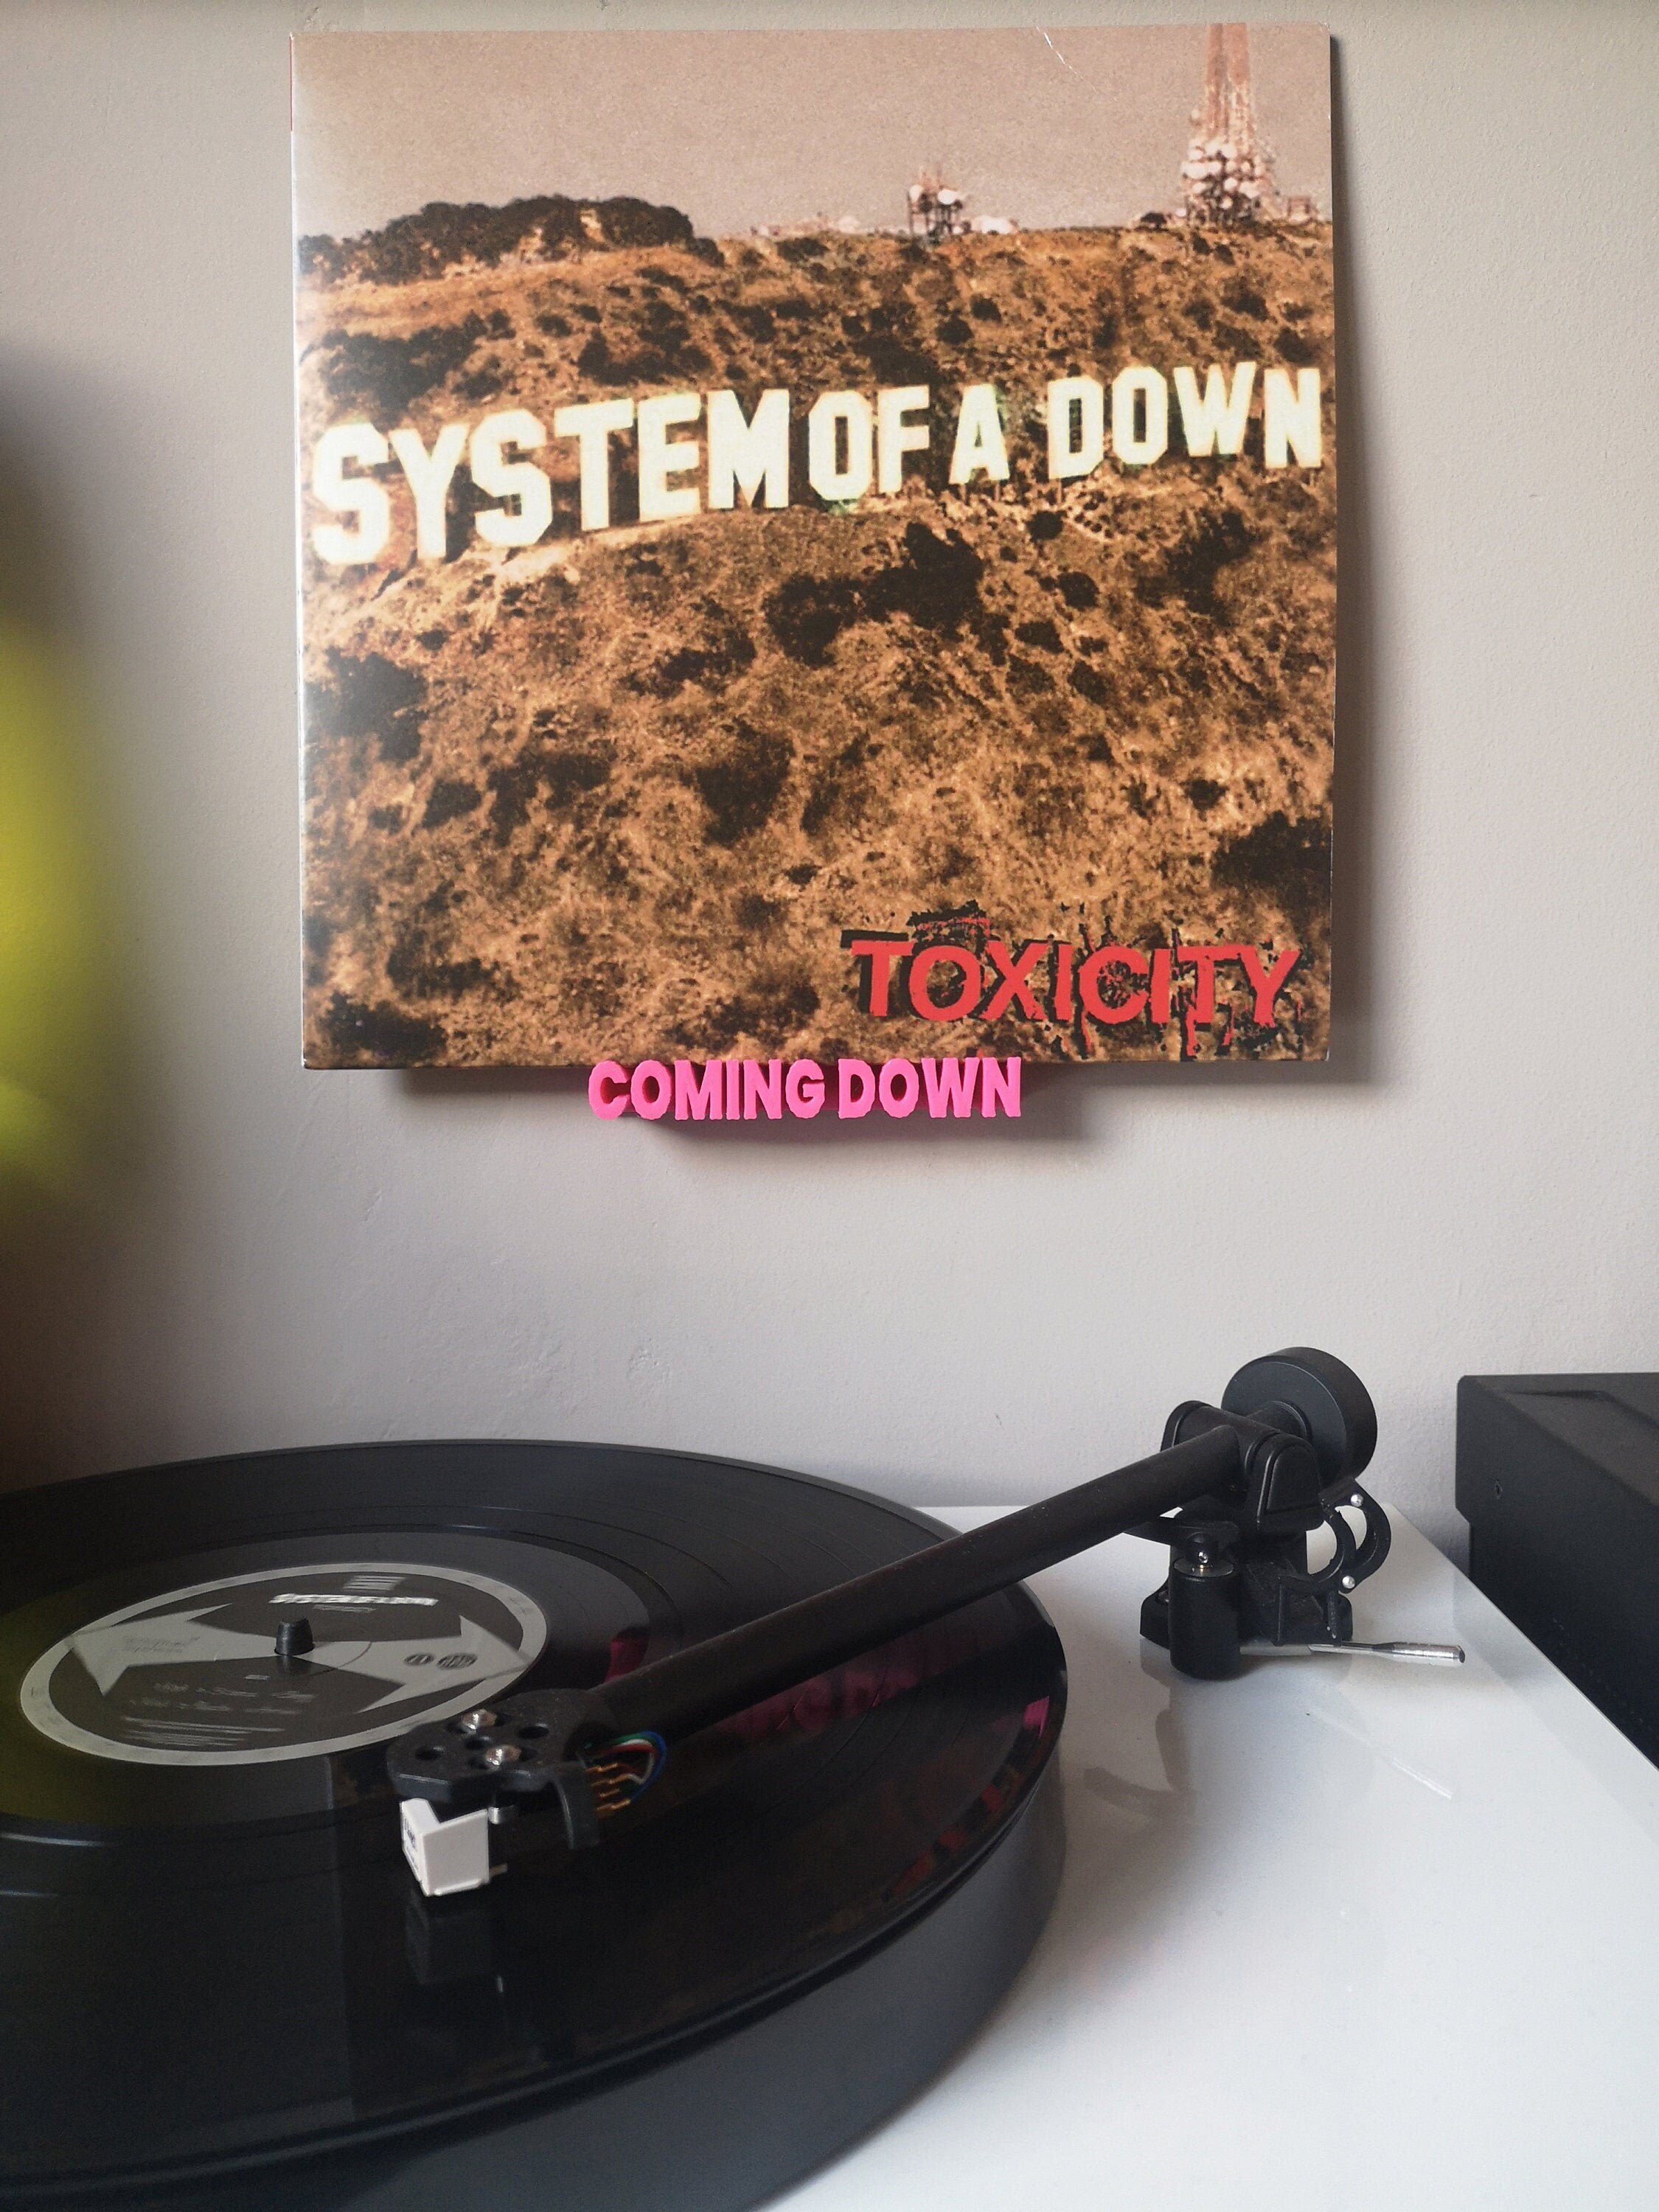
[Details]
What comes up, must come down.
This is a 3D printed item so I'll print on demand in pretty much any colour you like. If the colour you want isn't listed send me a message and I'll see what I can do. Please bear in mind that 3D printed items aren't perfect. You'll see texture on the surface. I'll always make sure I send a decent print though, and if one doesn't come out as well as I'd expect, I'll print it again rather than sending something that I don't think is very good.
Happy to consider discounts for bulk purchases. I also have Now Playing and Spinning stands and wall mounted versions of both, as well as small record display shelves, alphabet dividers and a few other bits and pieces in my shop.
Thanks for looking.
[Instructions]
For No More Nails strips, make sure you don’t touch the back of the shelf since oils from your fingers will interfere with the adhesive. Remove the backing paper from the three strips and press them onto the back of the shelf. Press down on a hard surface for ten seconds. Then remove the remaining backing paper, line up with a spirit level and press firmly against your wall for ten seconds. Wait a couple of hours before putting any weight on.
No More Nails strips (and any other Command-style strips) must only be used on smooth, painted surfaces where the paint is sound and well-adhered. They must not be used on wallpapered or textured surfaces.
For screws, use the included drilling template to make two 6mm in holes in your wall, then insert the Rawlplugs. Screw the screws in so that the heads are 5mm from the surface of the wall, then slot the shelf onto the screws. If it’s too loose, tighten the screws a quarter turn at a time. If too tight, loosen them.
[Processing]
These will usually be ready in 2 or 3 days.
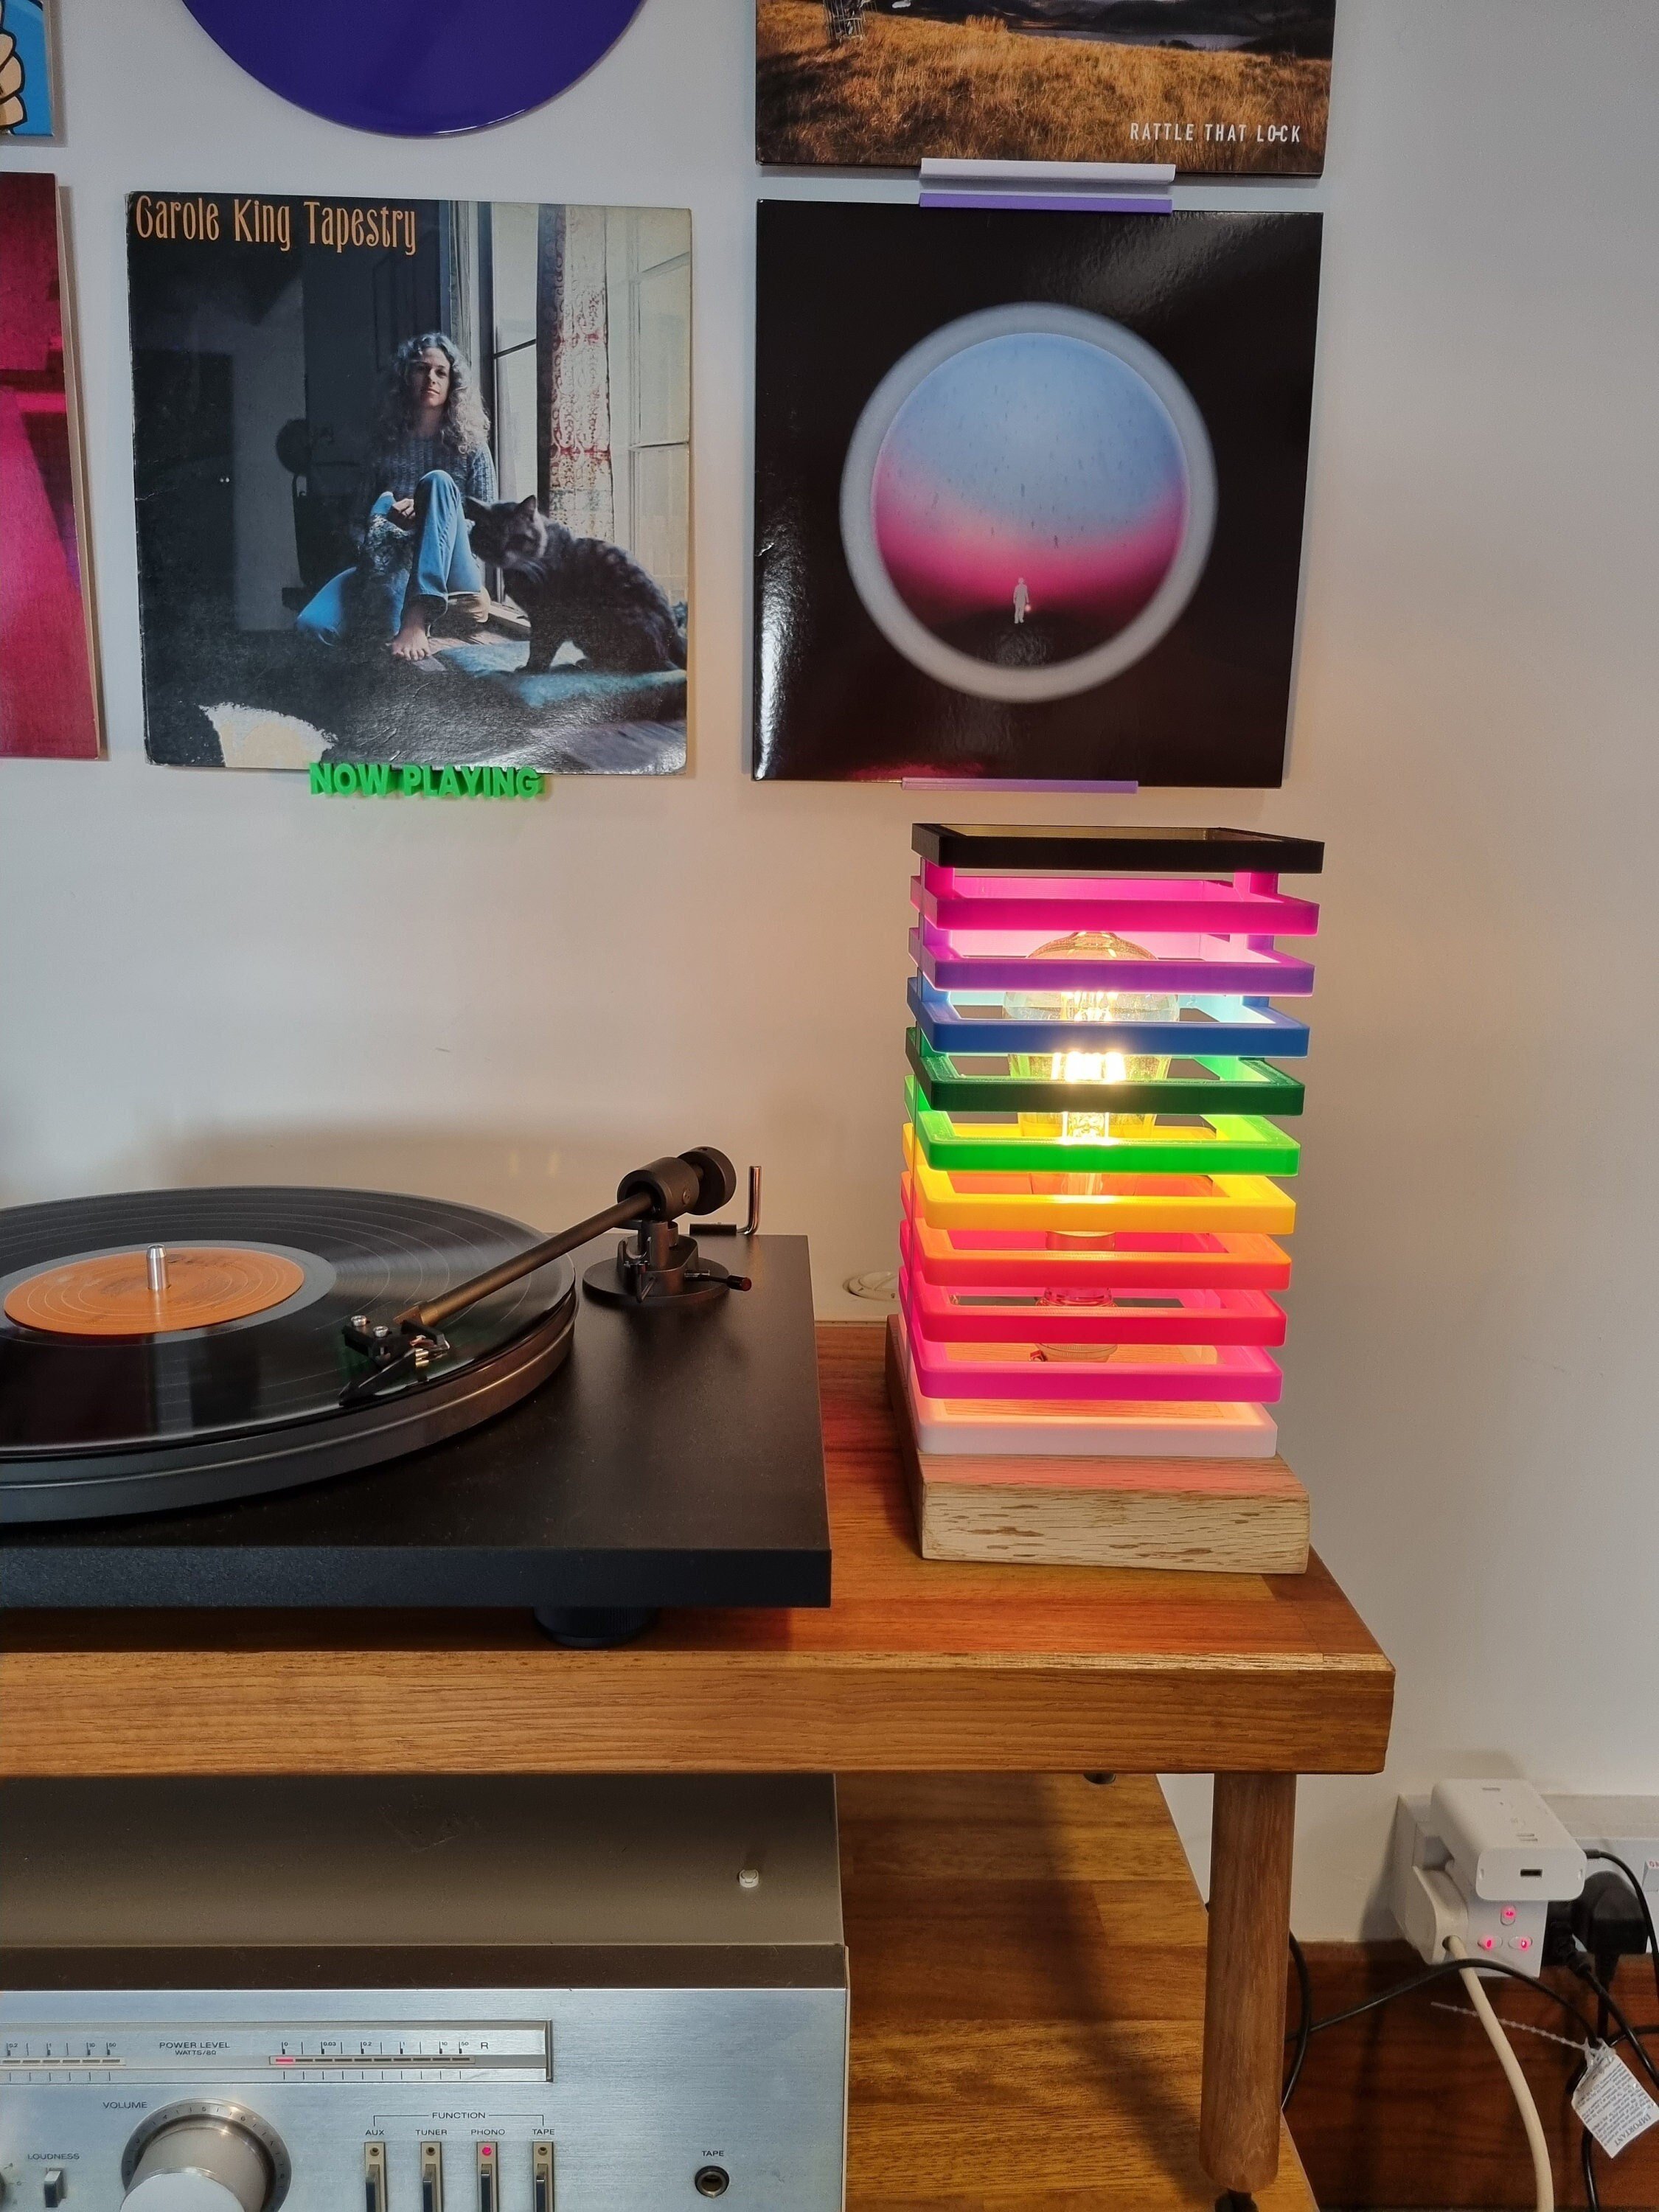
I needed a lamp to go next to my record player at work, but after looking at loads online I couldn't find one I liked so I made my own. The layers are printed from the renewable biopolymer PLA (which means it's important that you use a low energy bulb, but I'll provide a nice 4W squirrel cage style bulb that will work just fine) and the base is made from a piece of live edge oak.
The lamp fitting is a standard bayonet fitting, confirming to BS EN 60598 (this comes from the supplier, lampspares.co.uk and can be viewed on their website).
Wood is a natural material and is subject to movement over time. Plastic isn't, but as you can see from the photos it has some surface texture. Please check the photos carefully and make sure you're happy with how it looks before ordering.
Any questions, just ask. Happy to help.
Cheers
Rob
[Details]
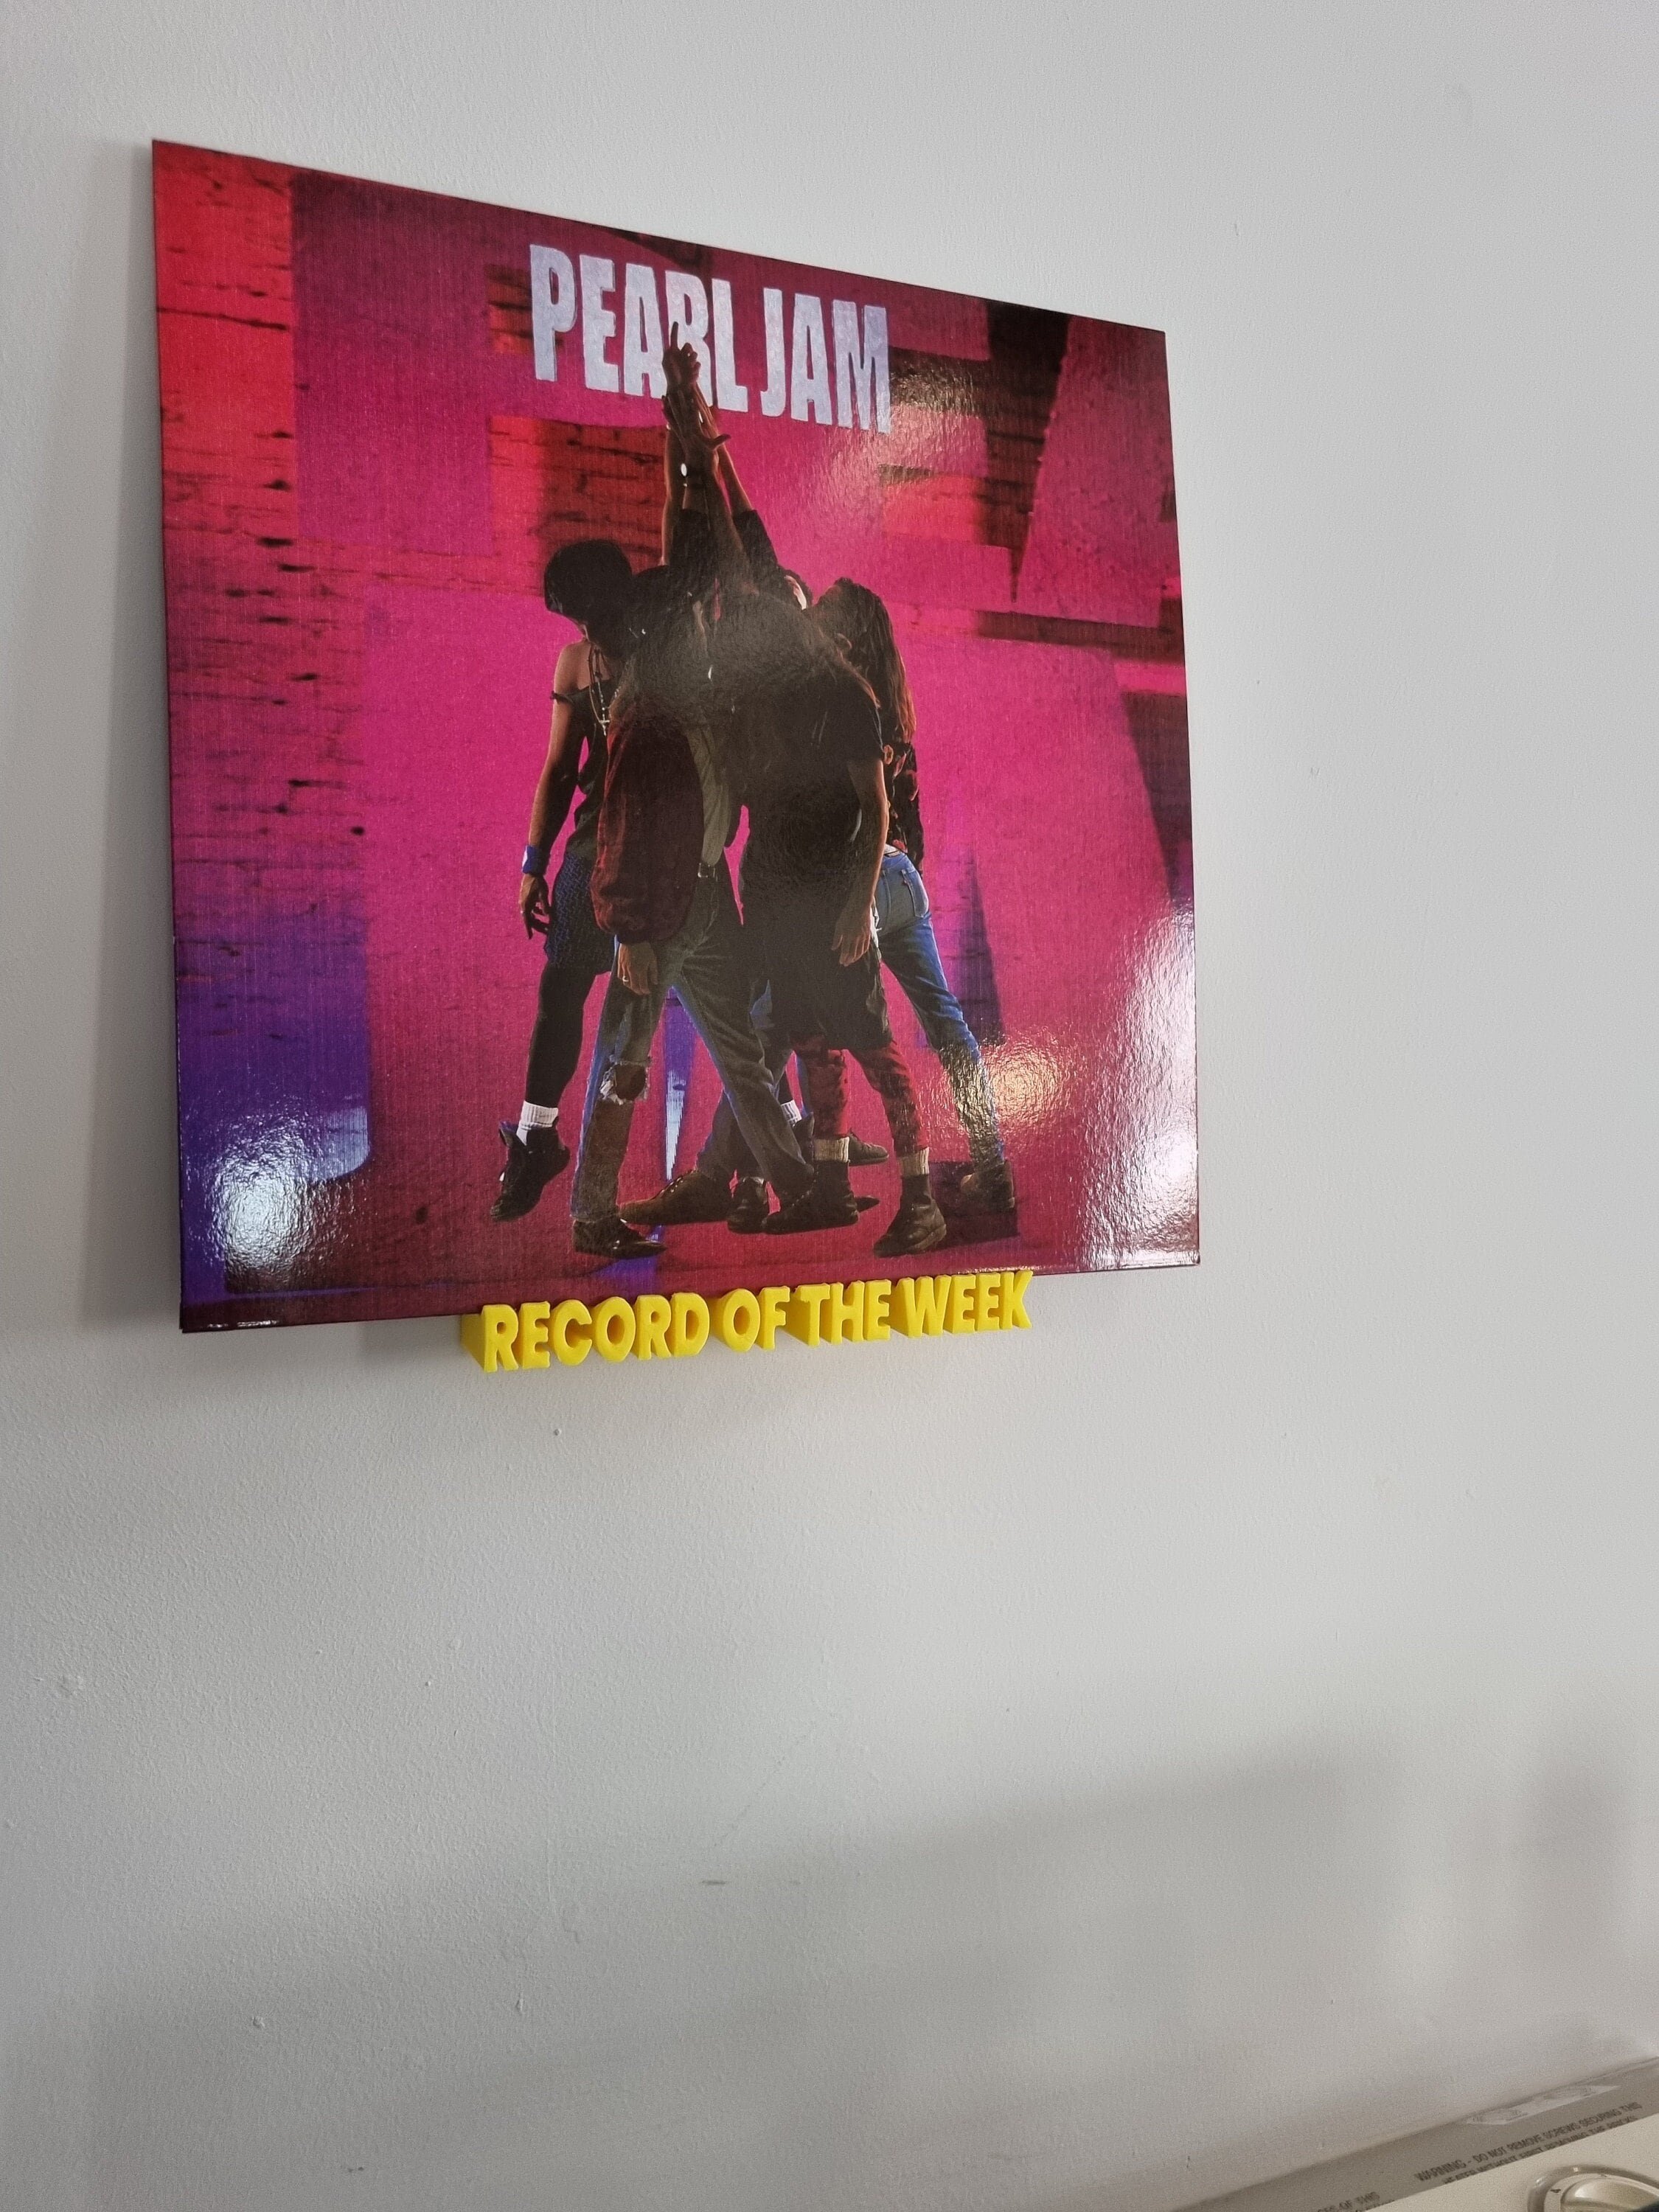
Maybe 'Now Playing' isn't quite enough for you. Maybe you want something with a bit more... length. This might be just what you're looking for. A Record of The Week wall mounted record display stand, in the same style as my Now Playing and Now Spinning shelves. Choose your colour and I'll print it and send it to you or your chosen recipient.
It's a 3D printed item so bear in mind you'll get some surface texture, but I'll always make sure it's a good print.
I have other stands and shelves available.
Any questions just give me a shout.
Cheers
Rob
[Instructions]
For No More Nails strips, make sure you don’t touch the back of the shelf since oils from your fingers will interfere with the adhesive. Remove the backing paper from the three strips and press them onto the back of the shelf. Press down on a hard surface for ten seconds. Then remove the remaining backing paper, line up with a spirit level and press firmly against your wall for ten seconds. Wait a couple of hours before putting any weight on.
No More Nails strips (and any other Command-style strips) must only be used on smooth, painted surfaces where the paint is sound and well-adhered. They must not be used on wallpapered or textured surfaces.
For screws, use the included drilling template to make two 6mm in holes in your wall, then insert the Rawlplugs. Screw the screws in so that the heads are 5mm from the surface of the wall, then slot the shelf onto the screws. If it’s too loose, tighten the screws a quarter turn at a time. If too tight, loosen them.
[Processing]
These will usually be ready in 2 or 3 days.
[Details]
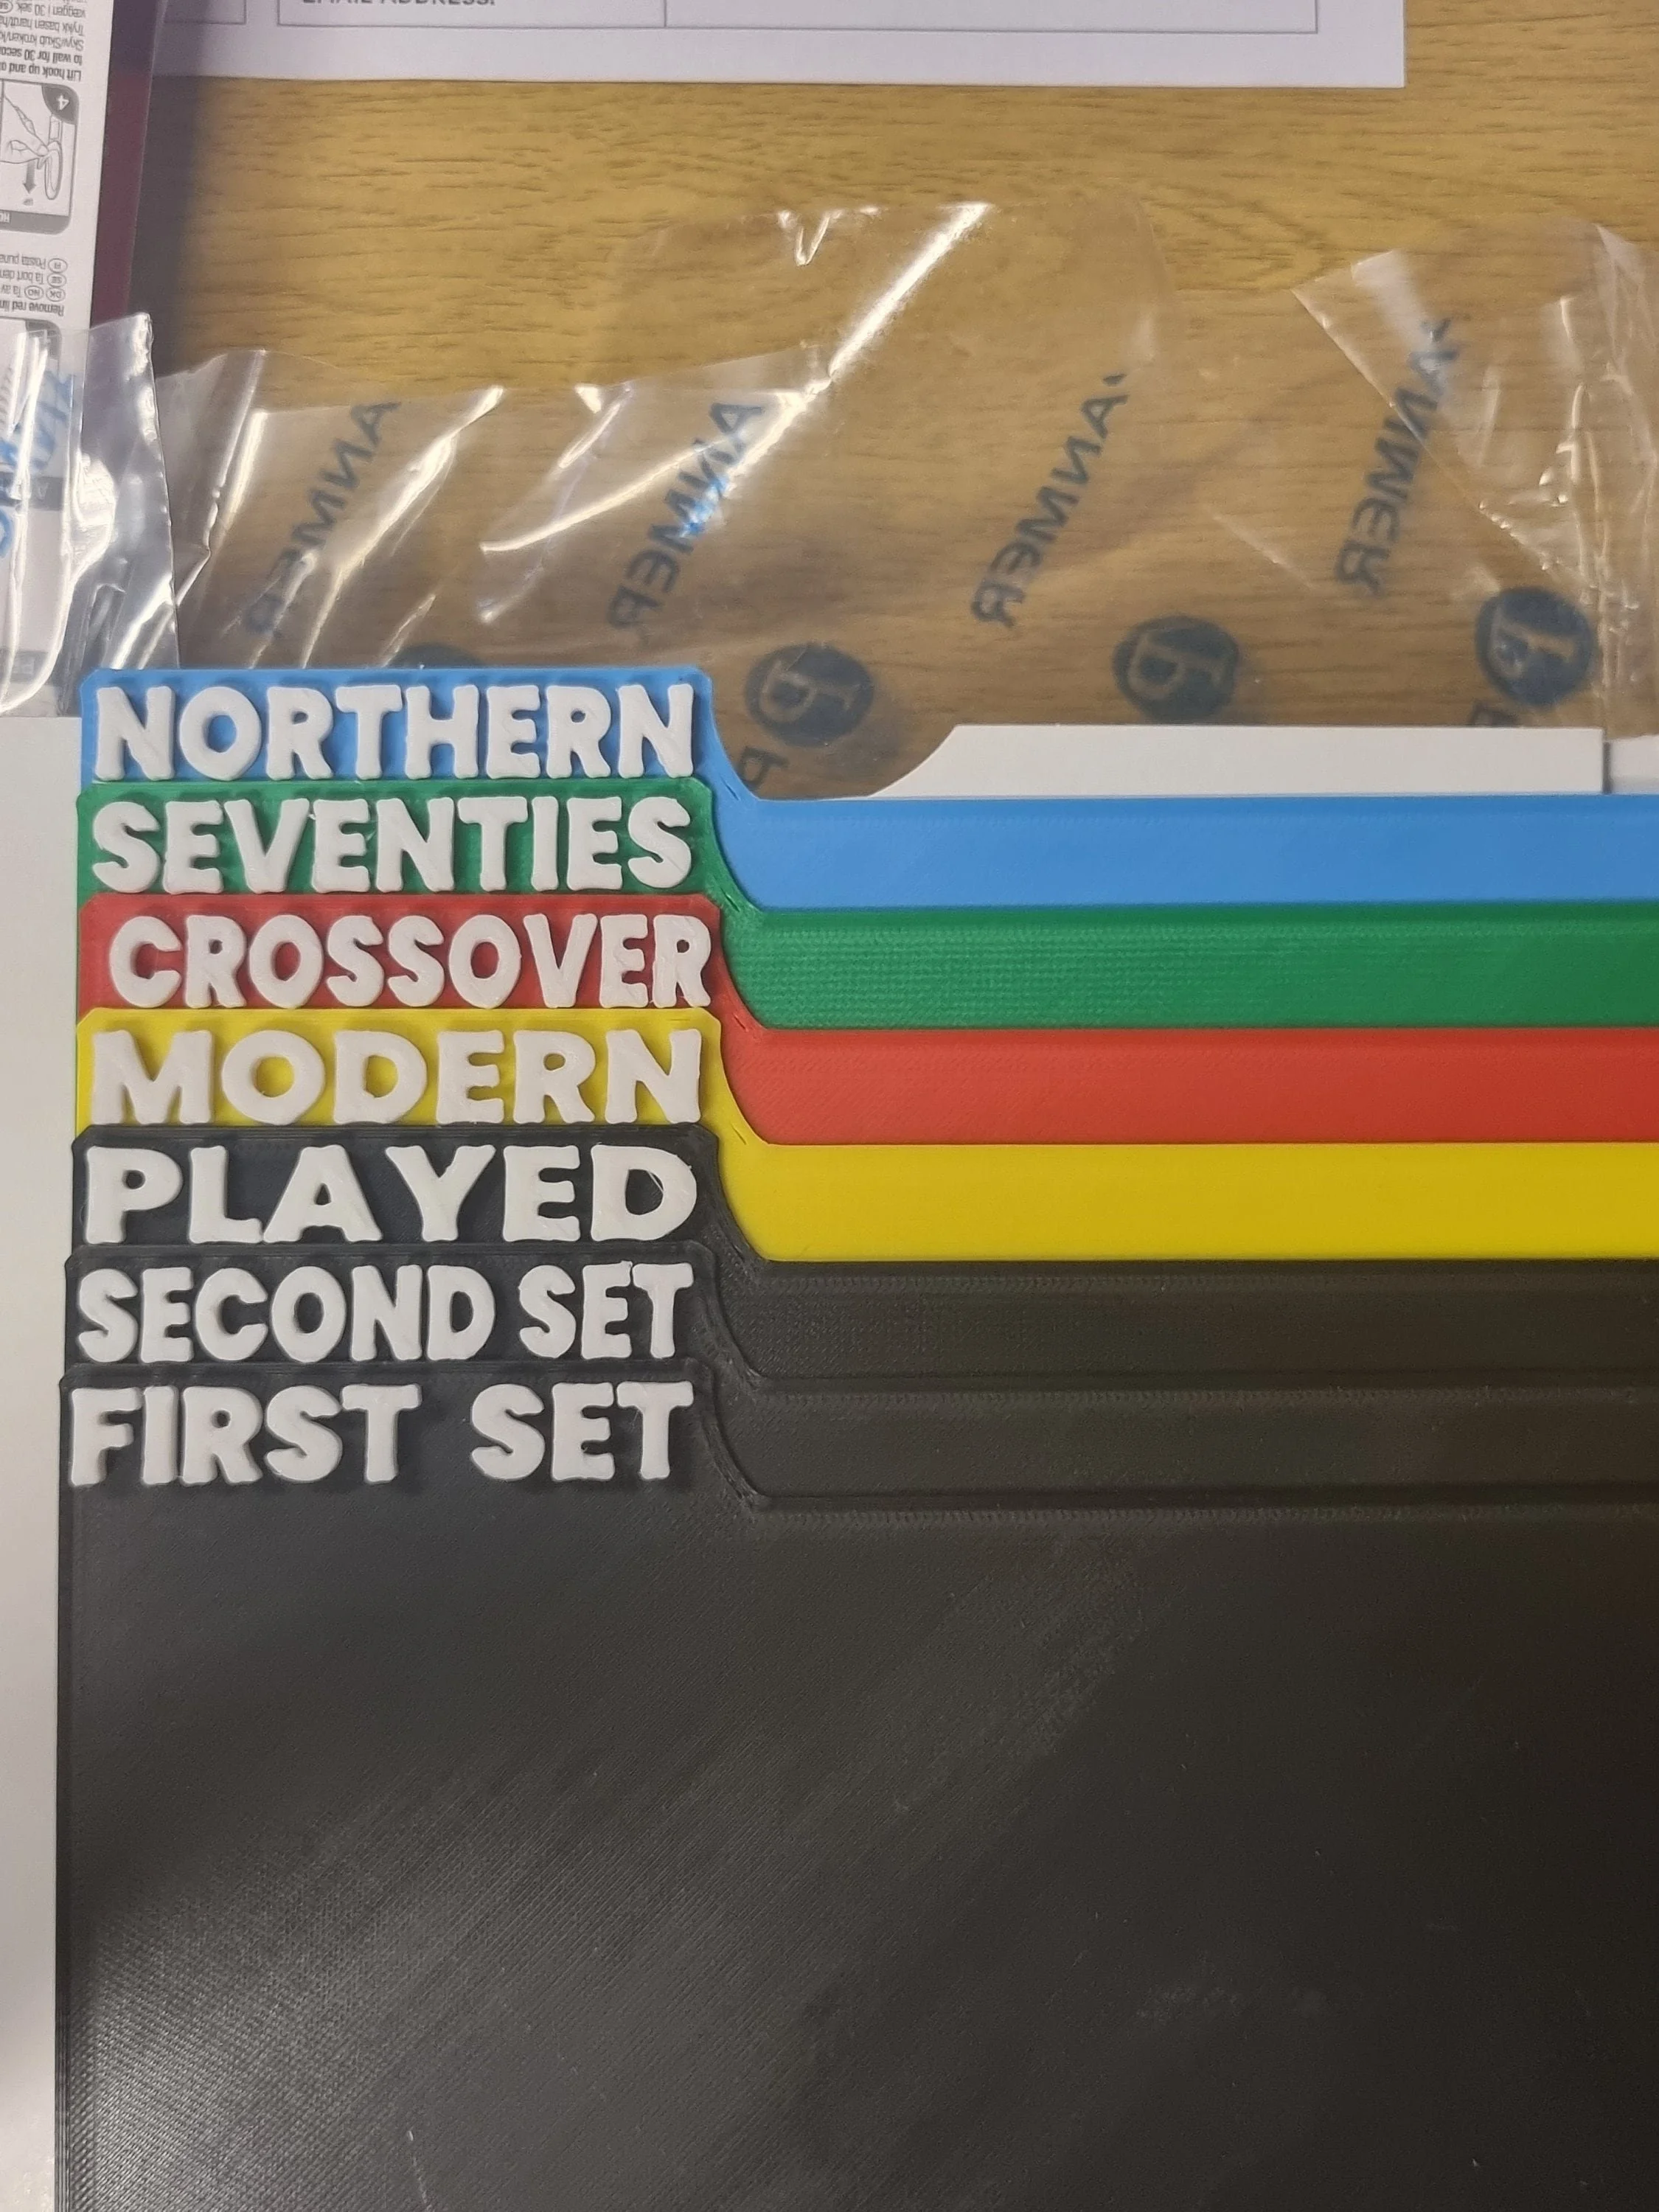
These dividers are designed for use by collectors and DJs who keep and carry 45s in crates/boxes. They measure 2mm wider than a standard 7” card Masterbags sleeve and the tab at the top is shaped so that the curve meets and matches the curve of the cut-out in the top of those sleeves.
You choose the text and the colours of both the dividers and the text. (Please add a note to let me know what you want each one to say. If I’m unsure I’ll give you a shout before I make them.) The space for text is obviously quite limited because of the size of the tab, so if you're not fussed about that being matched to the curve of the Masterbags sleeve and want it to be bigger, just note that too.
Any questions please get in touch, or if you want something designing specifically for your needs let me know.
Please note: price is per divider, but post is free. I'm happy to offer discounts on orders of 5 or more but there's no good way of setting that up because I've used both options for colours, so just give me a shout and I'll either give you a coupon code or refund the difference.
Cheers
Rob
[Instructions]
Insert and enjoy.
[Processing]
These will usually take a few days to make, though larger orders may take longer.

[Details]
Maybe 'Now Playing' isn't quite enough for you. Maybe you want something with a bit more... length. This might be just what you're looking for. A Record of The Day wall mounted record display shelf, in the same style as my Now Playing and Now Spinning shelves. (I also have small record display shelves in my shop.) Choose your colour and I'll print it and send it to you or your chosen recipient.
You'll receive one shelf and three No More Nails removable adhesive strips, which you can mount on the back and stick to a wall, or screws and plugs, depending on what you've chosen. (Please you all three sticky tabs, spaced evenly.) These are rated to hold up to 2kg per strip so you should be alright with most records, though I probably wouldn't try hanging your Tchaikovsky complete works on it.
It's a 3D printed item so bear in mind you'll get some surface texture, but I'll always make sure it's a good print.
I have other stands and shelves available.
Any questions just give me a shout.
Cheers
Rob
[Instructions]
For No More Nails strips, make sure you don’t touch the back of the shelf since oils from your fingers will interfere with the adhesive. Remove the backing paper from the three strips and press them onto the back of the shelf. Press down on a hard surface for ten seconds. Then remove the remaining backing paper, line up with a spirit level and press firmly against your wall for ten seconds. Wait a couple of hours before putting any weight on.
No More Nails strips (and any other Command-style strips) must only be used on smooth, painted surfaces where the paint is sound and well-adhered. They must not be used on wallpapered or textured surfaces.
For screws, use the included drilling template to make two 6mm in holes in your wall, then insert the Rawlplugs. Screw the screws in so that the heads are 5mm from the surface of the wall, then slot the shelf onto the screws. If it’s too loose, tighten the screws a quarter turn at a time. If too tight, loosen them.
[Processing]
These will usually be ready in 2 or 3 days.
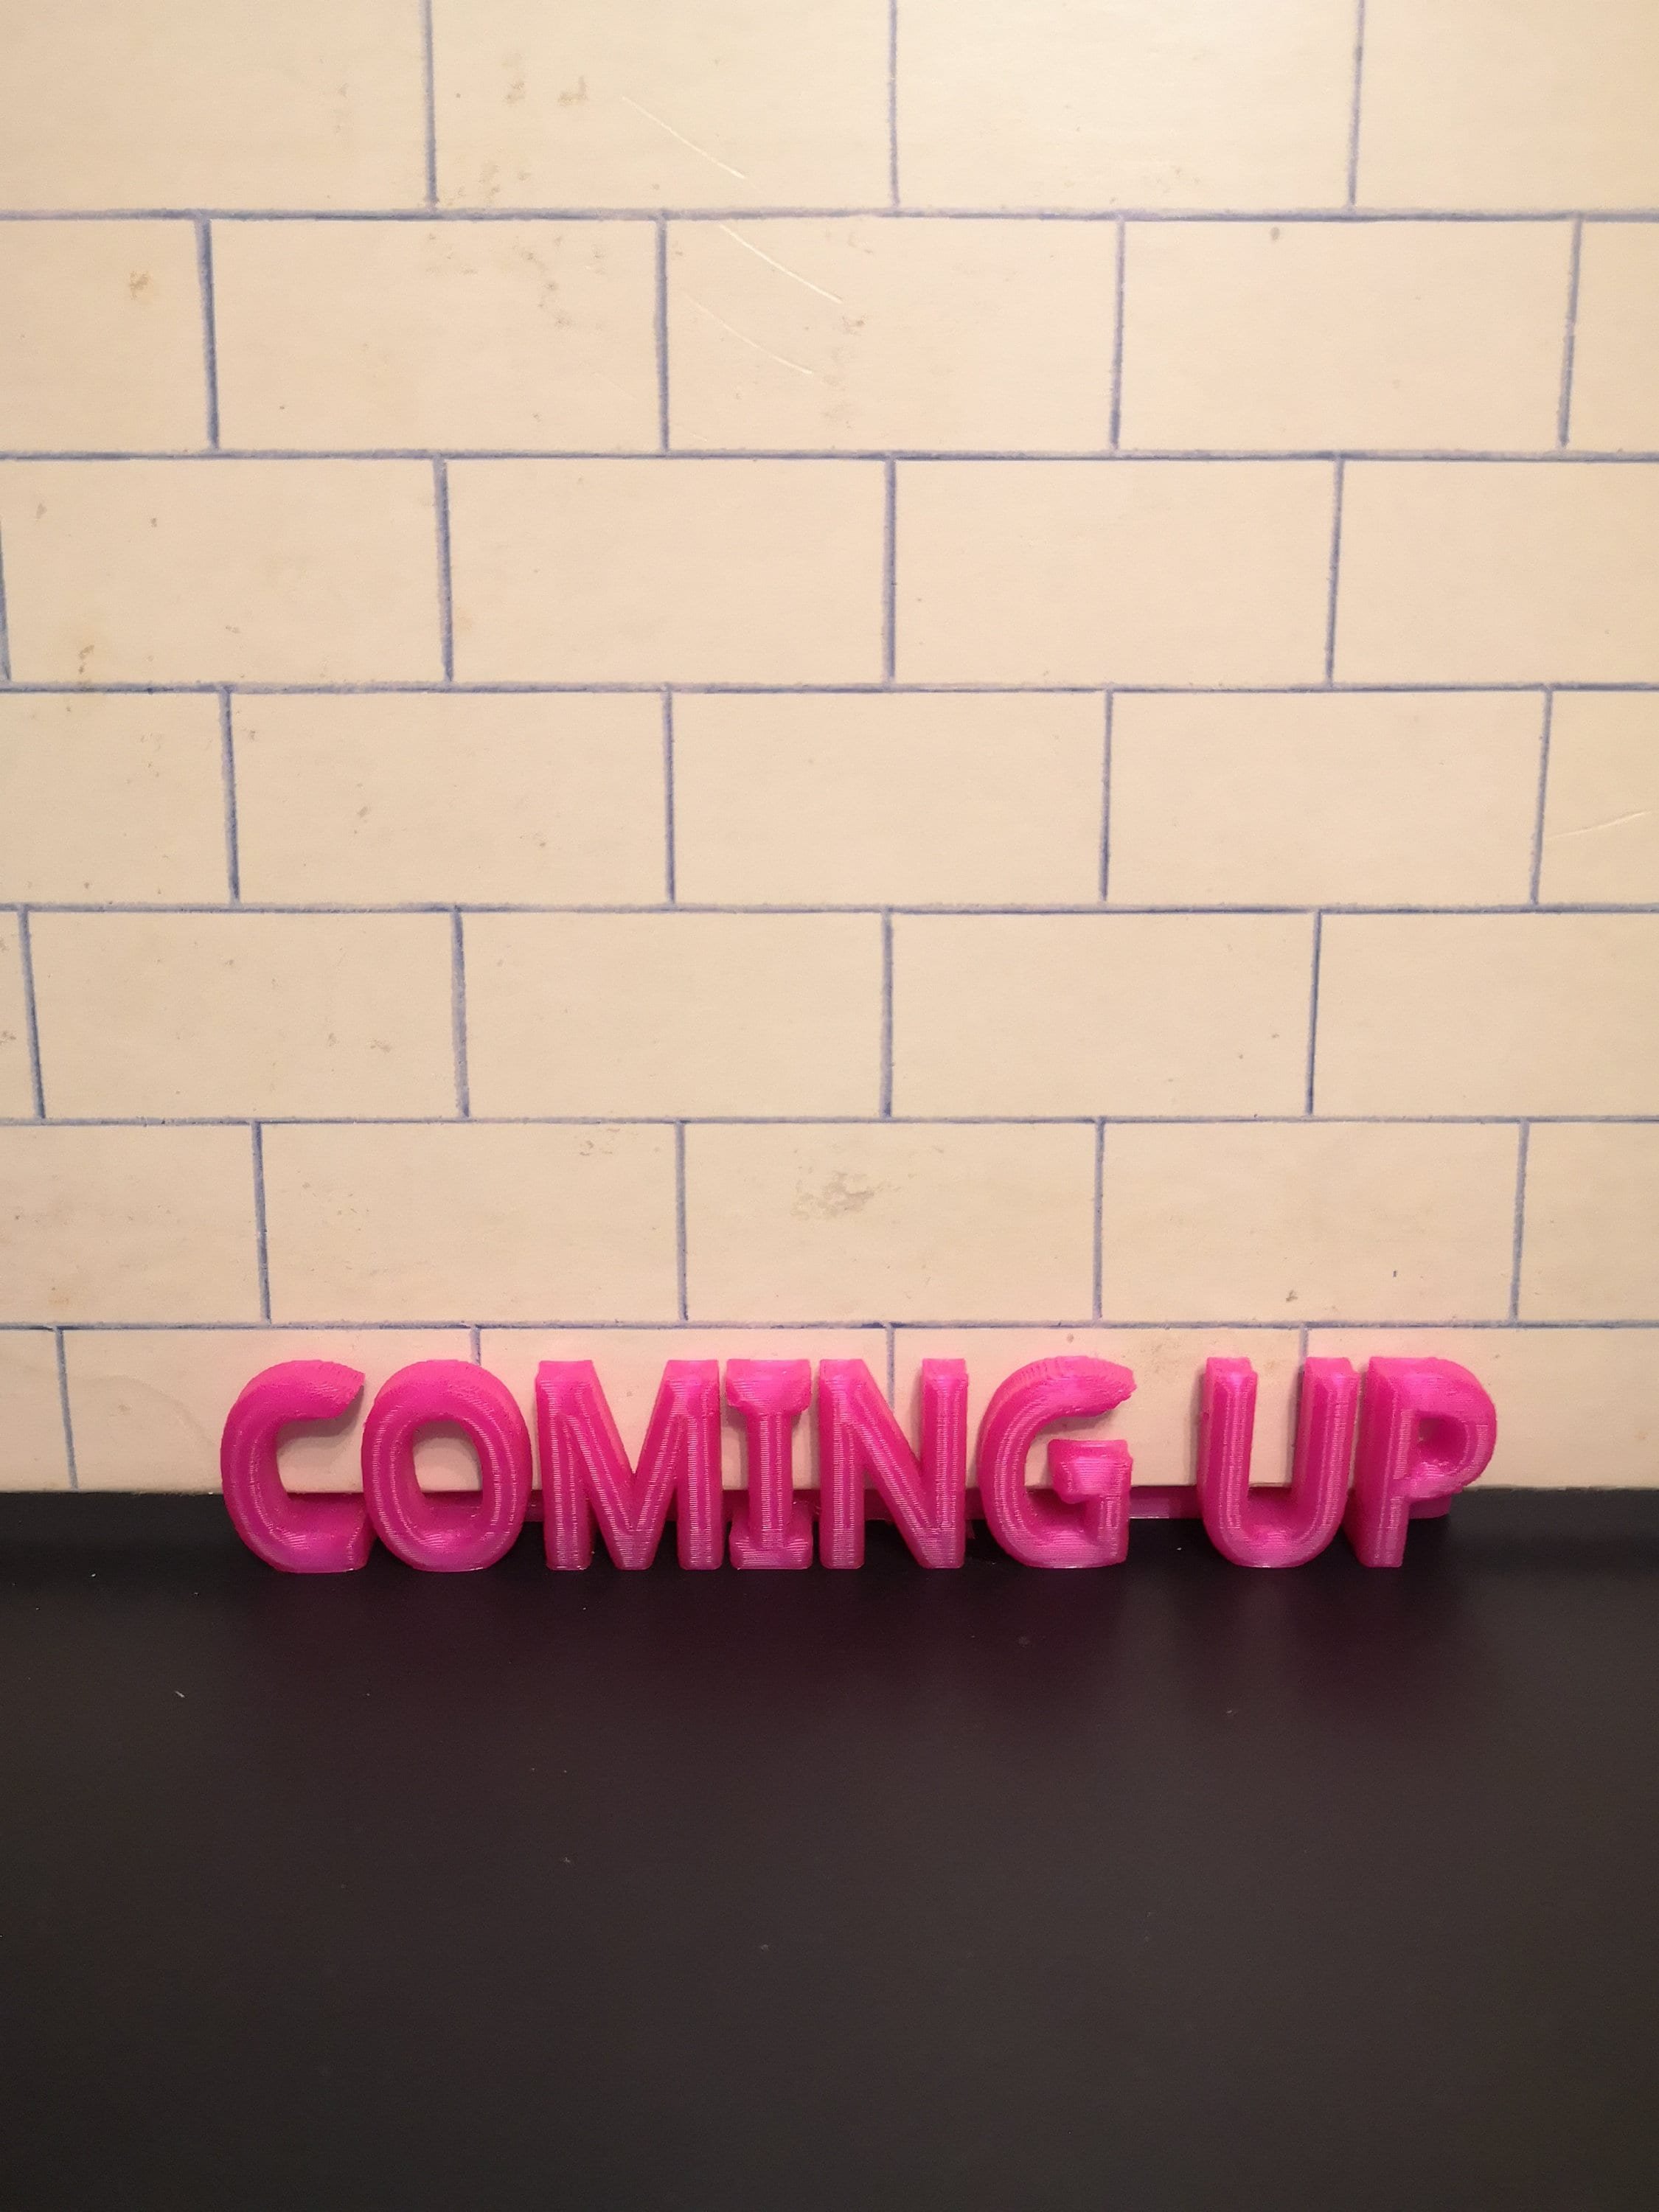
You've already got a Now Playing stand, but you need somewhere to queue the next one up.
This listing is for a free-standing record stand. I also have wall-mounted ones in my shop.
This is a 3D printed item so I'll print on demand in pretty much any colour you like. If the colour you want isn't listed send me a message and I'll see what I can do. Please bear in mind that 3D printed items aren't perfect. You'll see texture on the surface. I'll always make sure I send a decent print though, and if one doesn't come out as well as I'd expect, I'll print it again rather than sending something that I don't think is very good.
Happy to consider discounts for bulk purchases. I also have Now Playing and Spinning stands and wall mounted versions of both, as well as small record display shelves, alphabet dividers and a few other bits and pieces in my shop.
Thanks for looking.
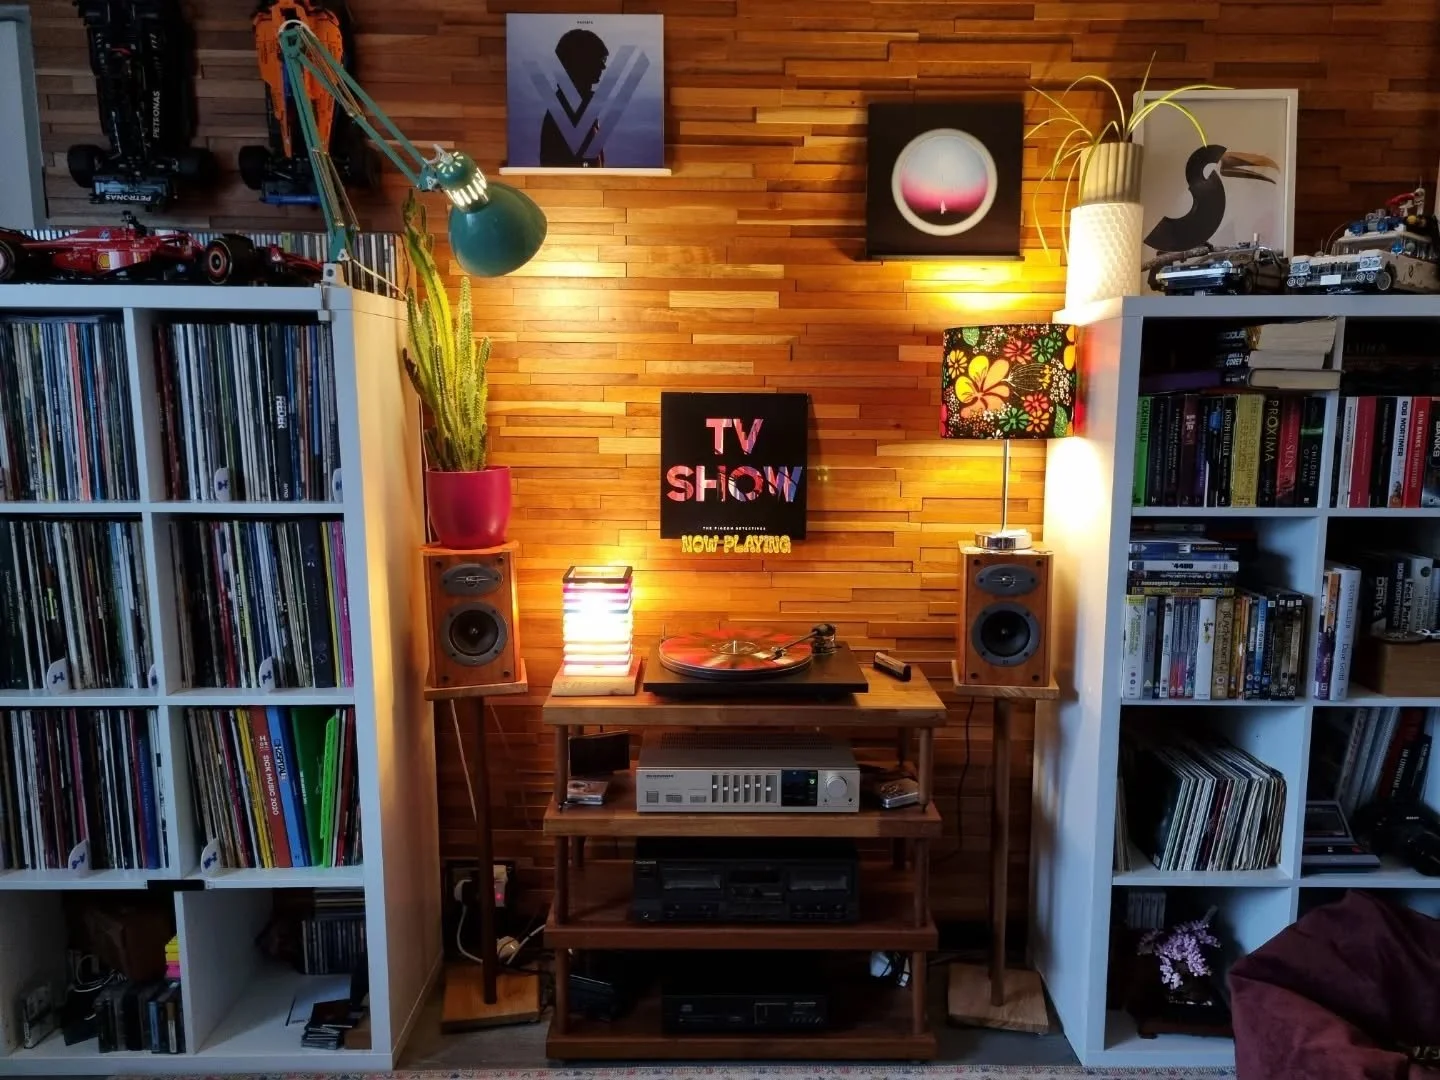
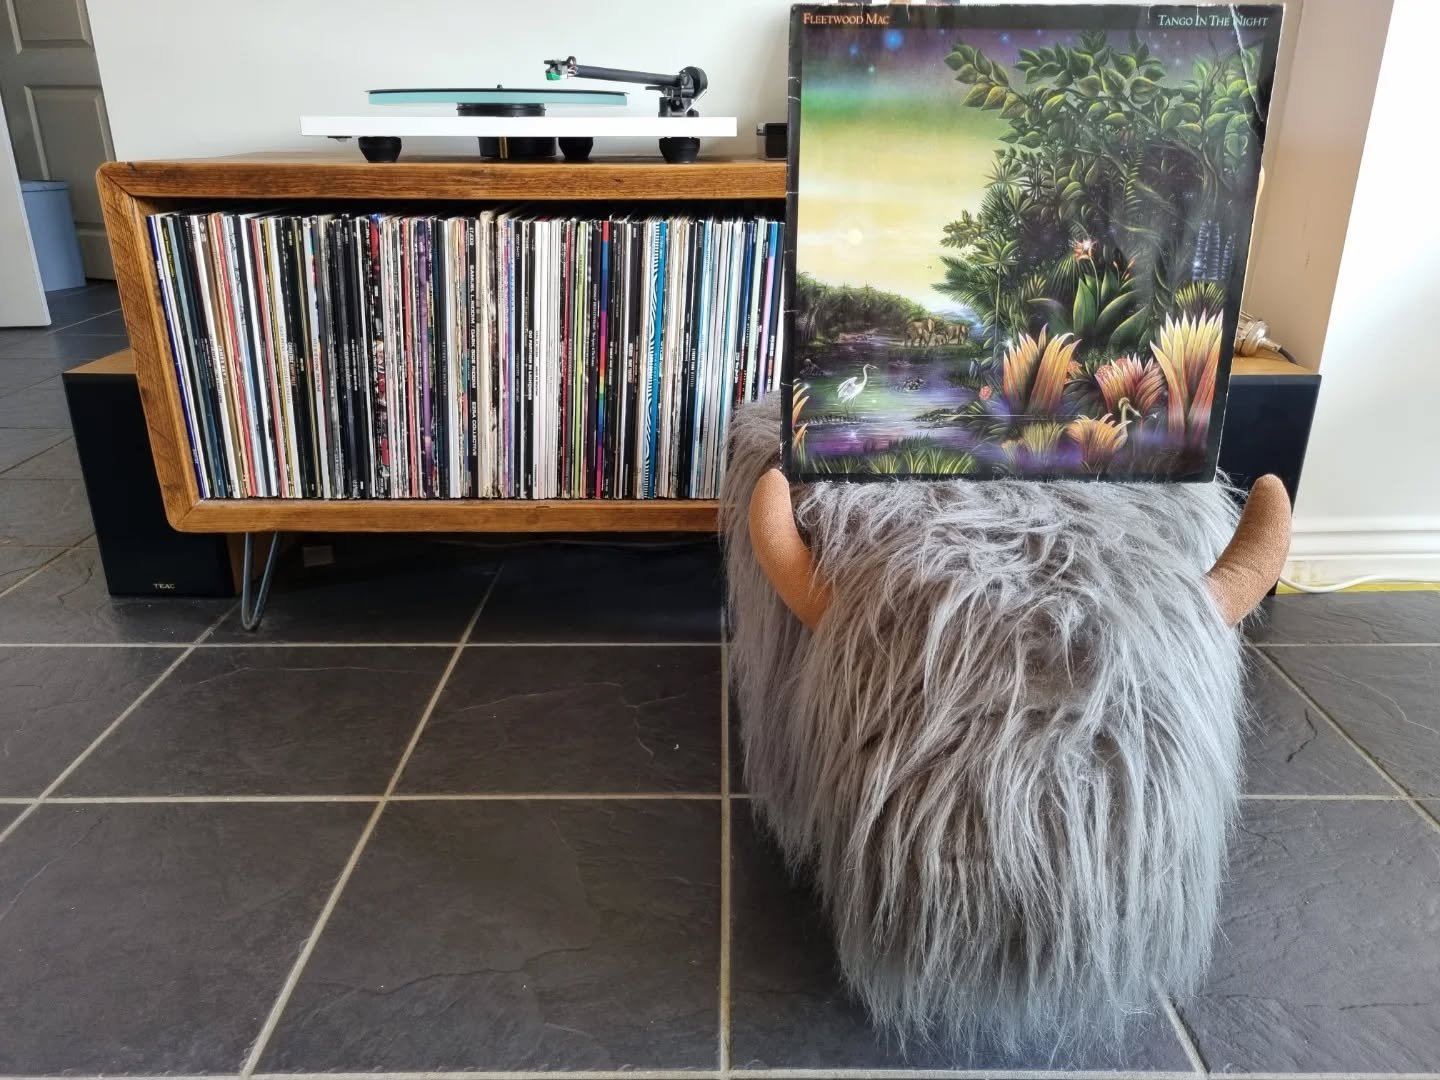
Show me a collector and I’ll show you someone who needs help with organisation and display. Luckily, that’s what I do: I make shelves and stands, frames and dividers - and just about anything else you might need to get the most out of your collection. No Time Like The Gift is all about helping you to Organise, Display & Enjoy the things you love.
Cheers, Rob
What’s Your Thing?
Vinyl Records


Hot Wheels & Matchbox

DVDs & Blu-Ray

Or maybe you’re a reader, tape collector, gamer, comic book collector or gardener?

Organise > Display > Enjoy
Your collection. Your way.
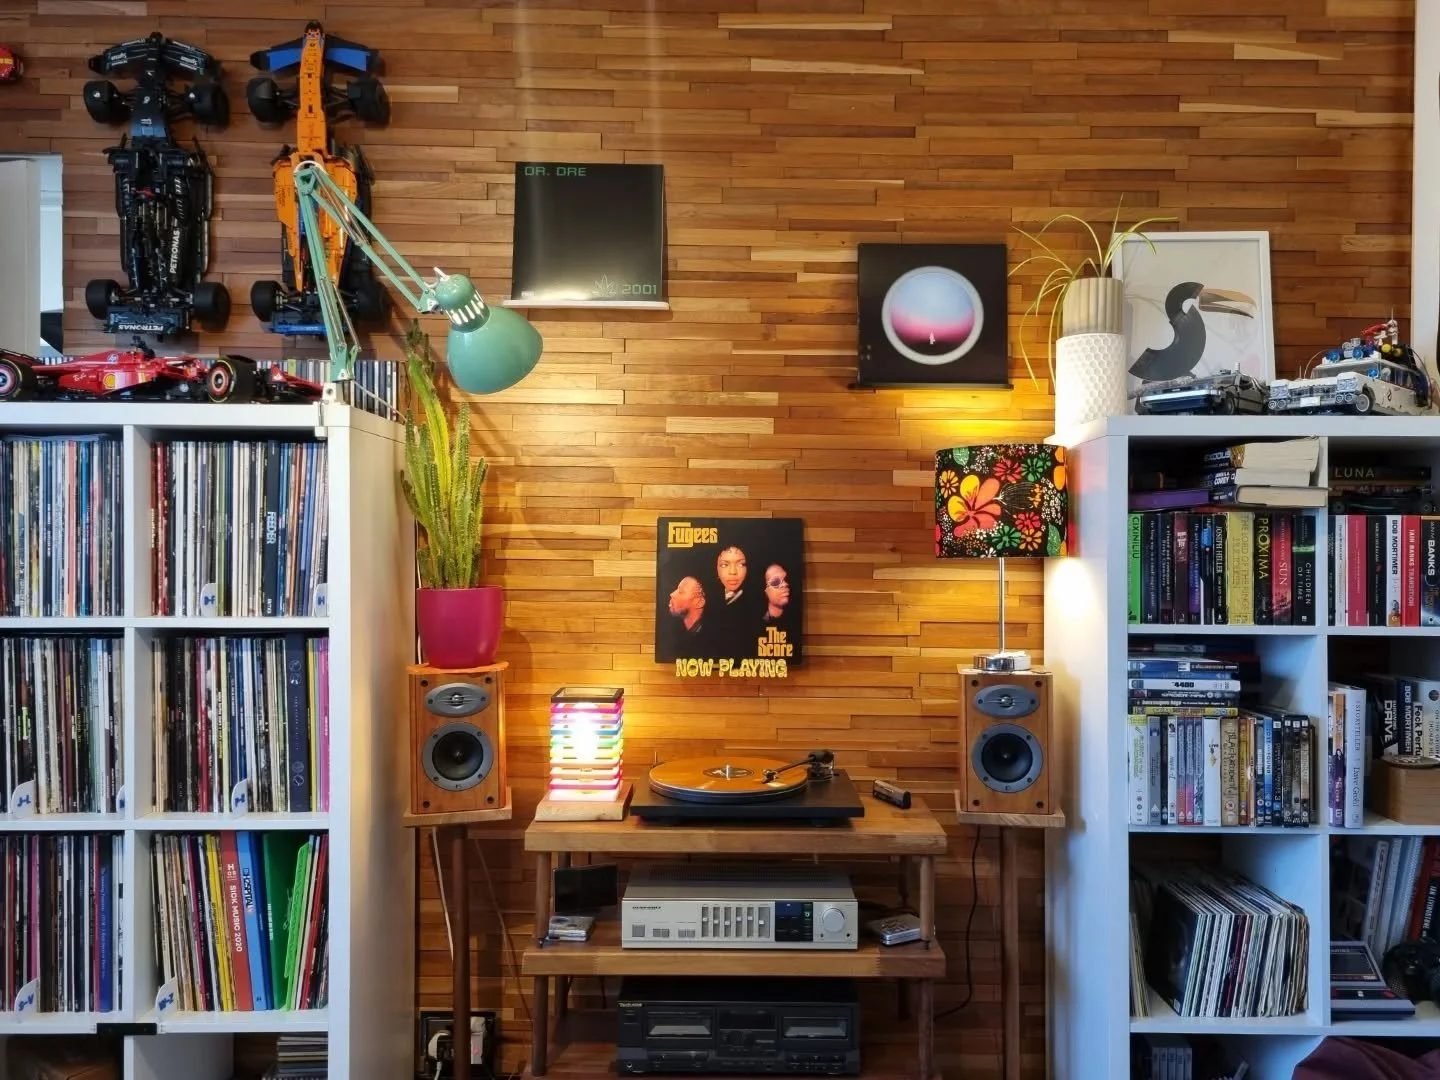
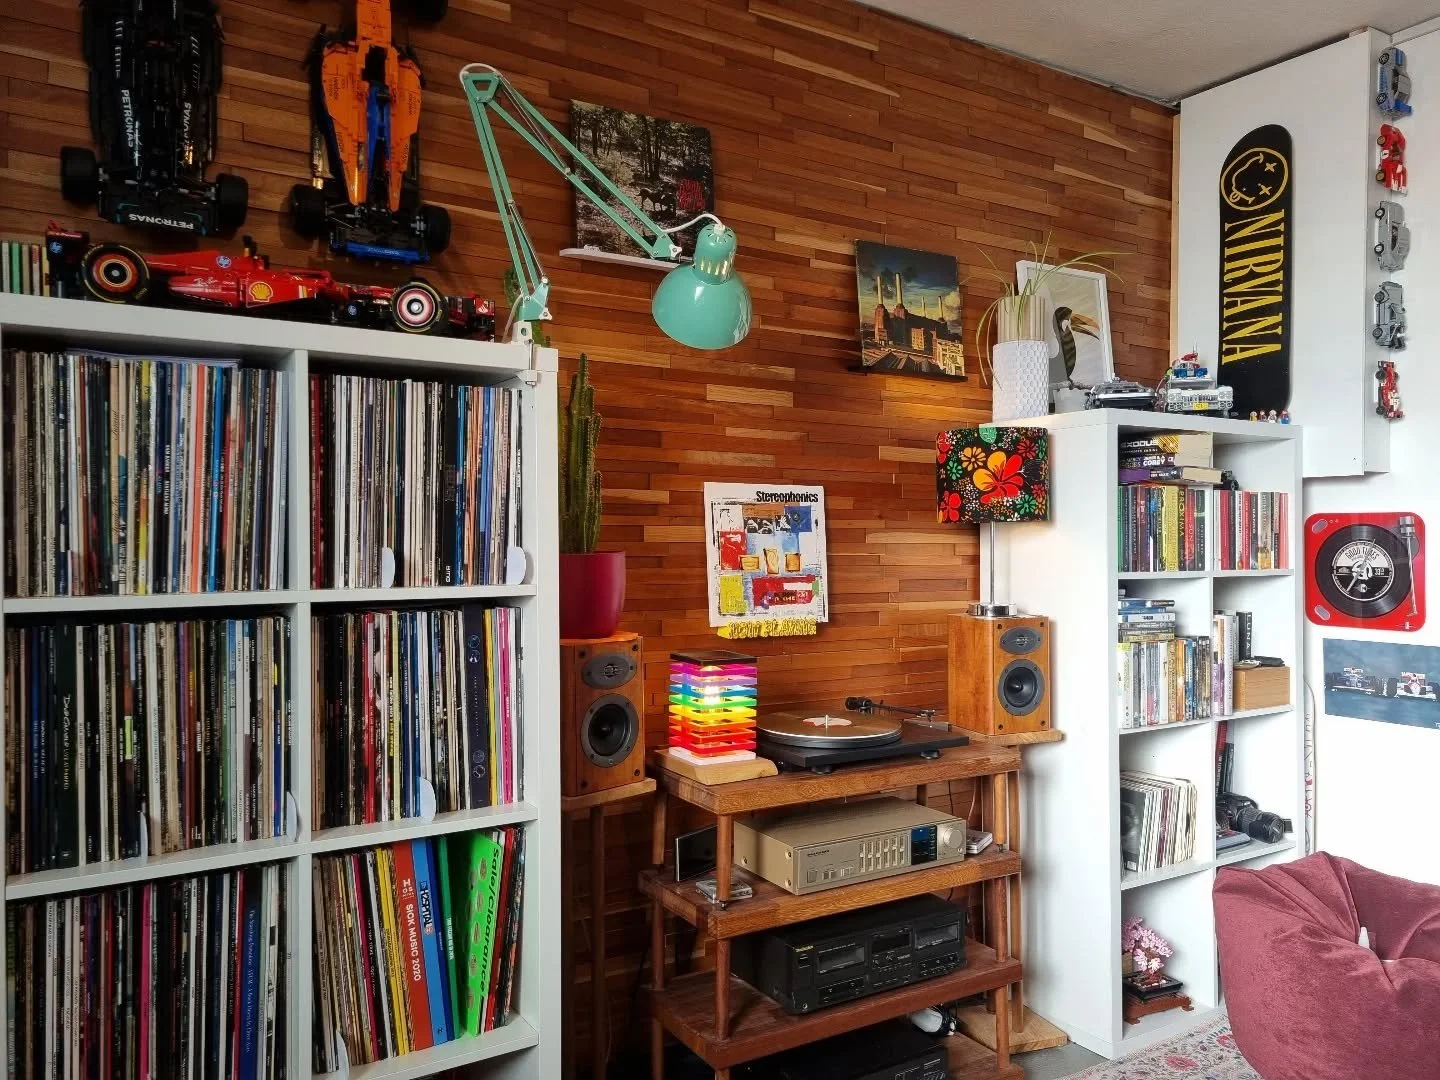
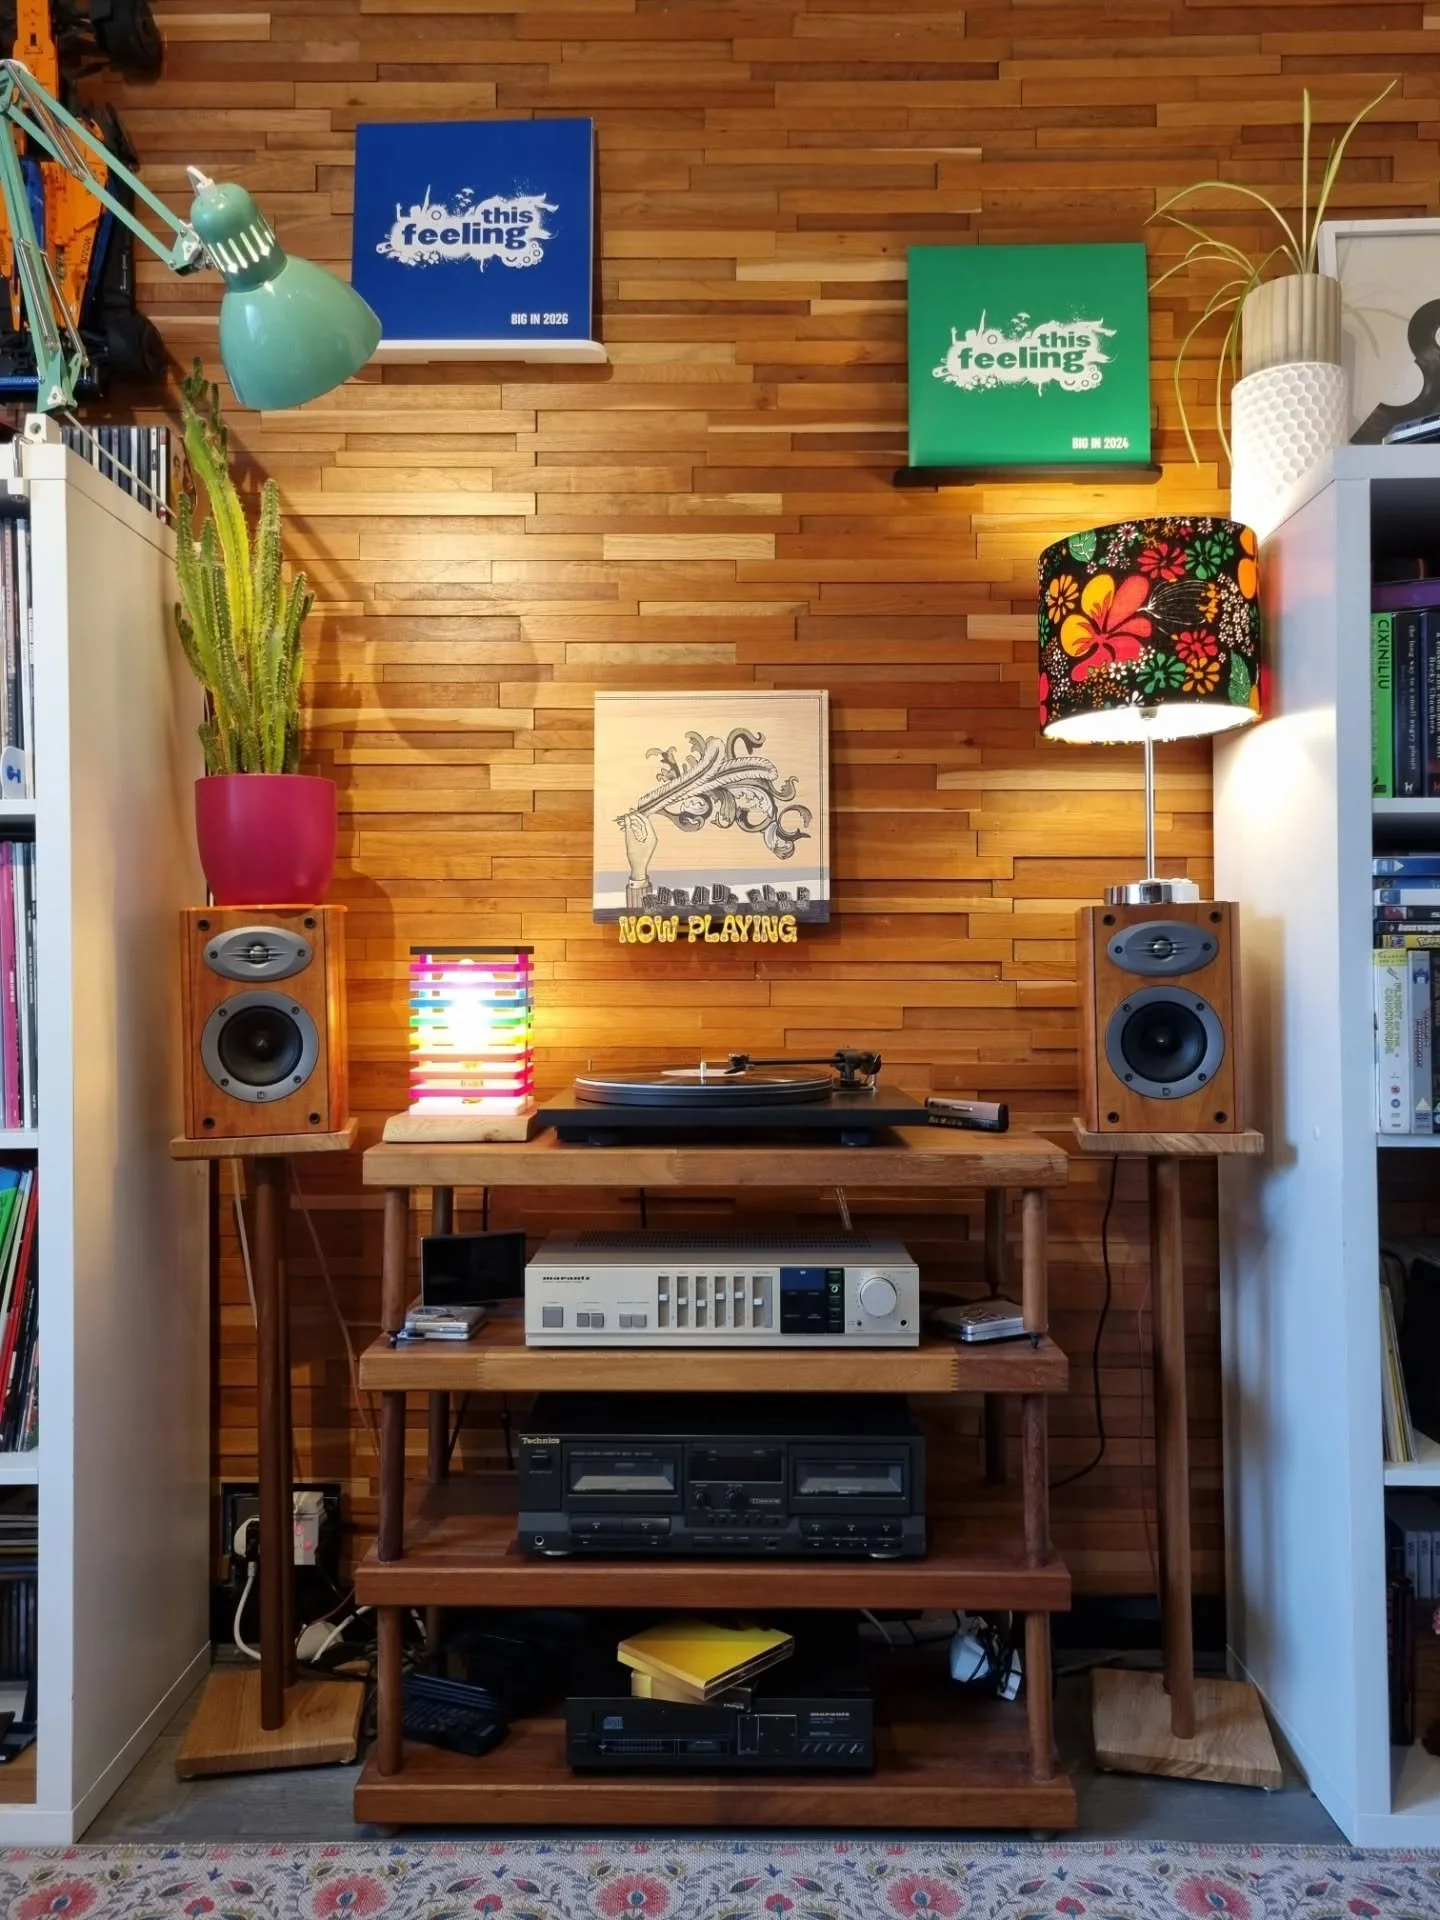
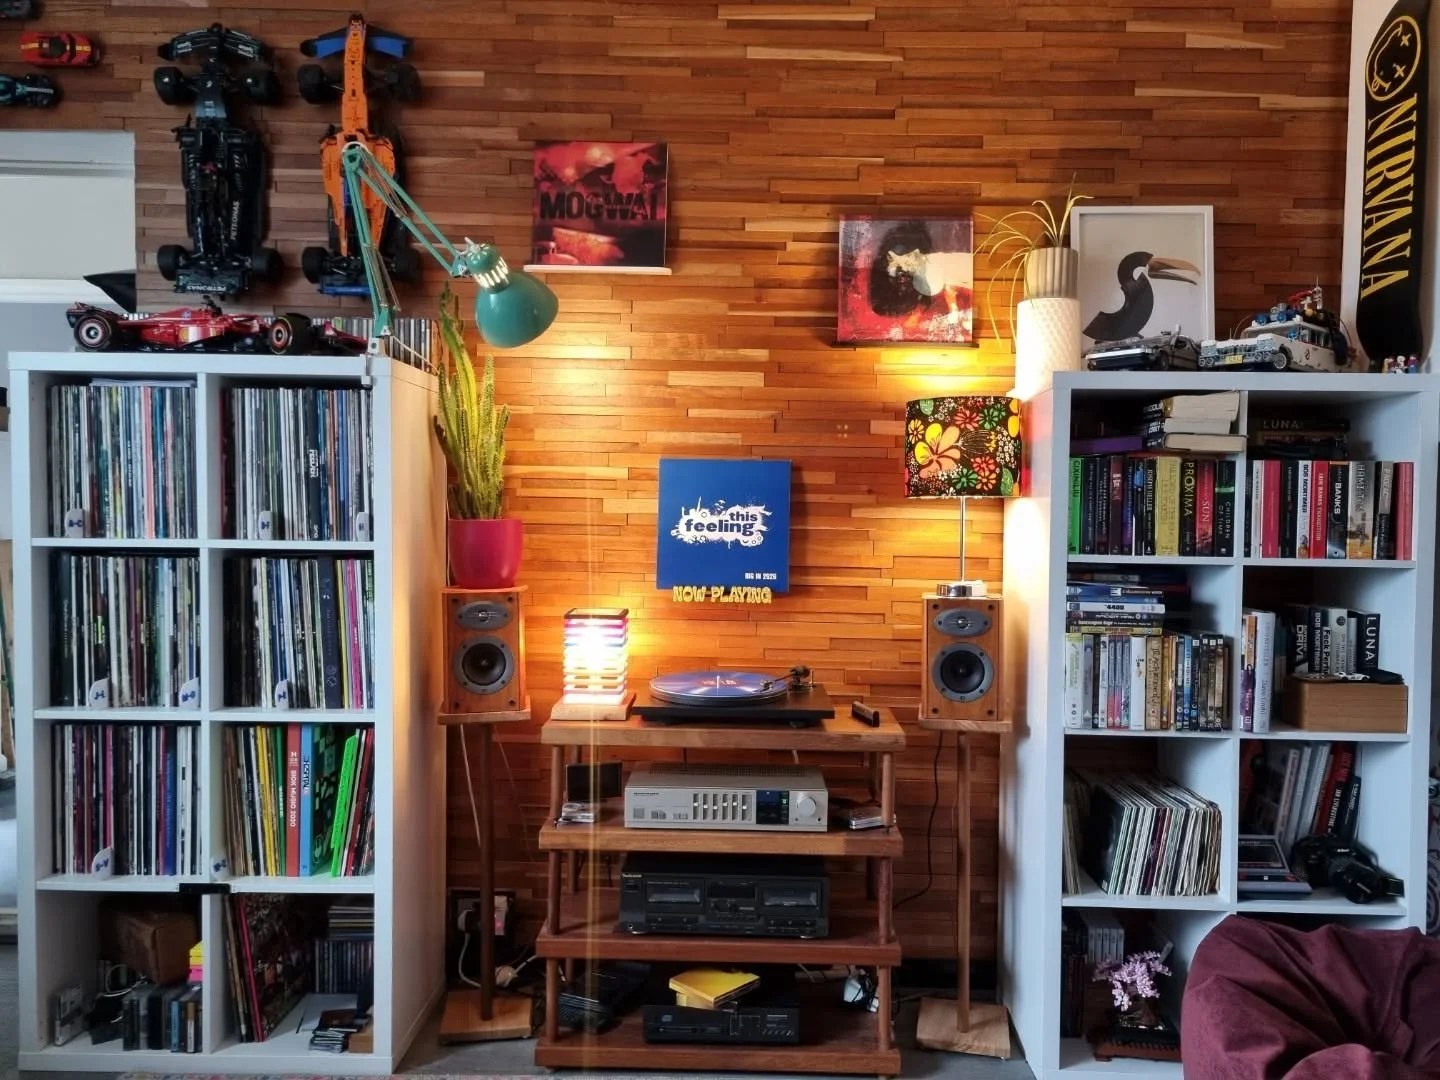
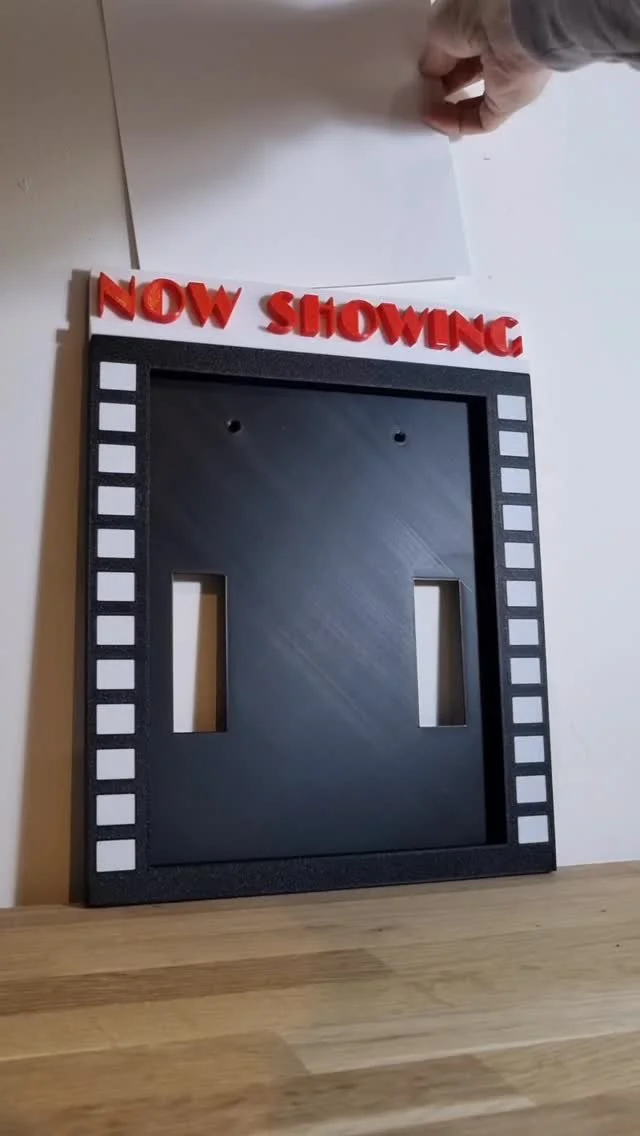
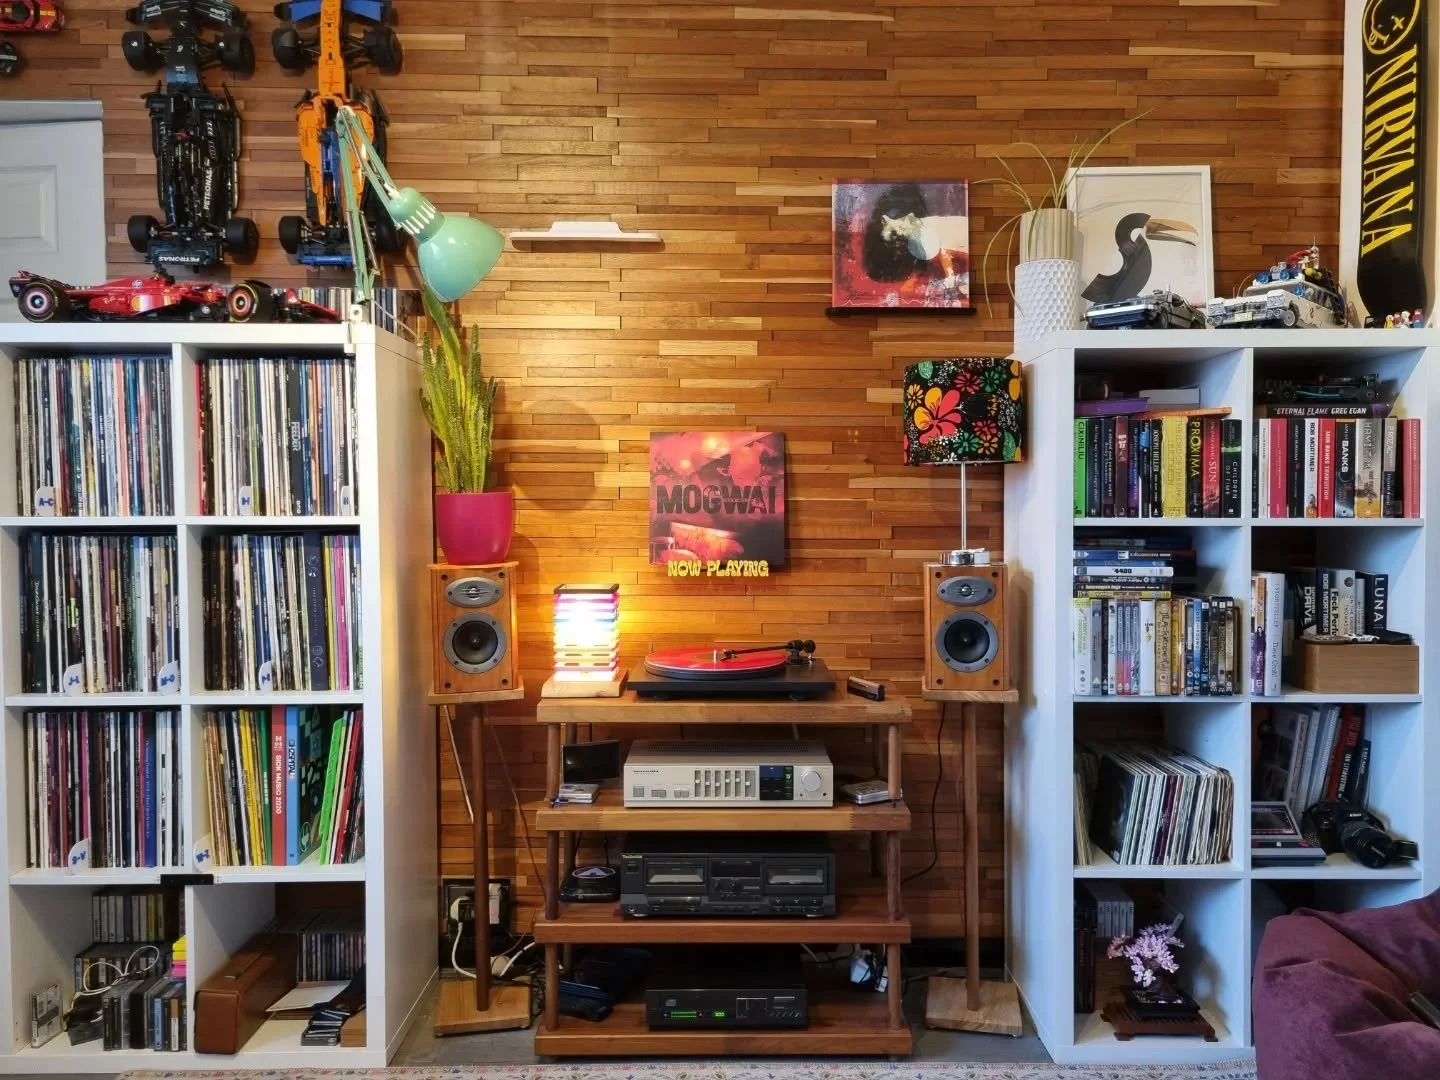
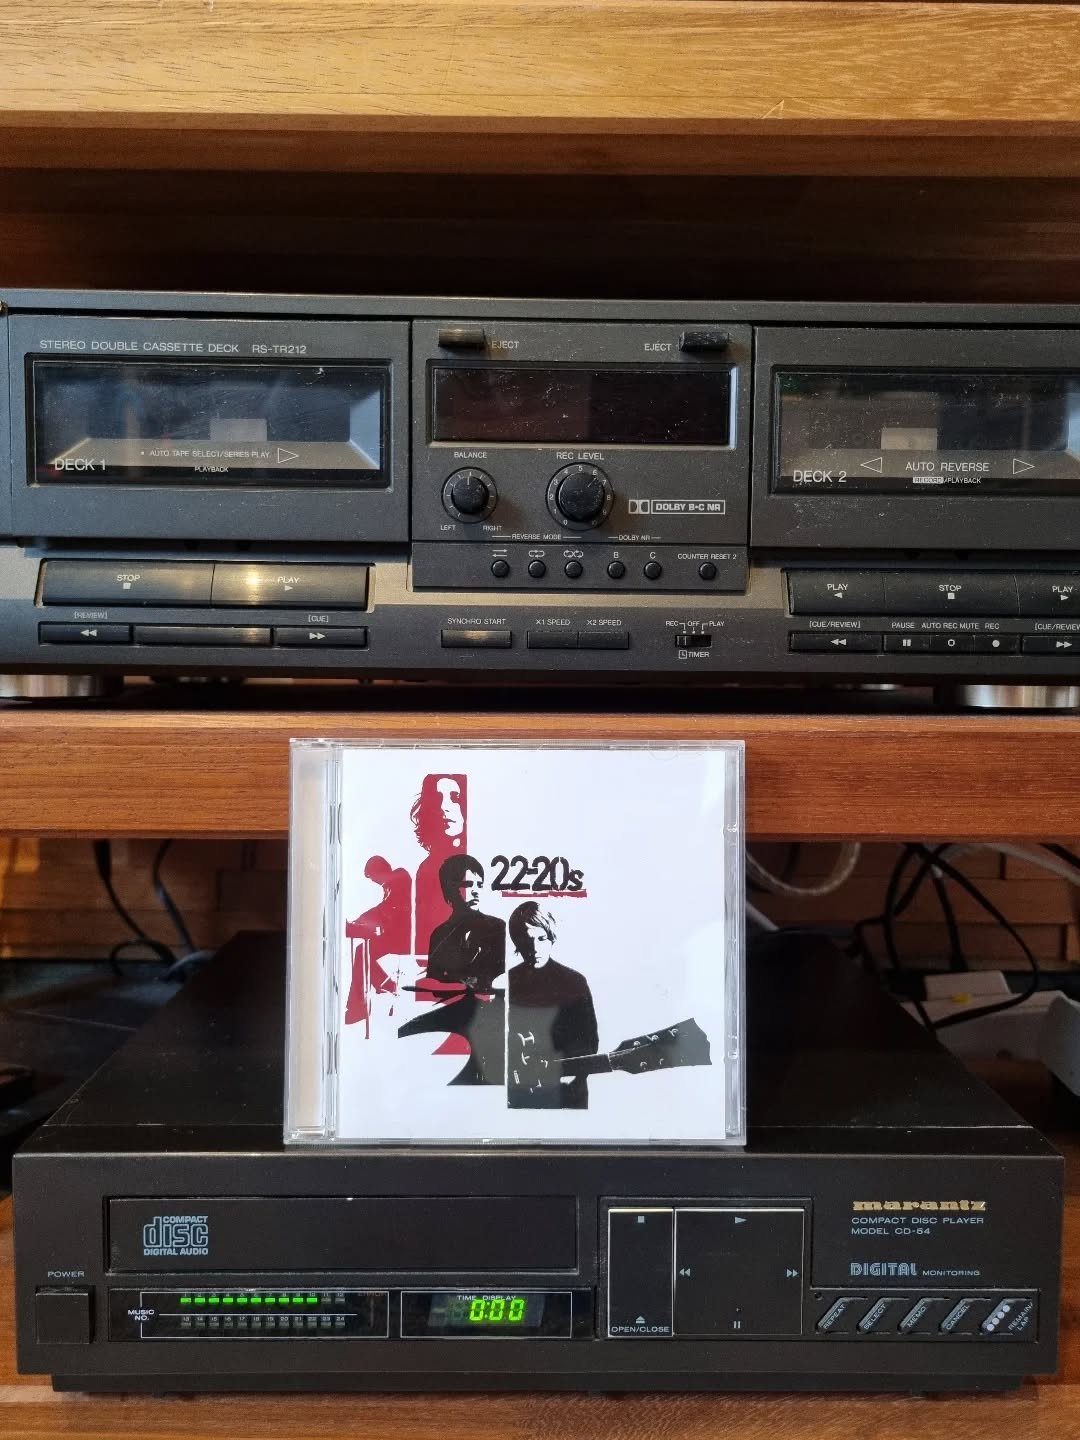
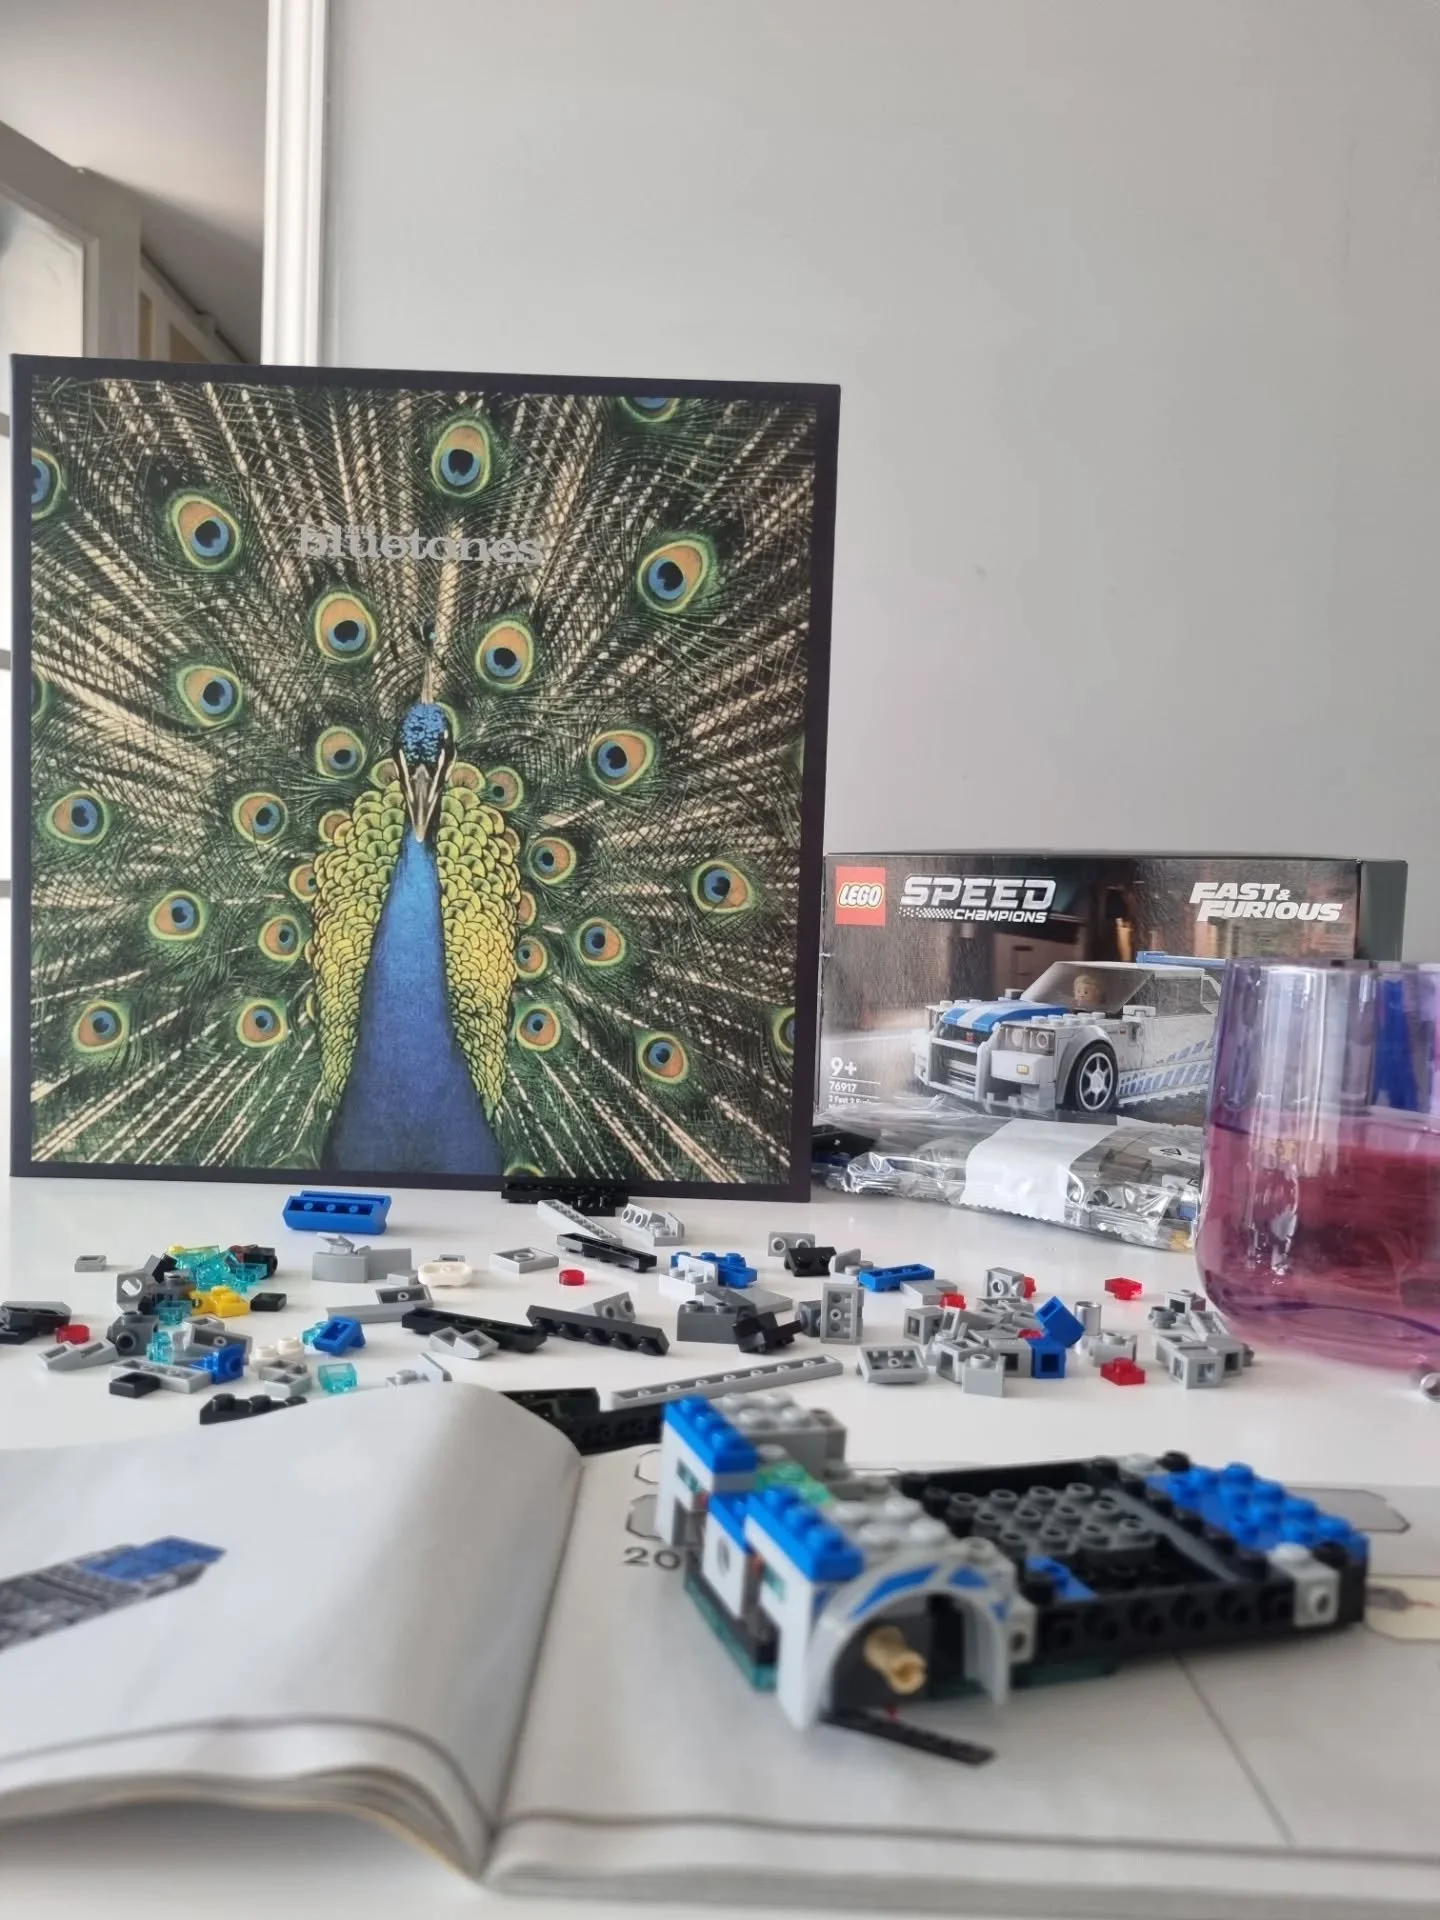
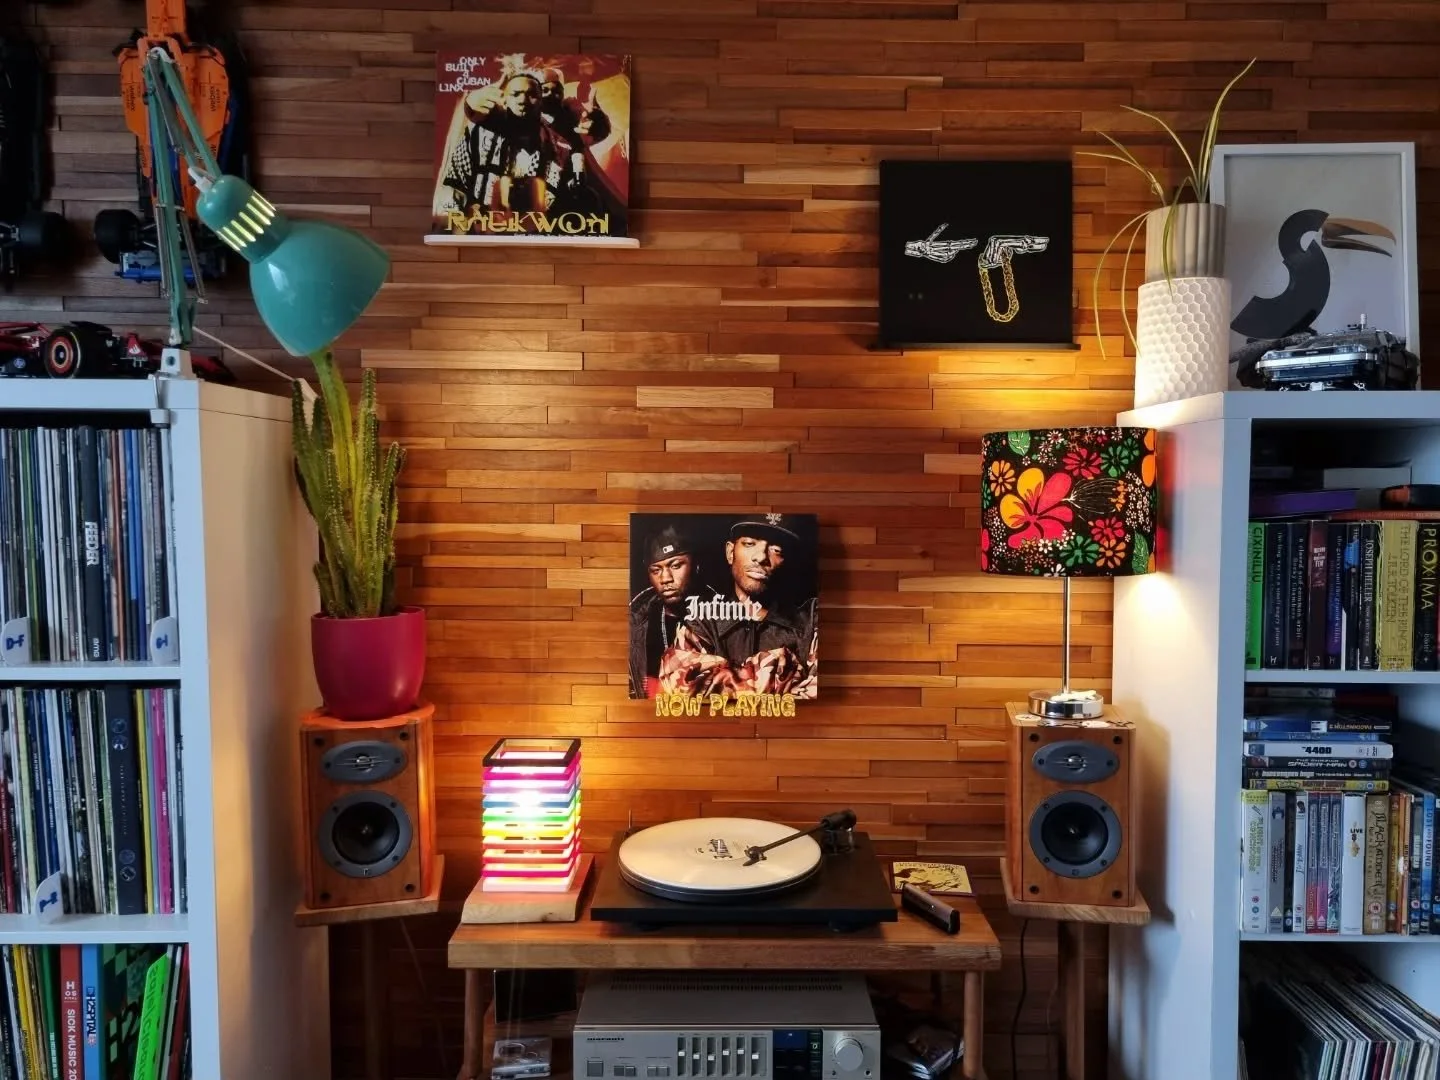
Go on, give someone some love

People who buy for themselves tend to buy white. People who buy for other people tend to buy bright. Make of that what you will. But if you’re not sure what to choose, you could always stay on the safe side and buy them a gift card instead.
[Details]
Mix, match and display your favourite trinkets, knick-knacks, collectibles, toys or curios with these cute interchangeable trinket shelves.
Each shelf consists of a backing bracket, which can be either stuck to the wall with a Command Strip or fastened with a screw, and a shelf in a fun shape. All shelves use the same bracket, so you can swap and change your shelves around whenever you like without having to uninstall anything - just lift one off and drop another one on. I'll include a Command Strip and a screw and Rawlplug with each shelf.
[Instructions]
The bracket must be installed with the angled end facing up, with the longer face away from the wall so that it forms a hook. (This is called a cleat.)
To install using a Command Strip, first stick the Strip to the bracket (it needs to go on the shorter side) and press down firmly on a hard surface for 10 seconds. Next remove the backing paper from the Strip and press firmly onto your chosen spot on the wall for another 10 seconds. Command Strips should only be used on smooth, painted walls. They should not be used on textured walls or wallpaper. You should ensure all surfaces are clean and dust-free and that any paint is properly adhered to the wall itself.
To install using a screw, simply decide where you want it, drill a 6mm hole and insert the Rawlplug, then screw through the bracket into the wall.
[Processing]
These will usually be ready in a few days.