 Image 1 of 7

 Image 2 of 7

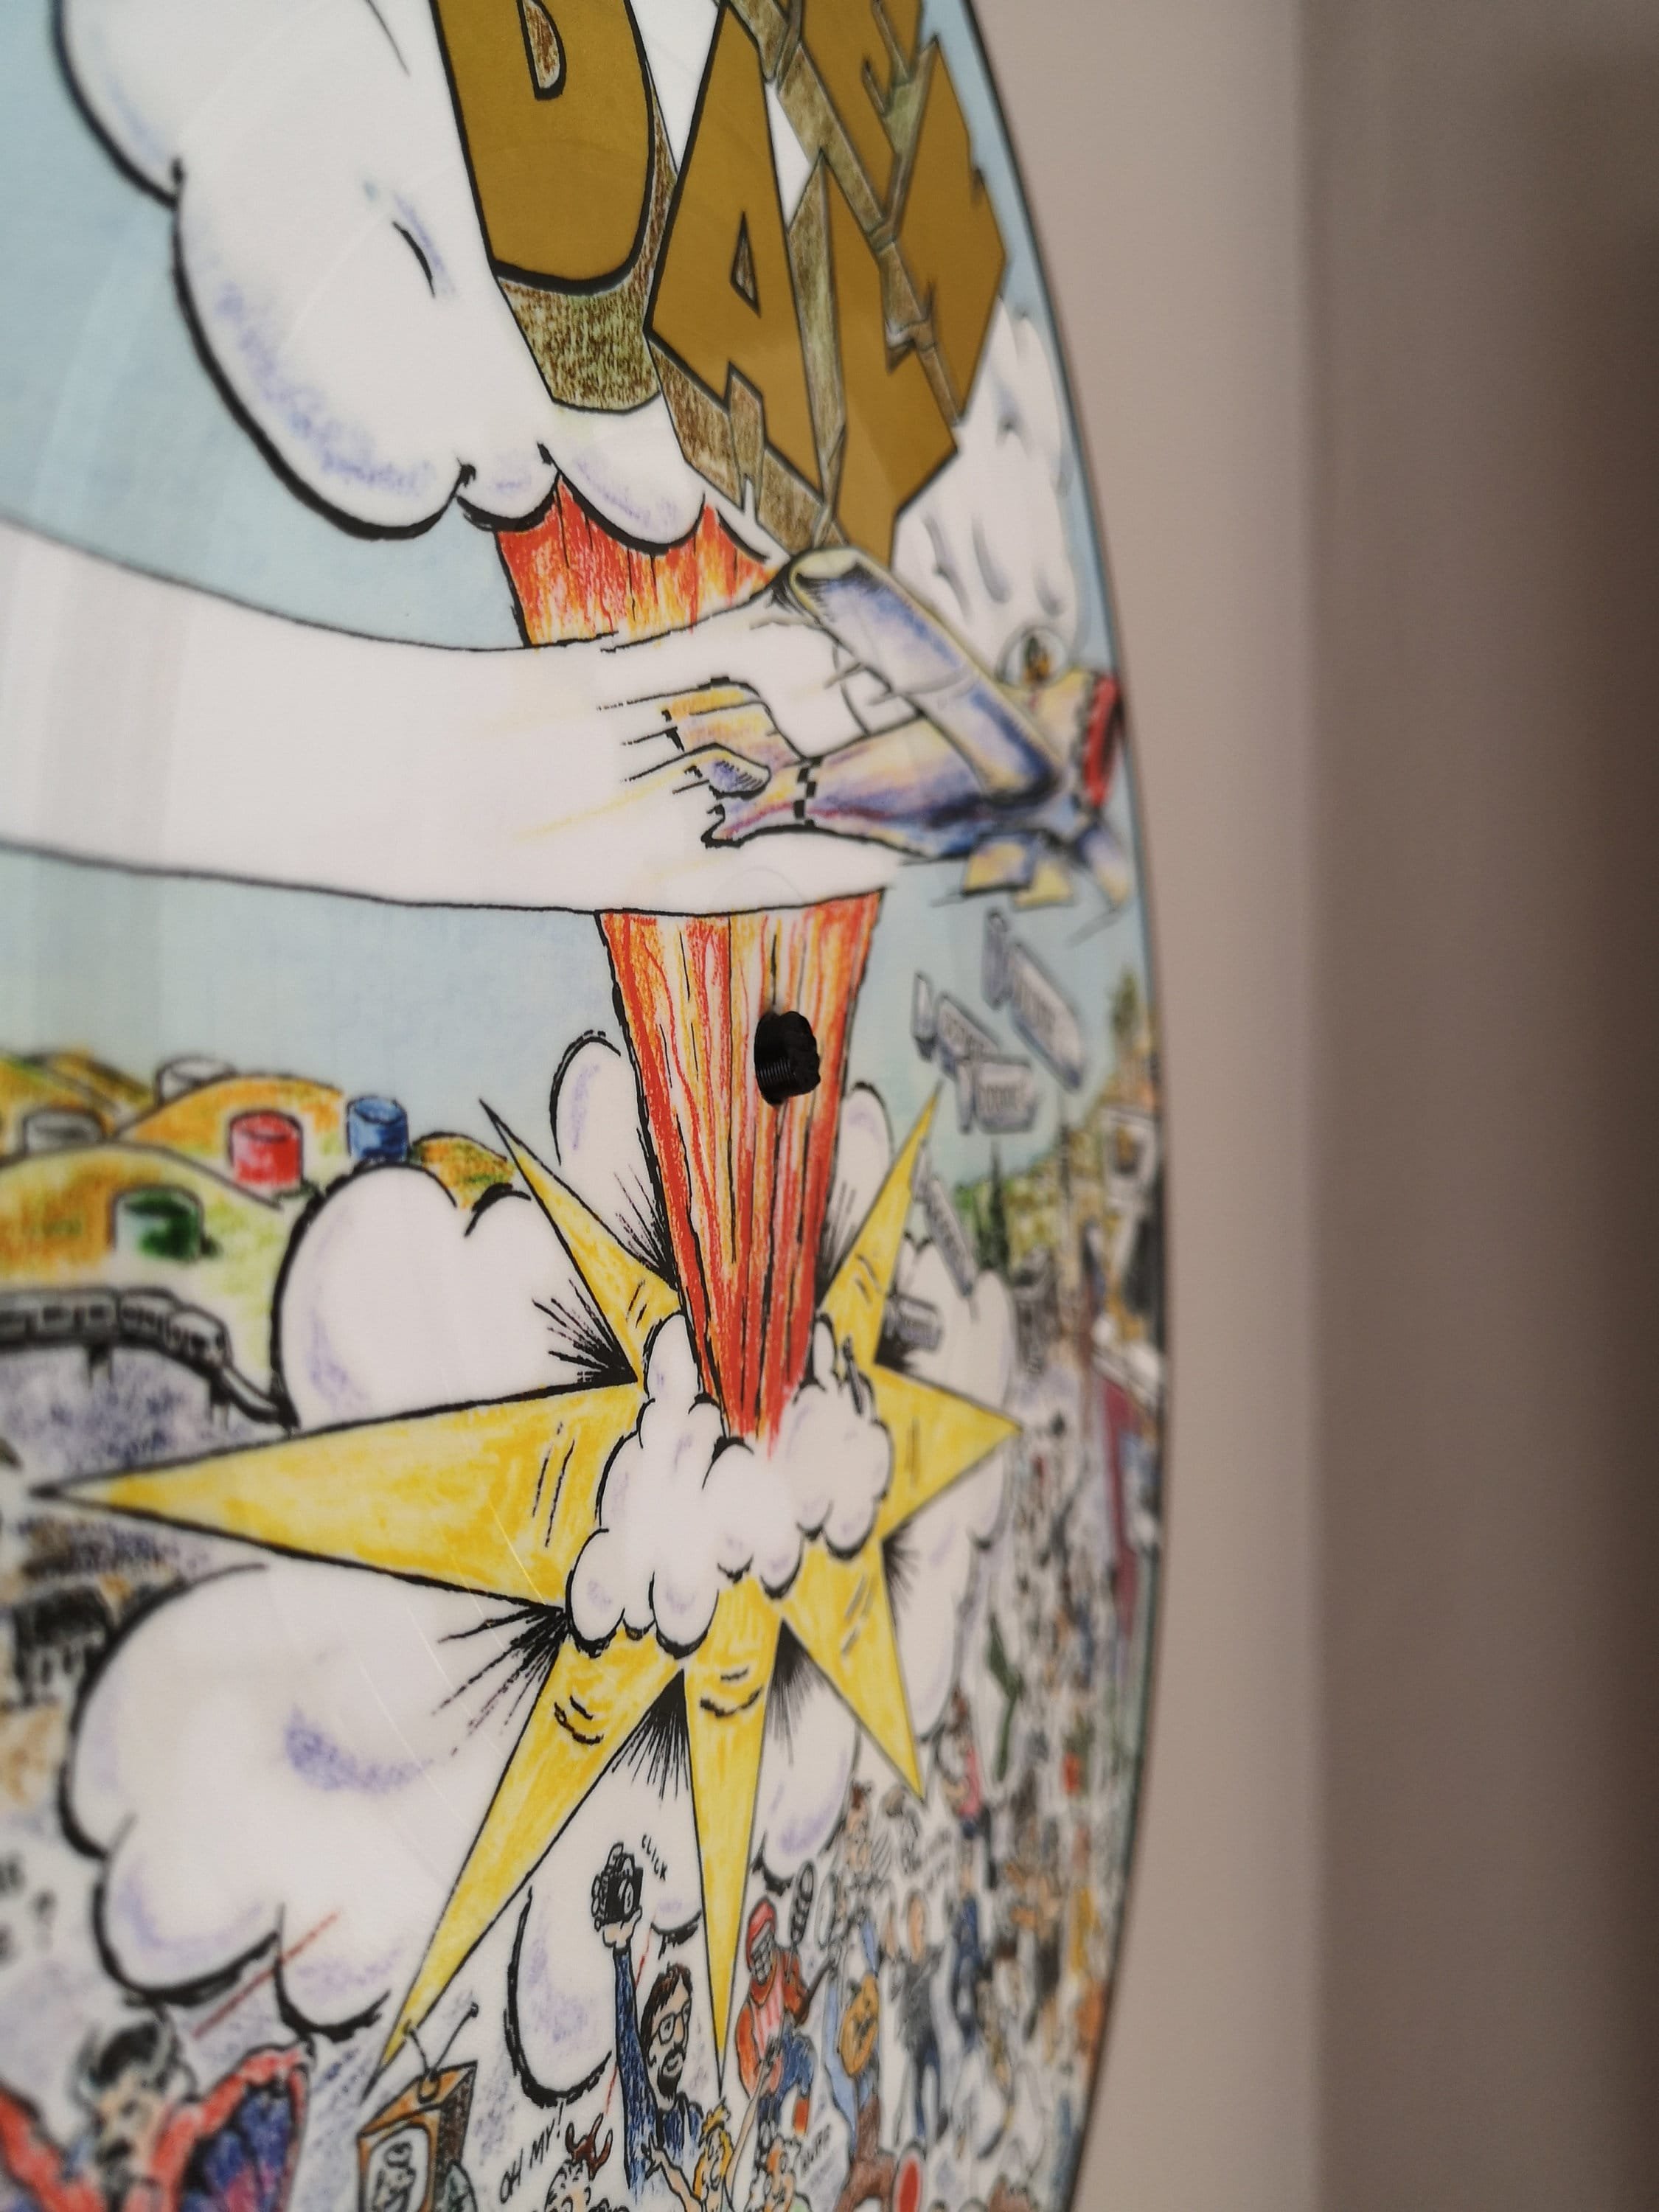 Image 3 of 7

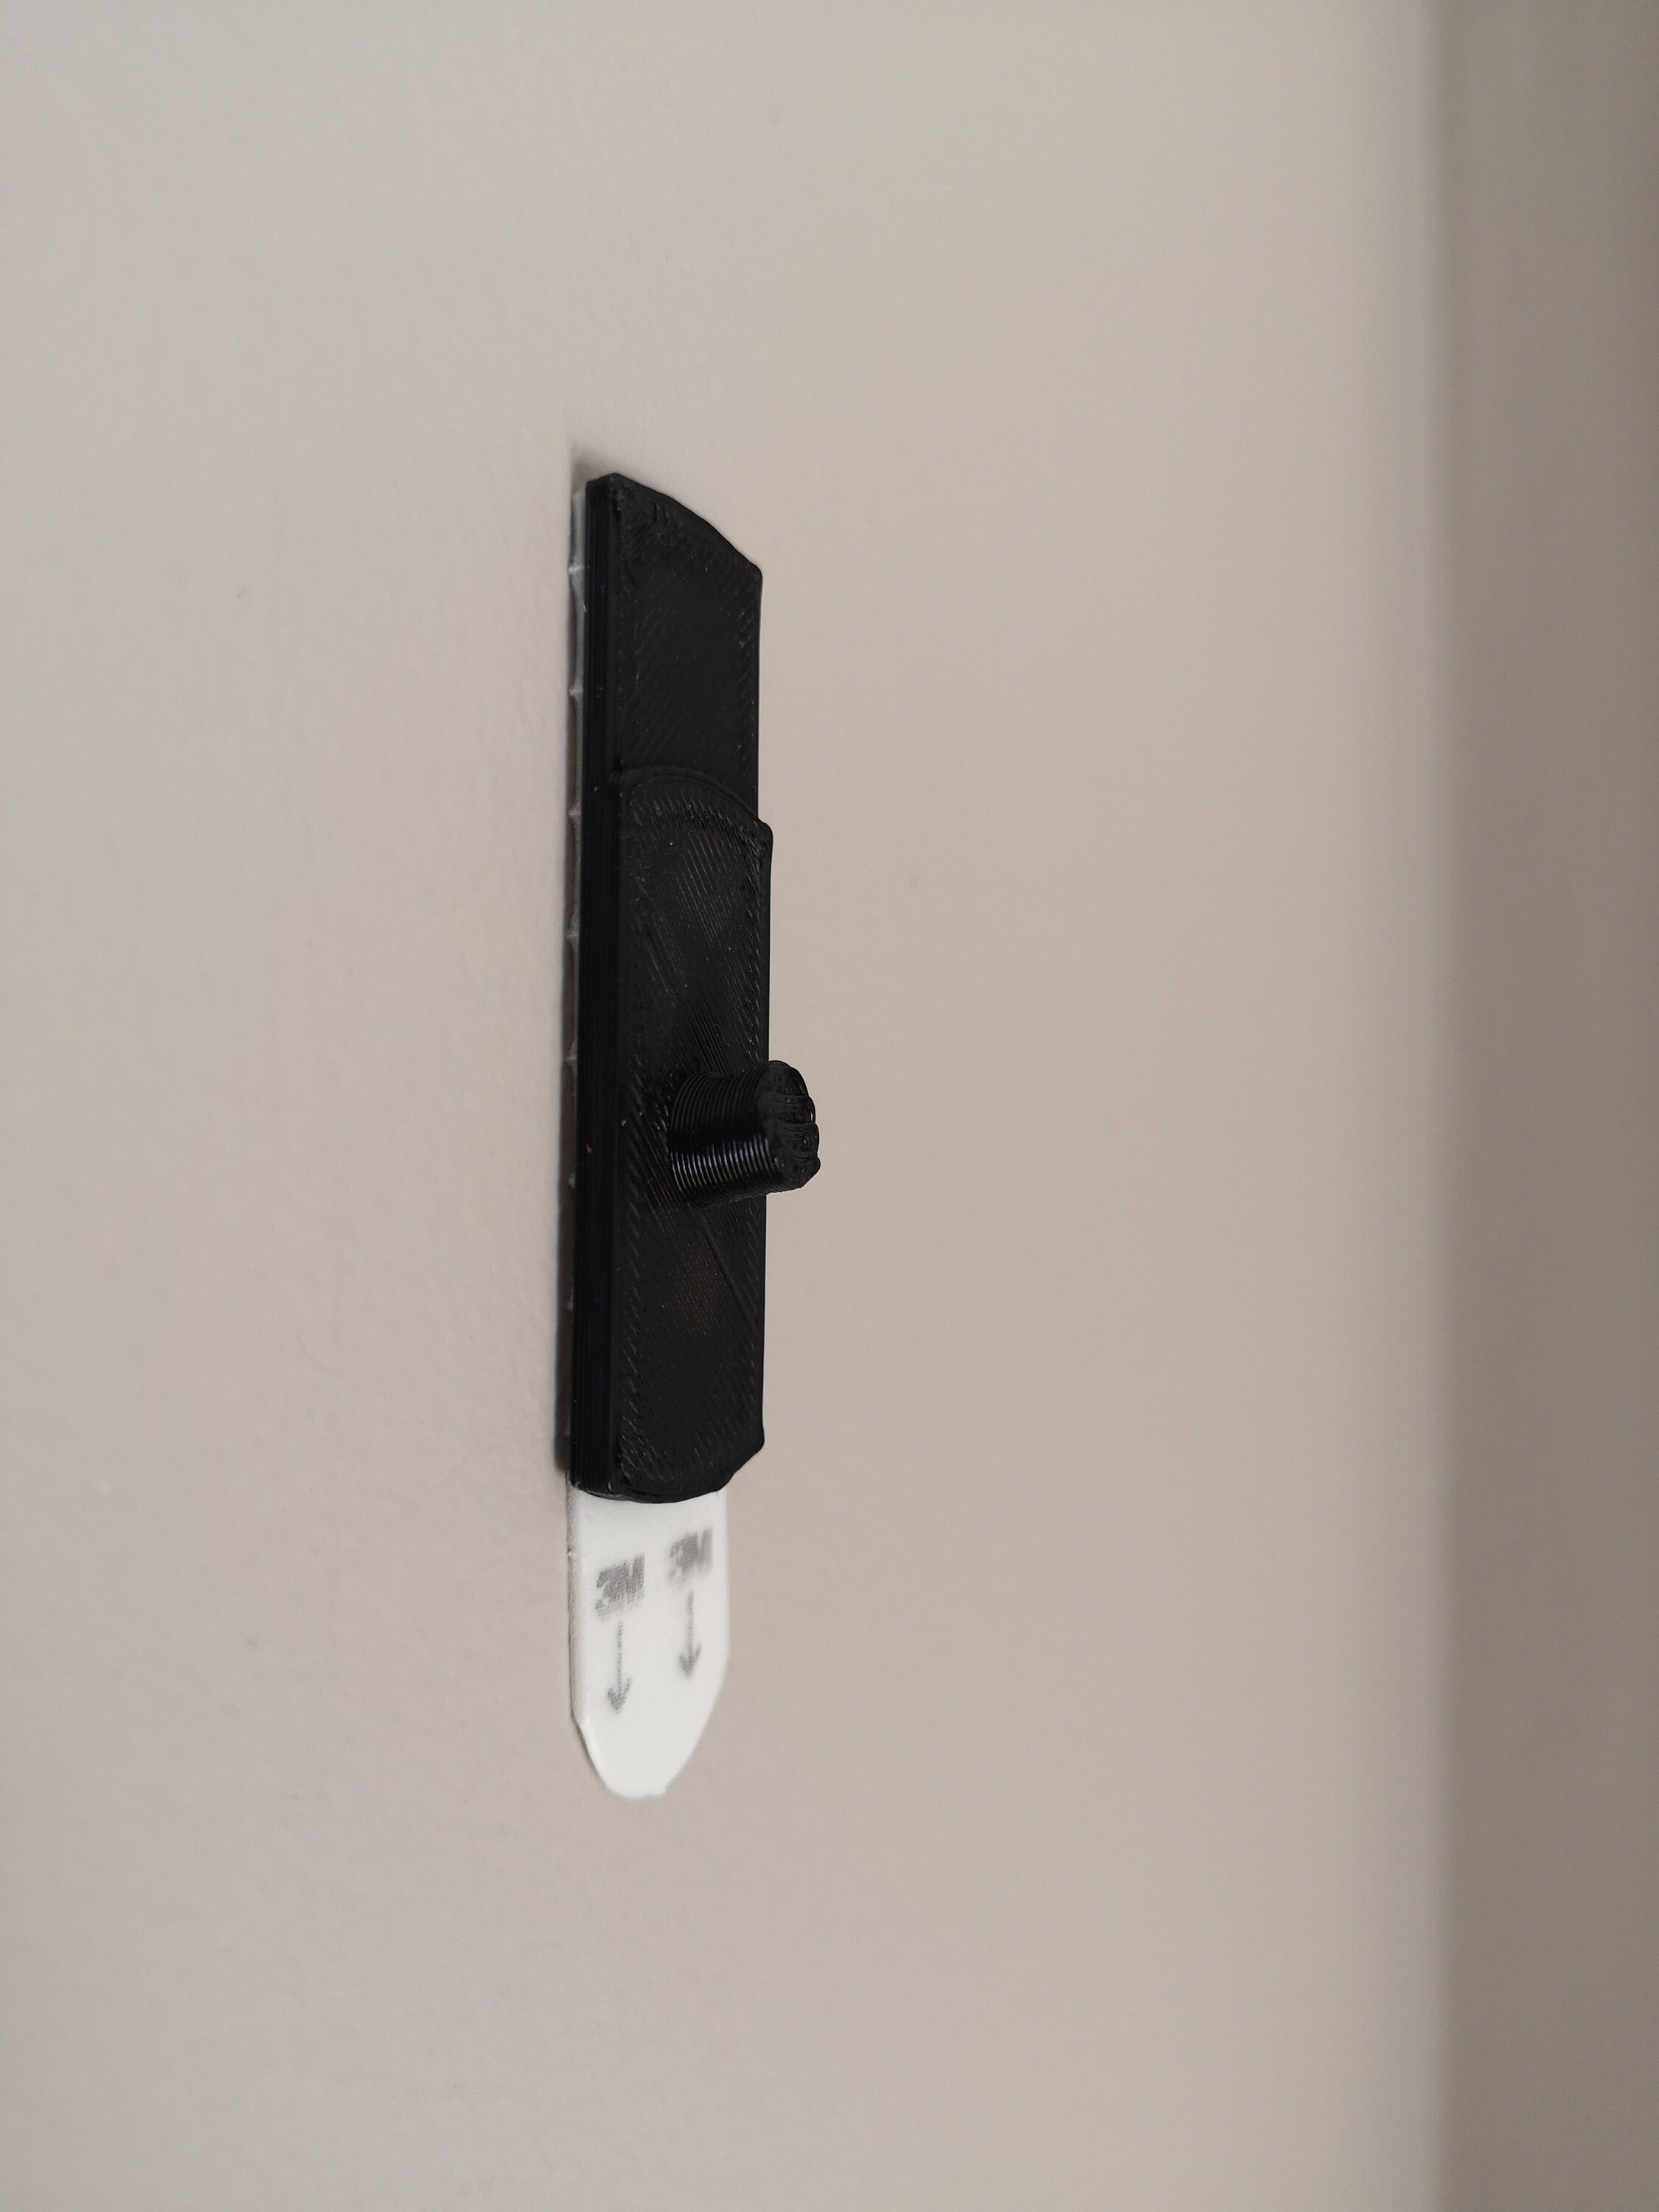 Image 4 of 7

 Image 5 of 7

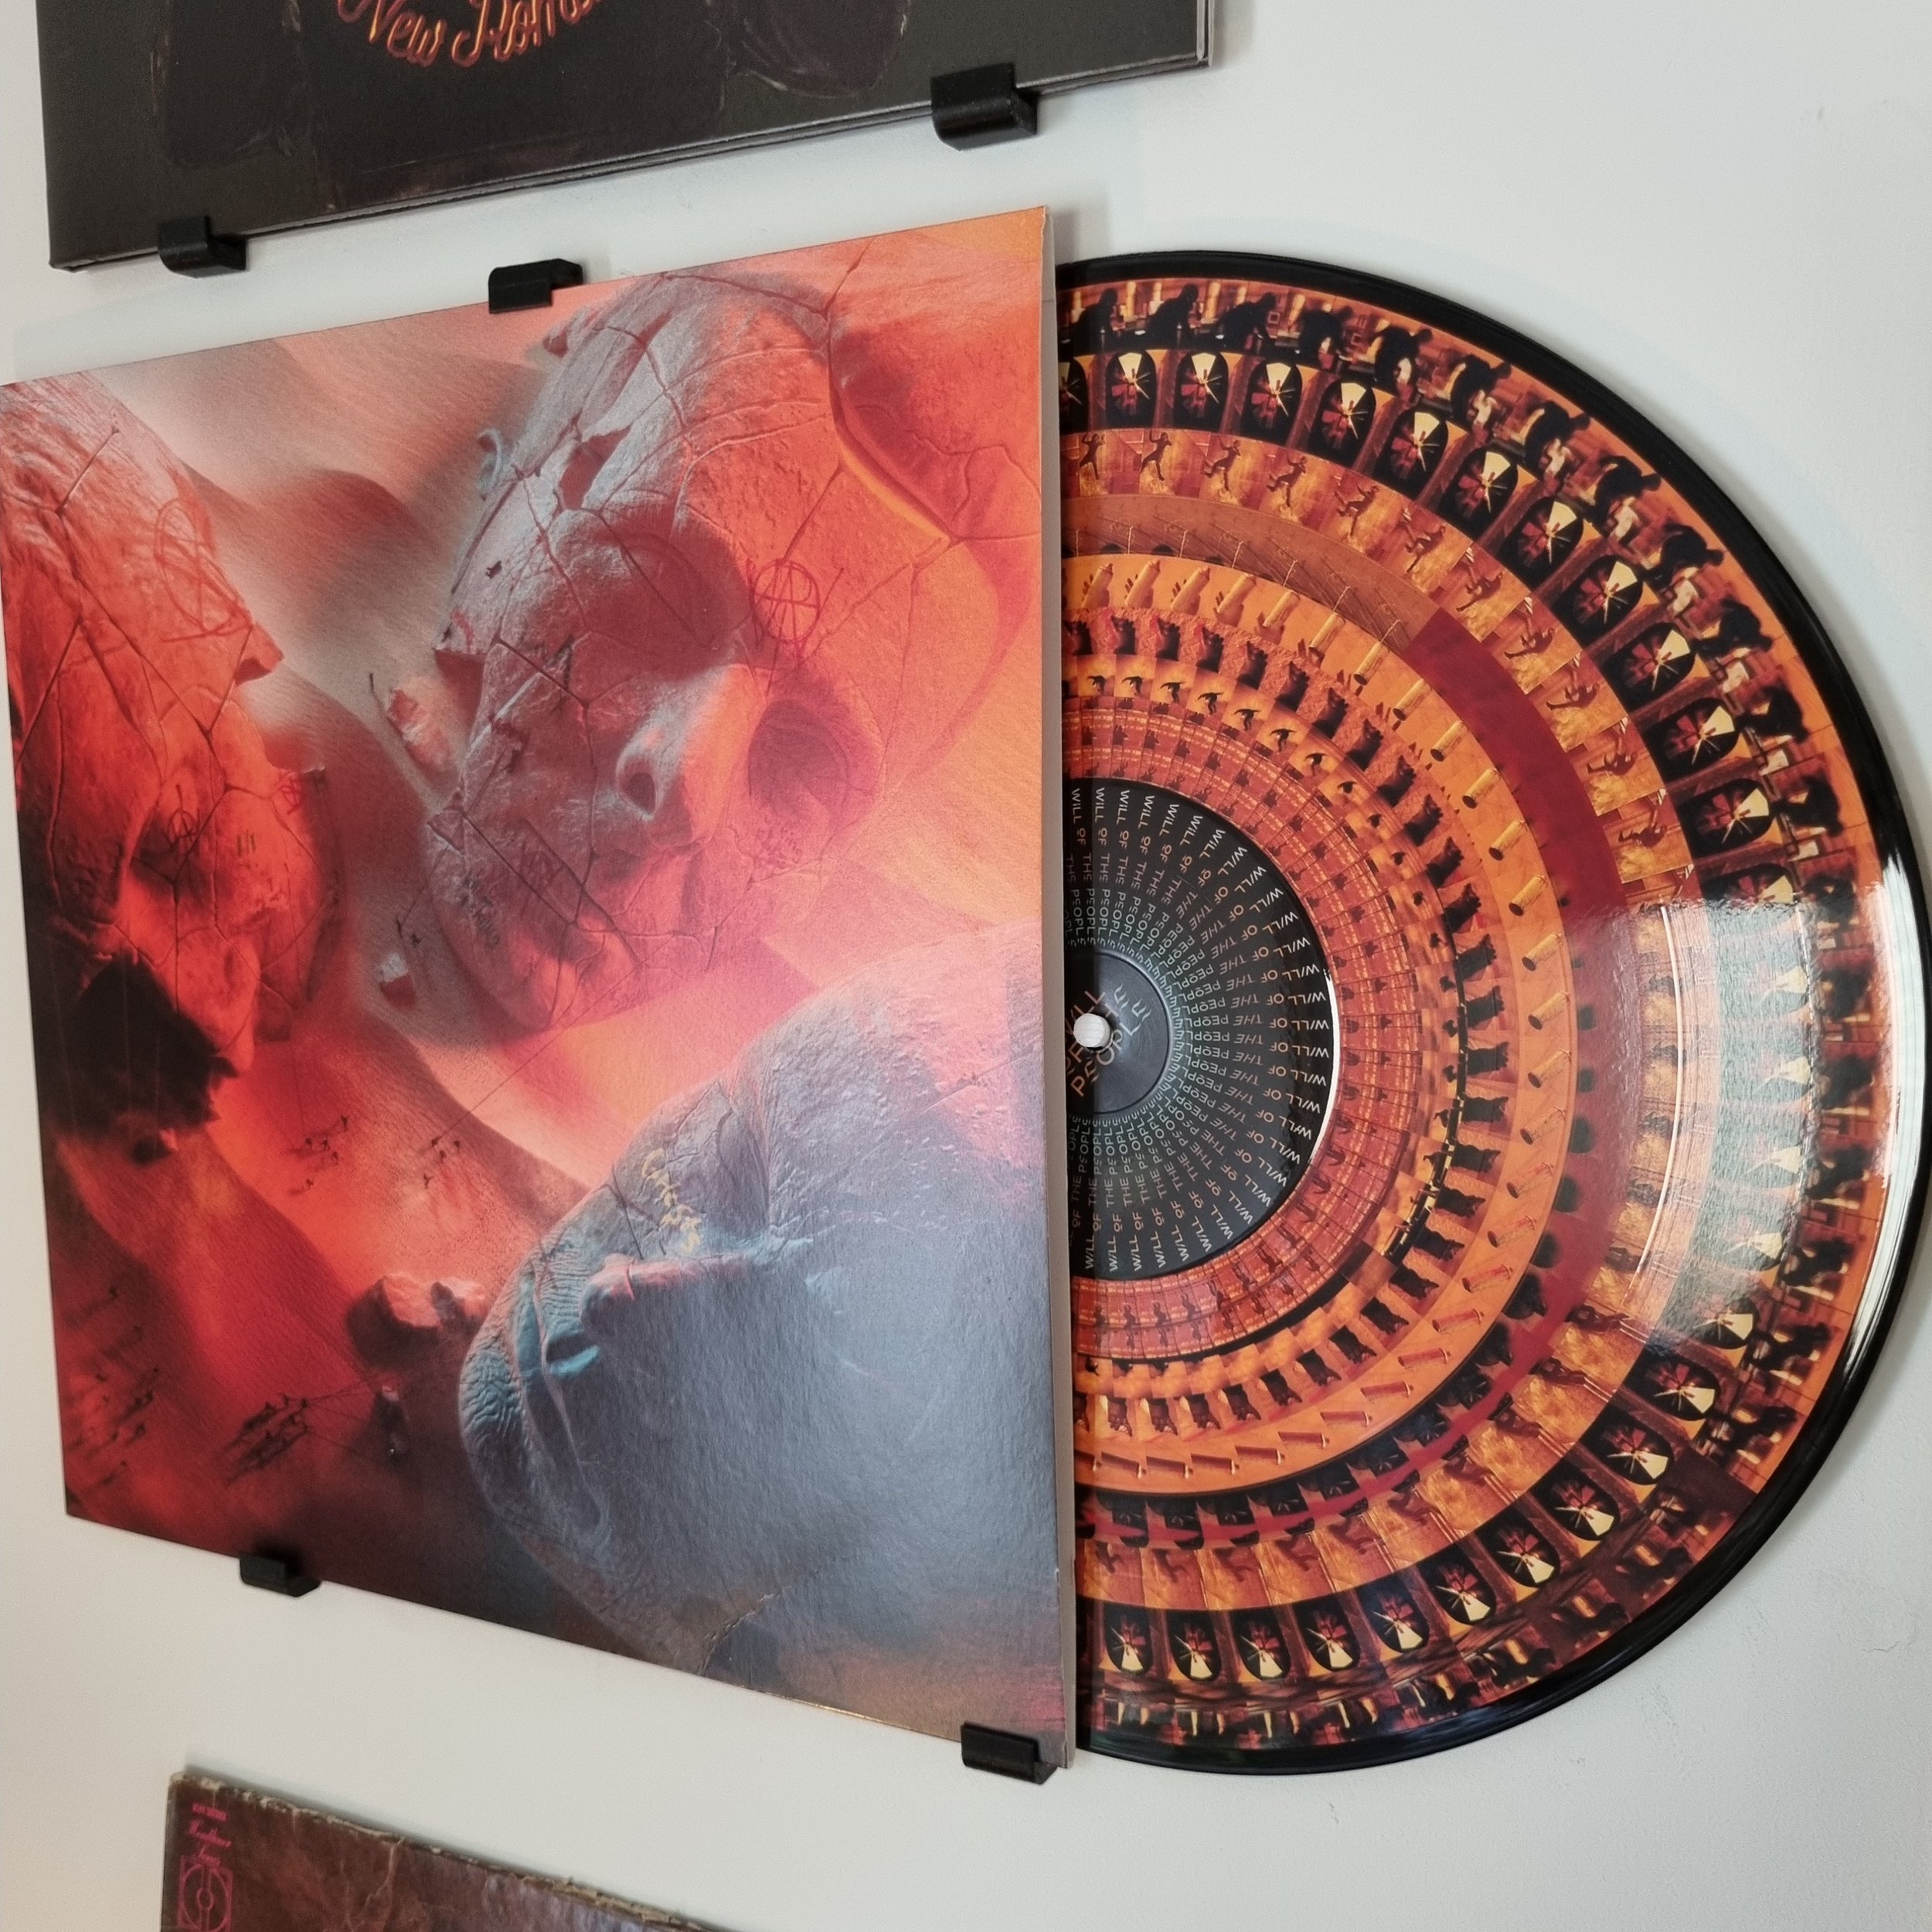 Image 6 of 7

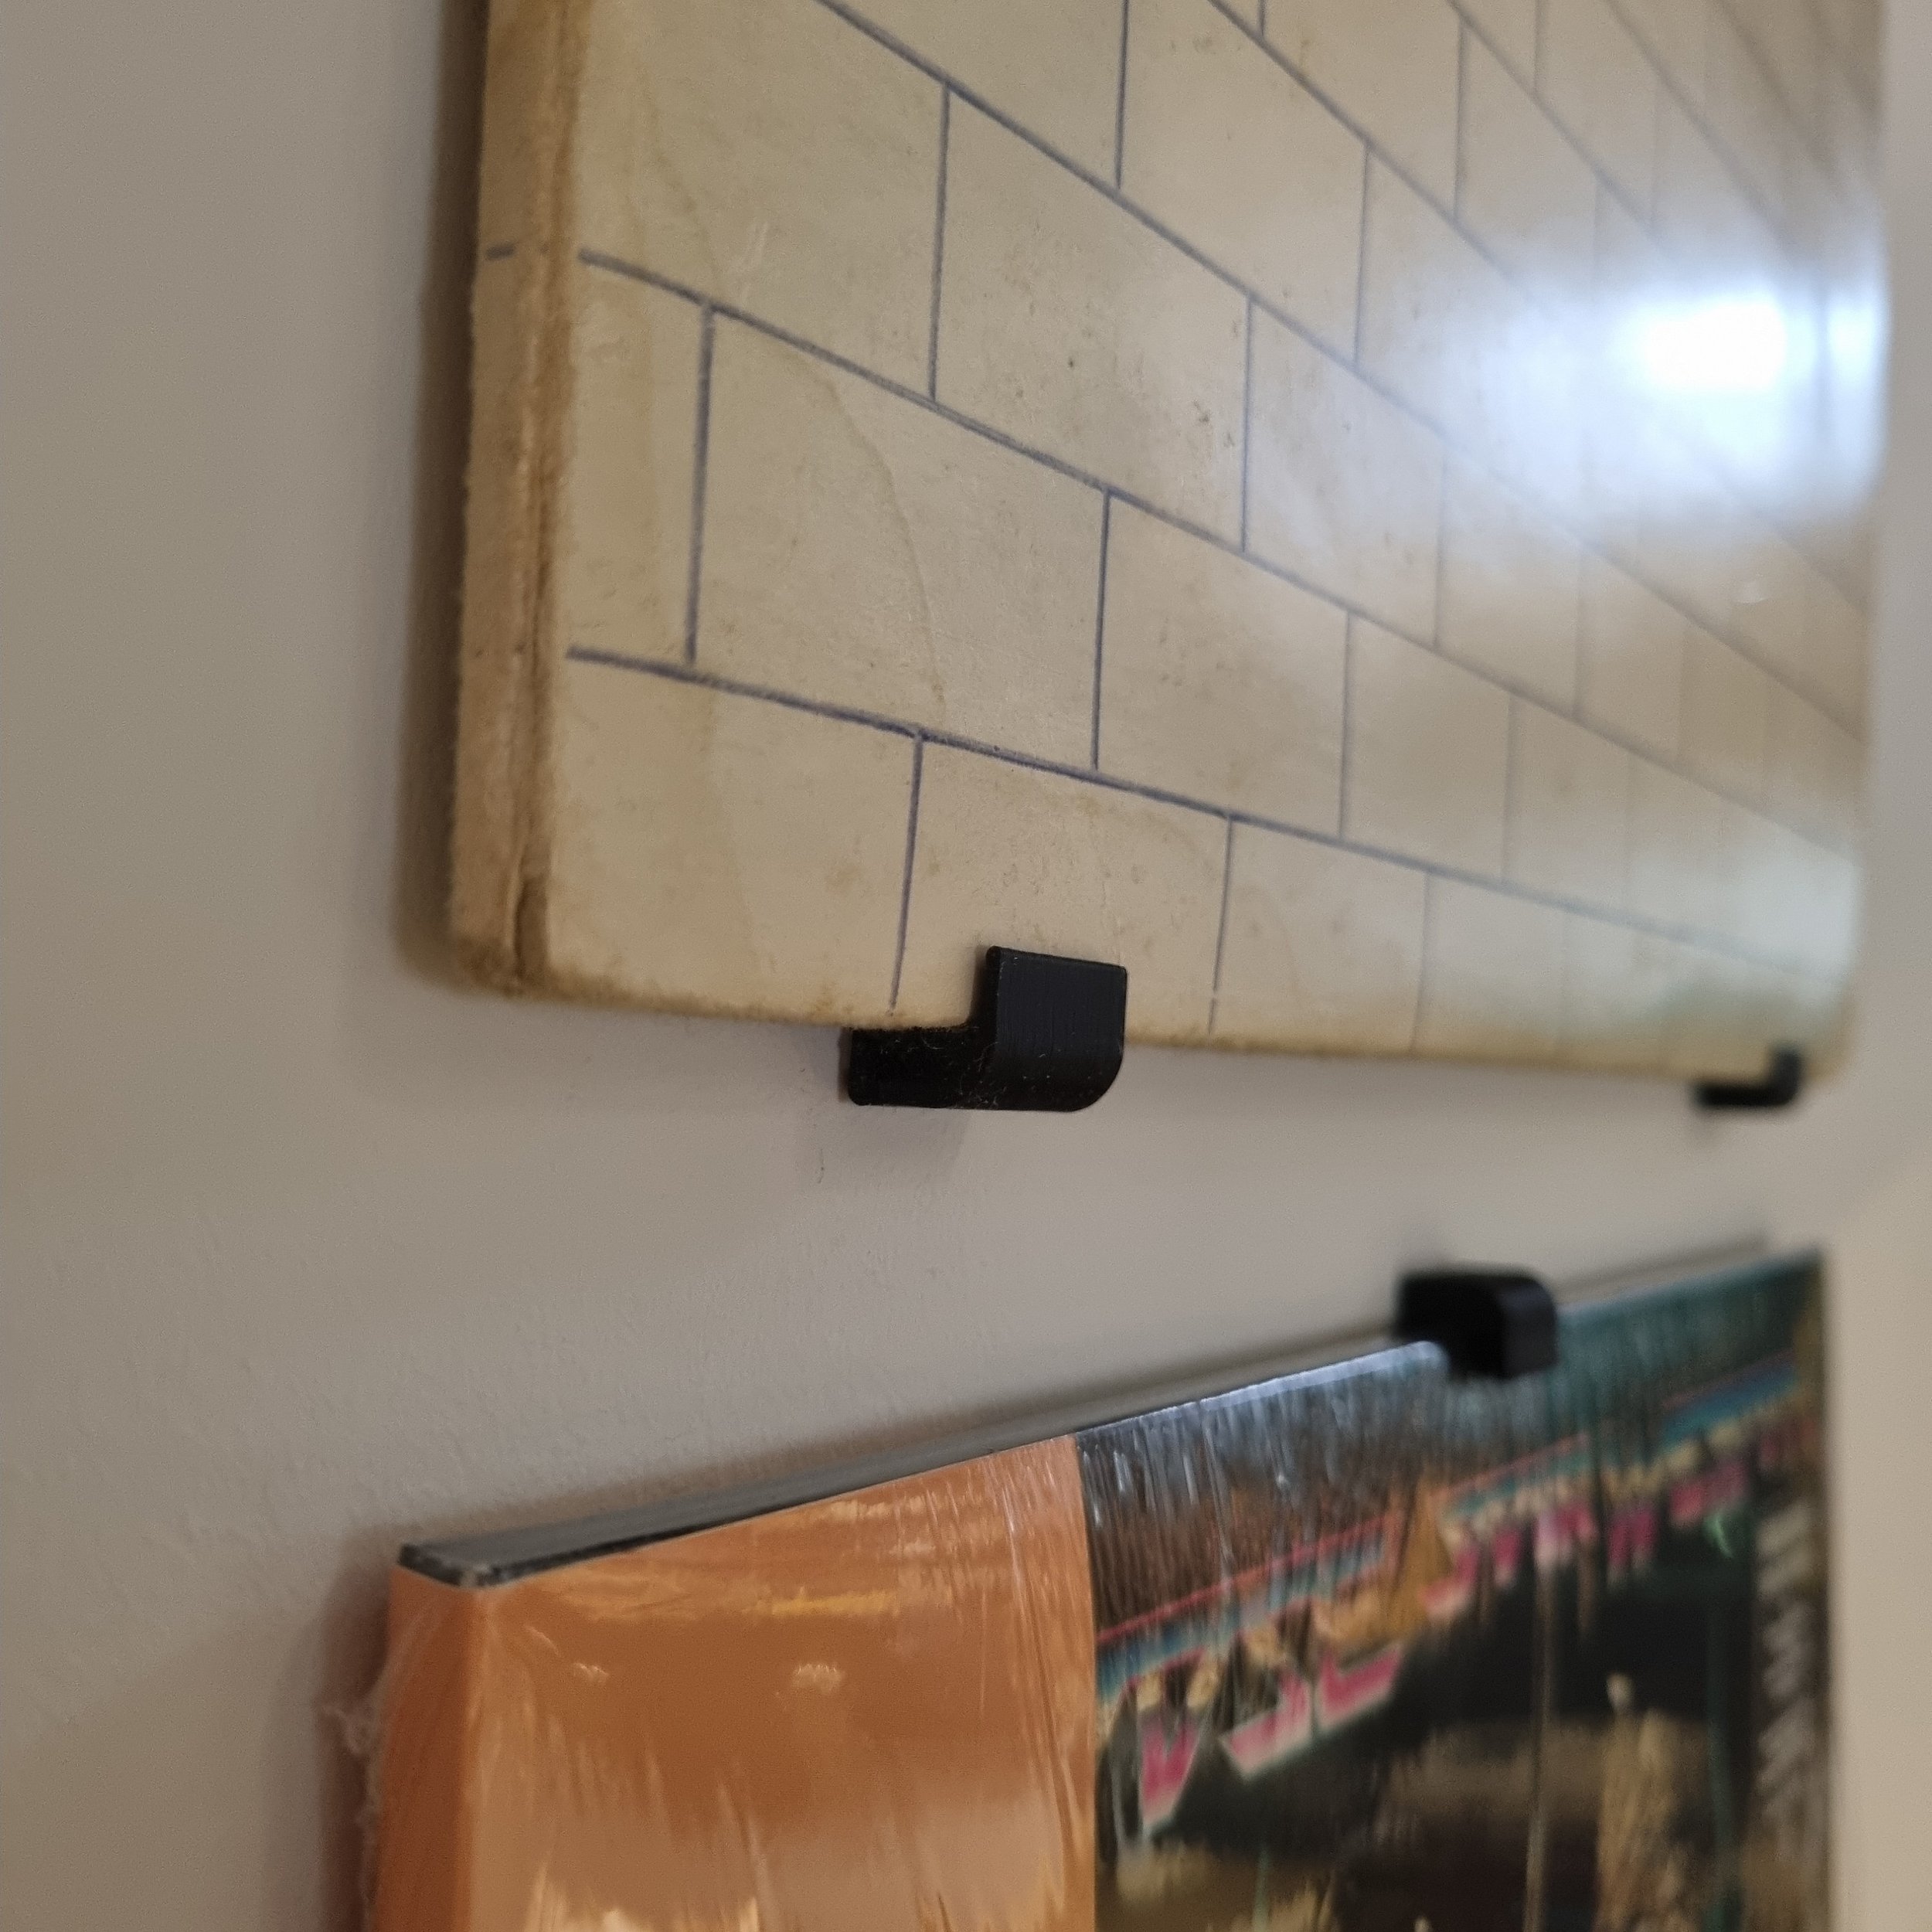 Image 7 of 7


Vinyl Record Hanger (4 pack) | Wall Mount | Picture Disc Display
from £5.99
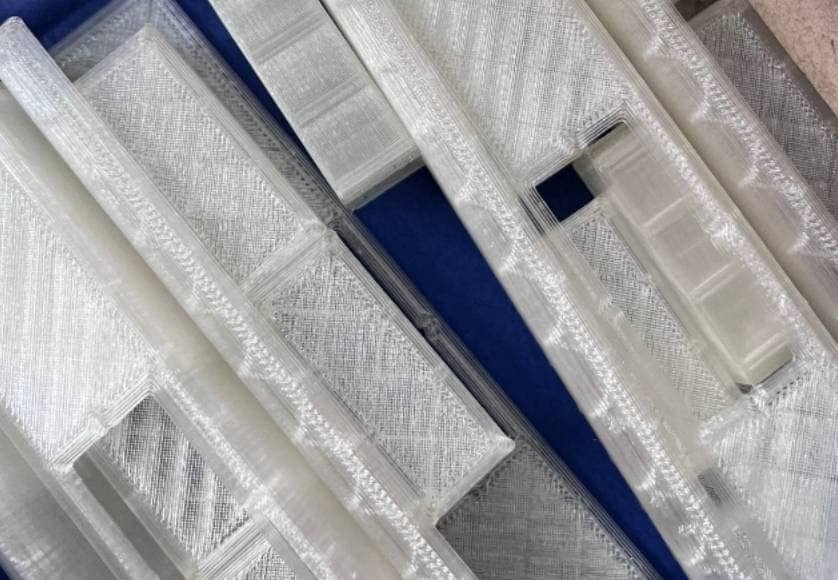
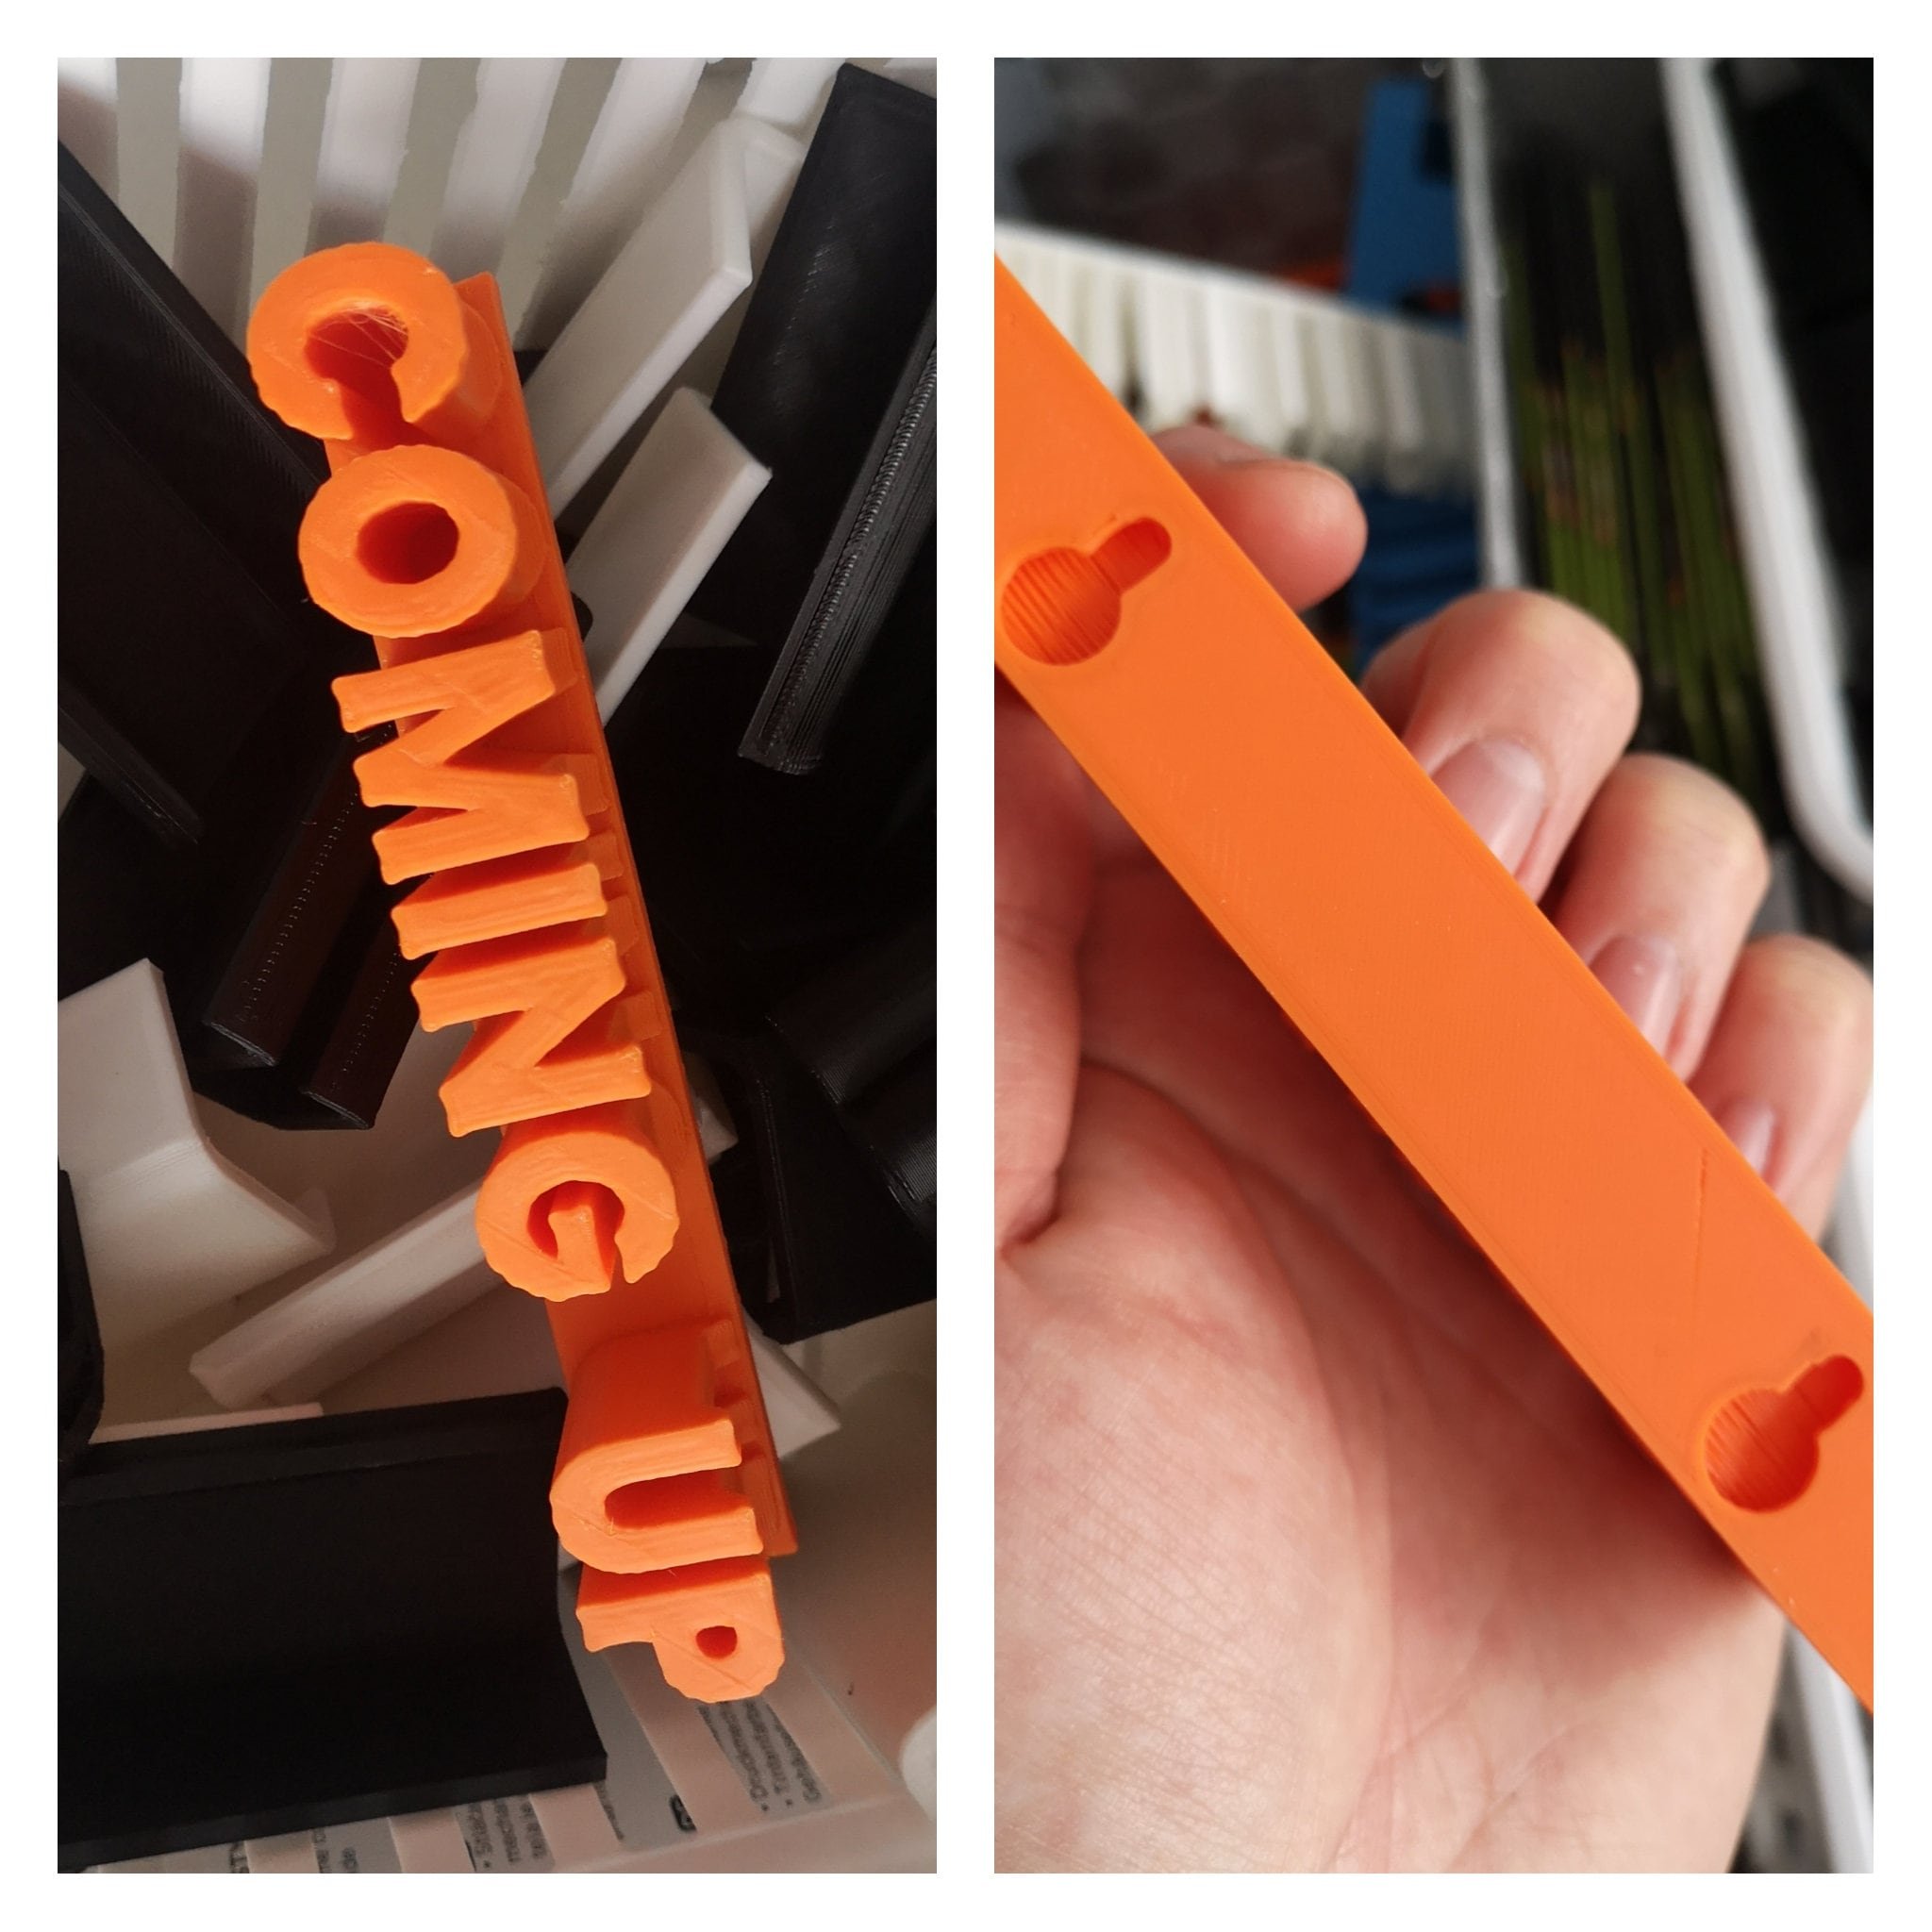
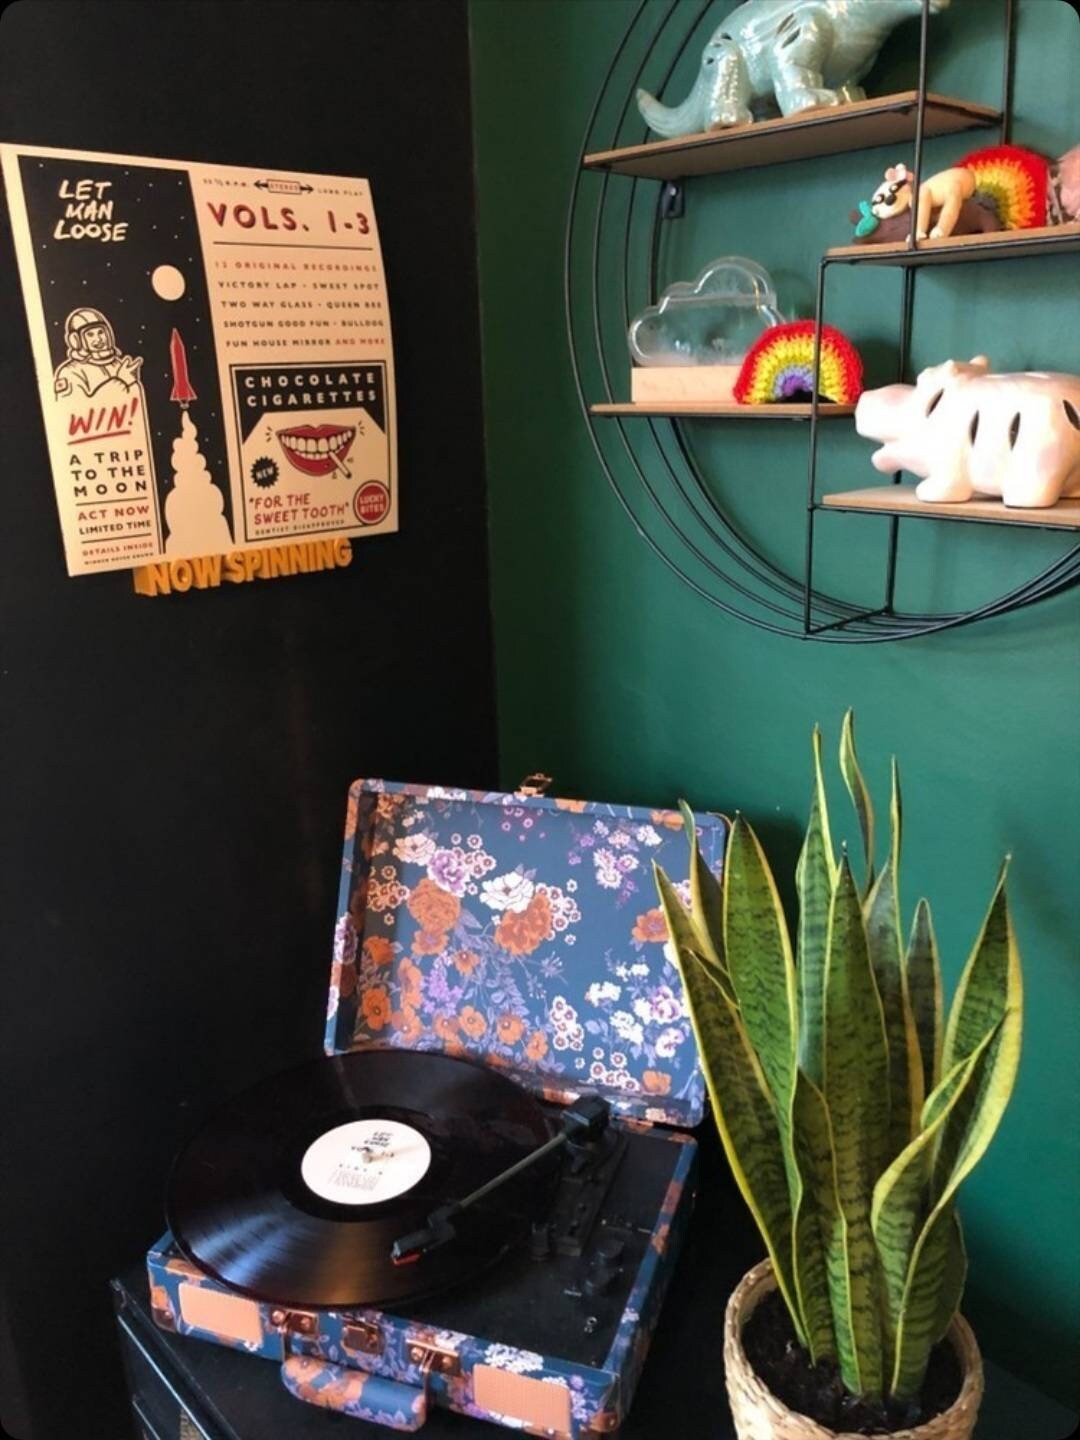
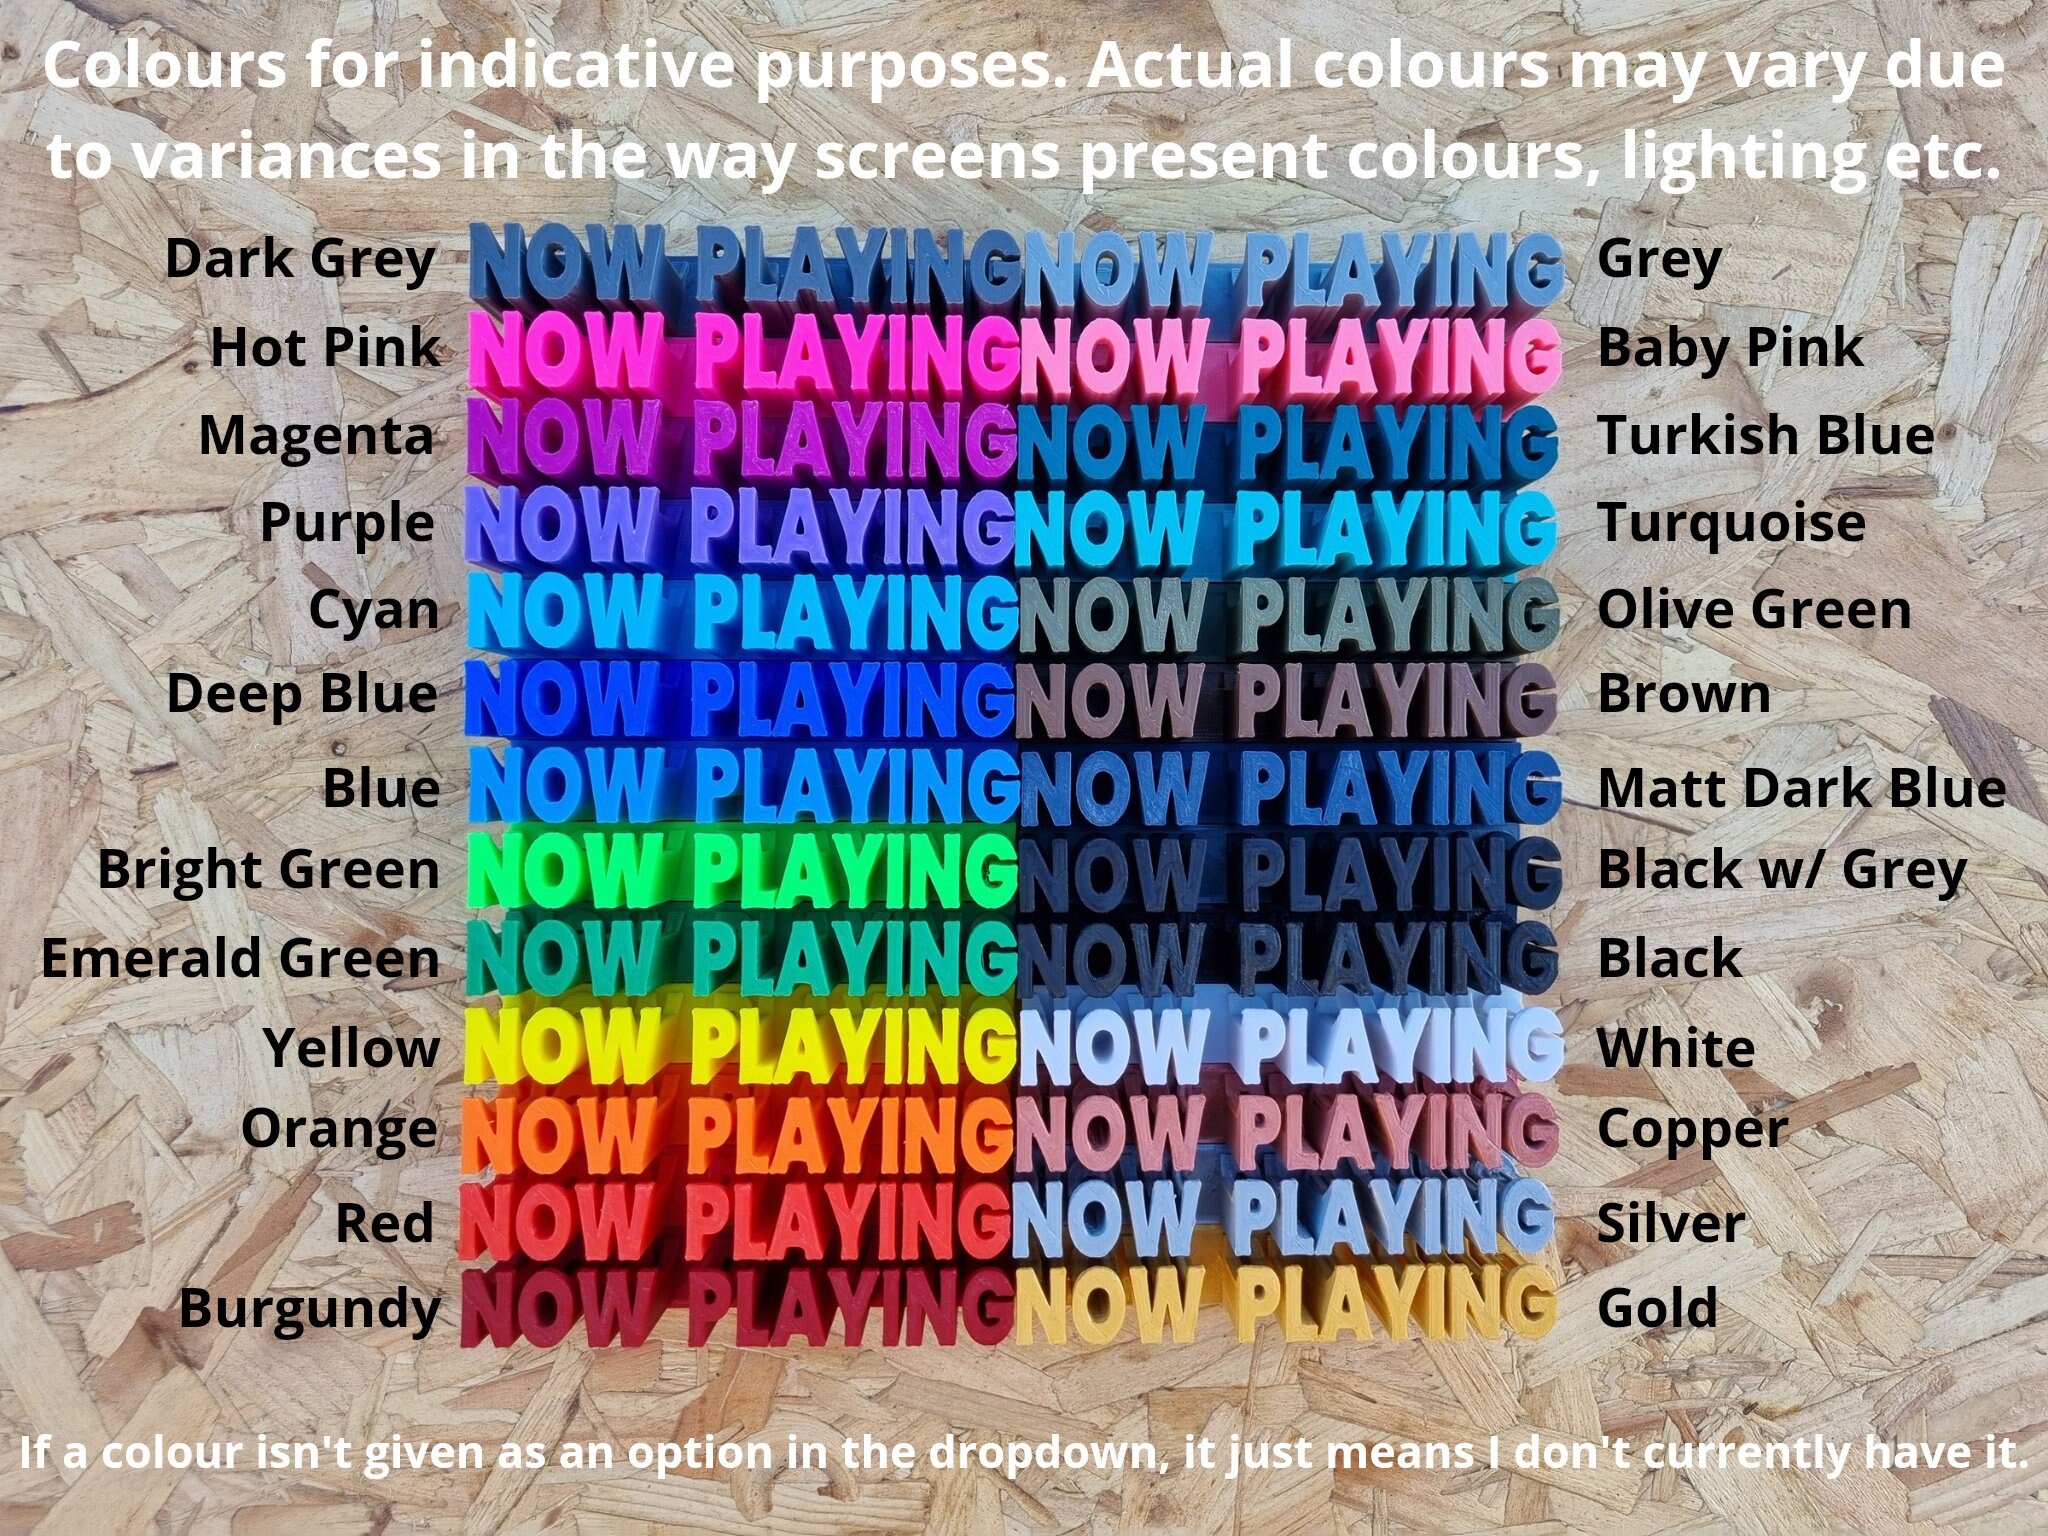
Mount your records on your wall with these vinyl record hangers, perfect for picture discs or coloured vinyl. They're 3d printed to order in a range of colours (though you only see the spindle when they're up so I don't suppose that's a massive draw).
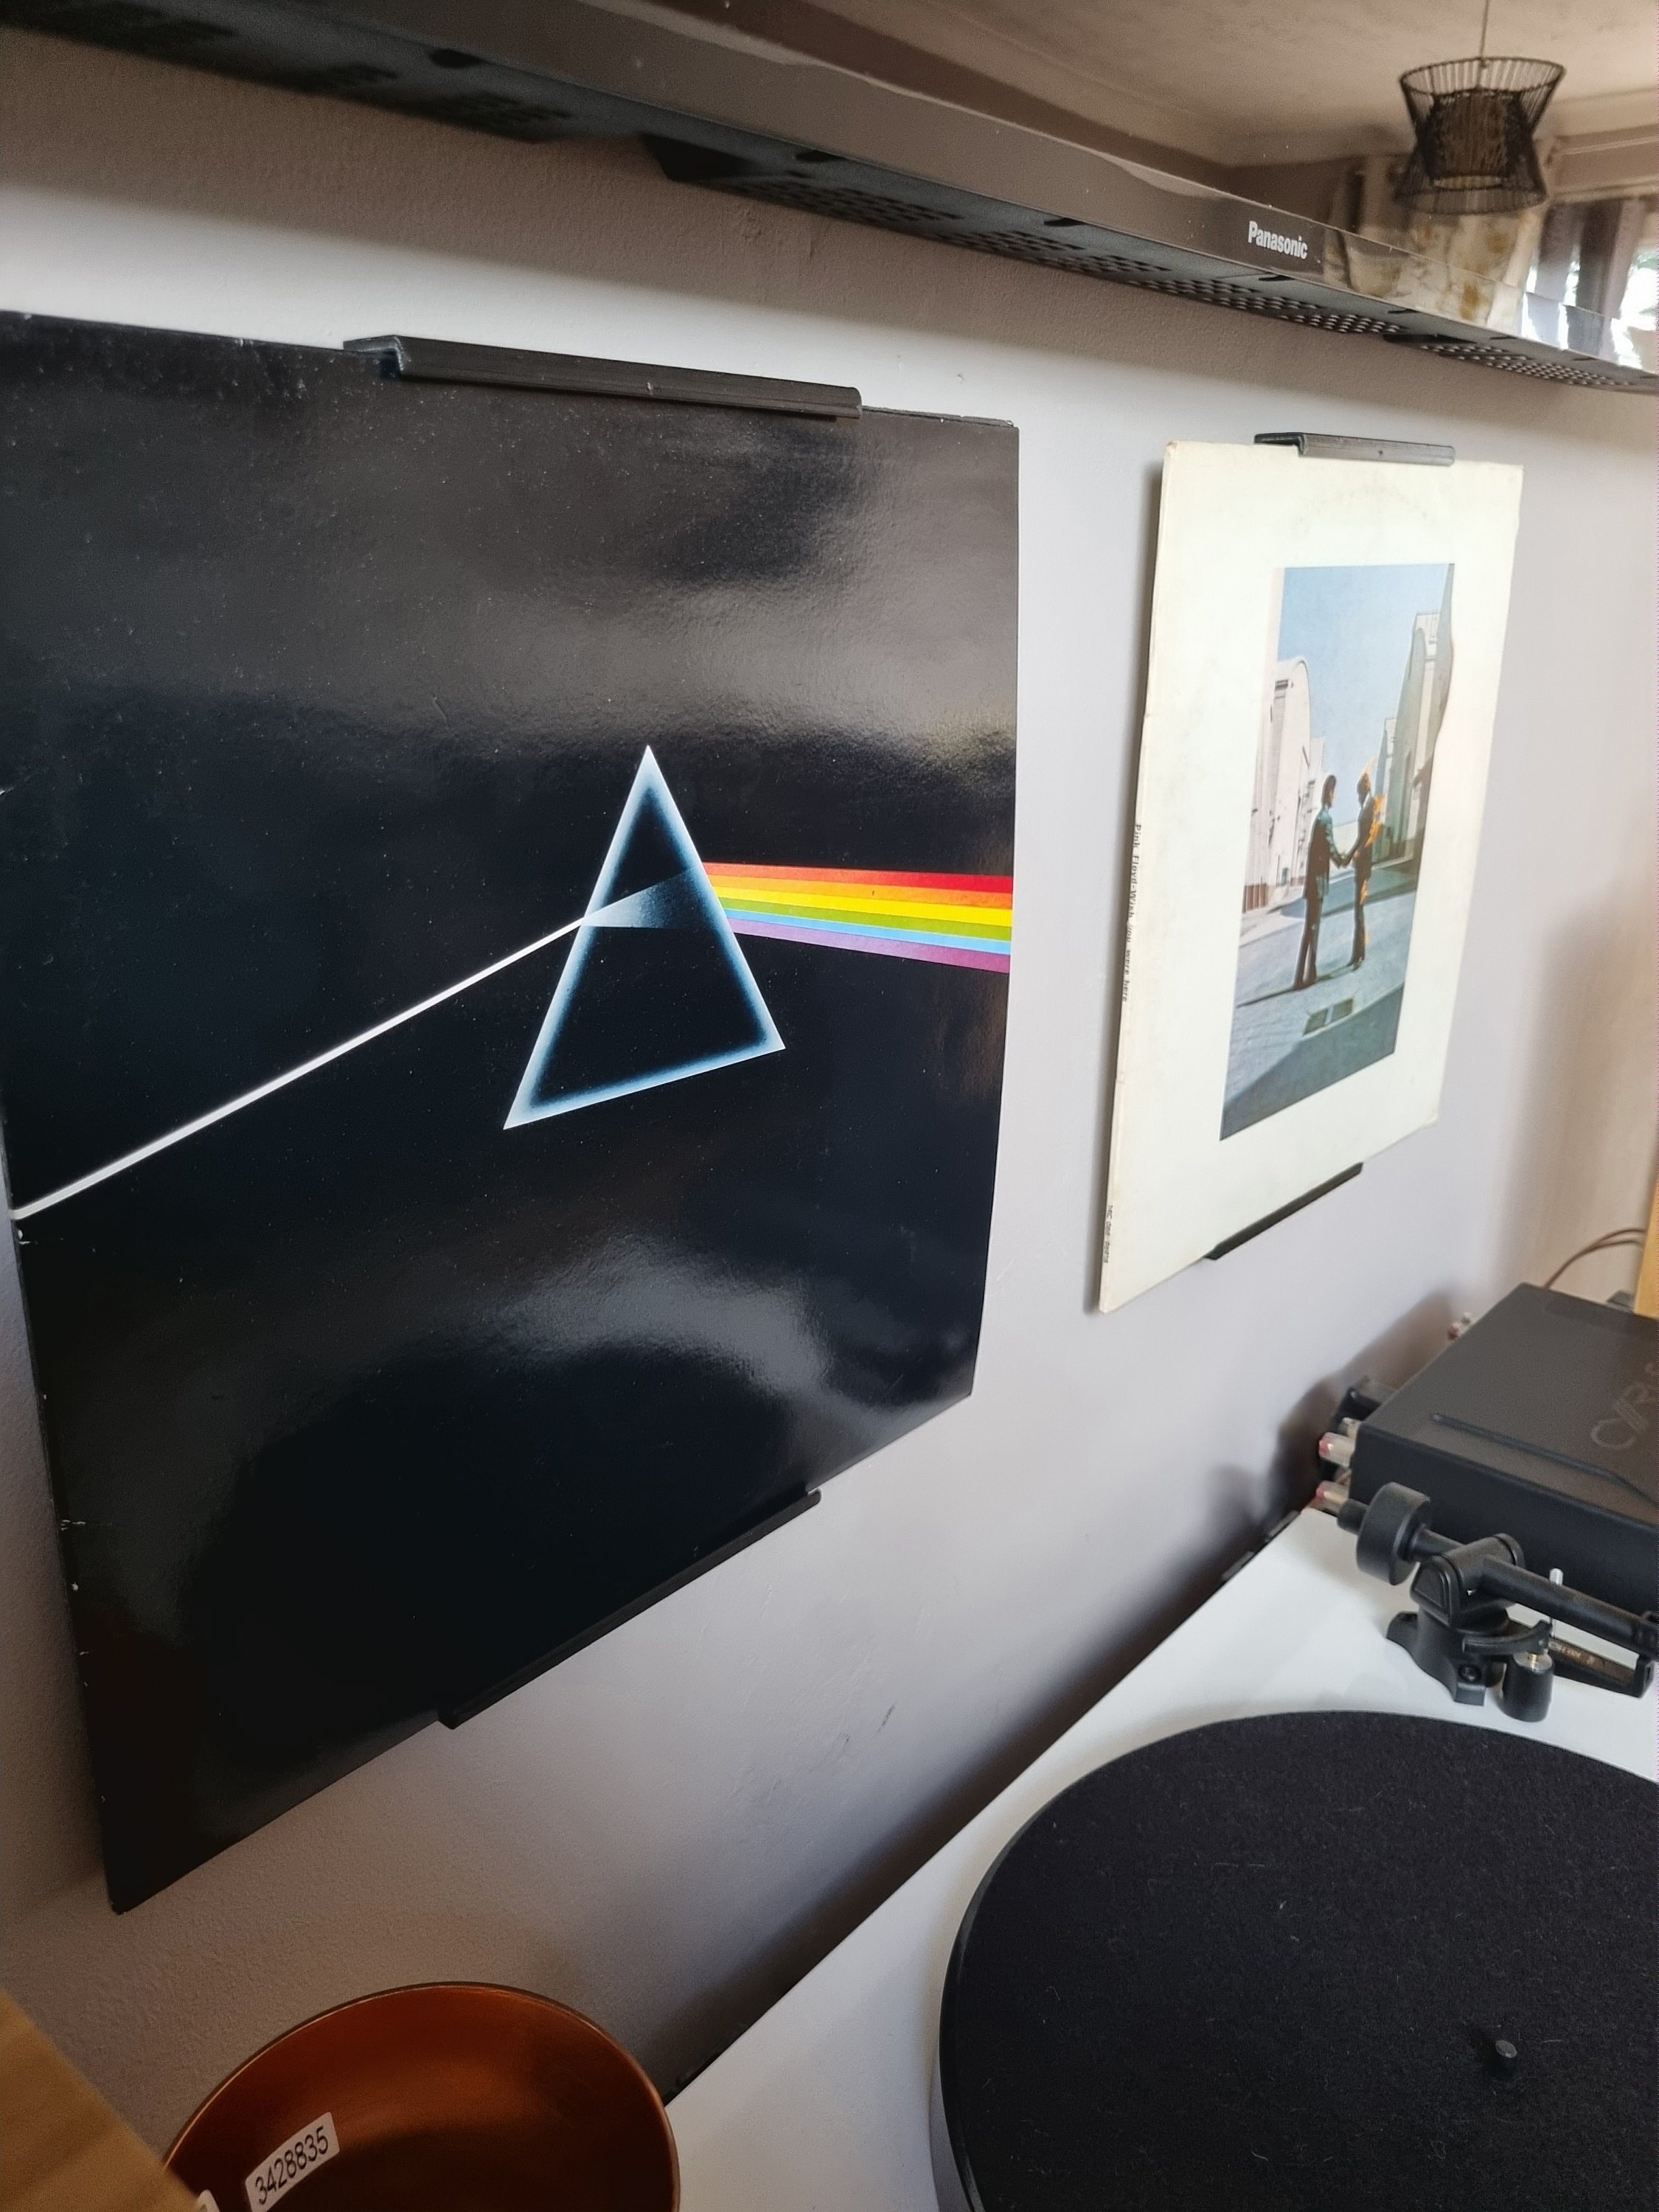
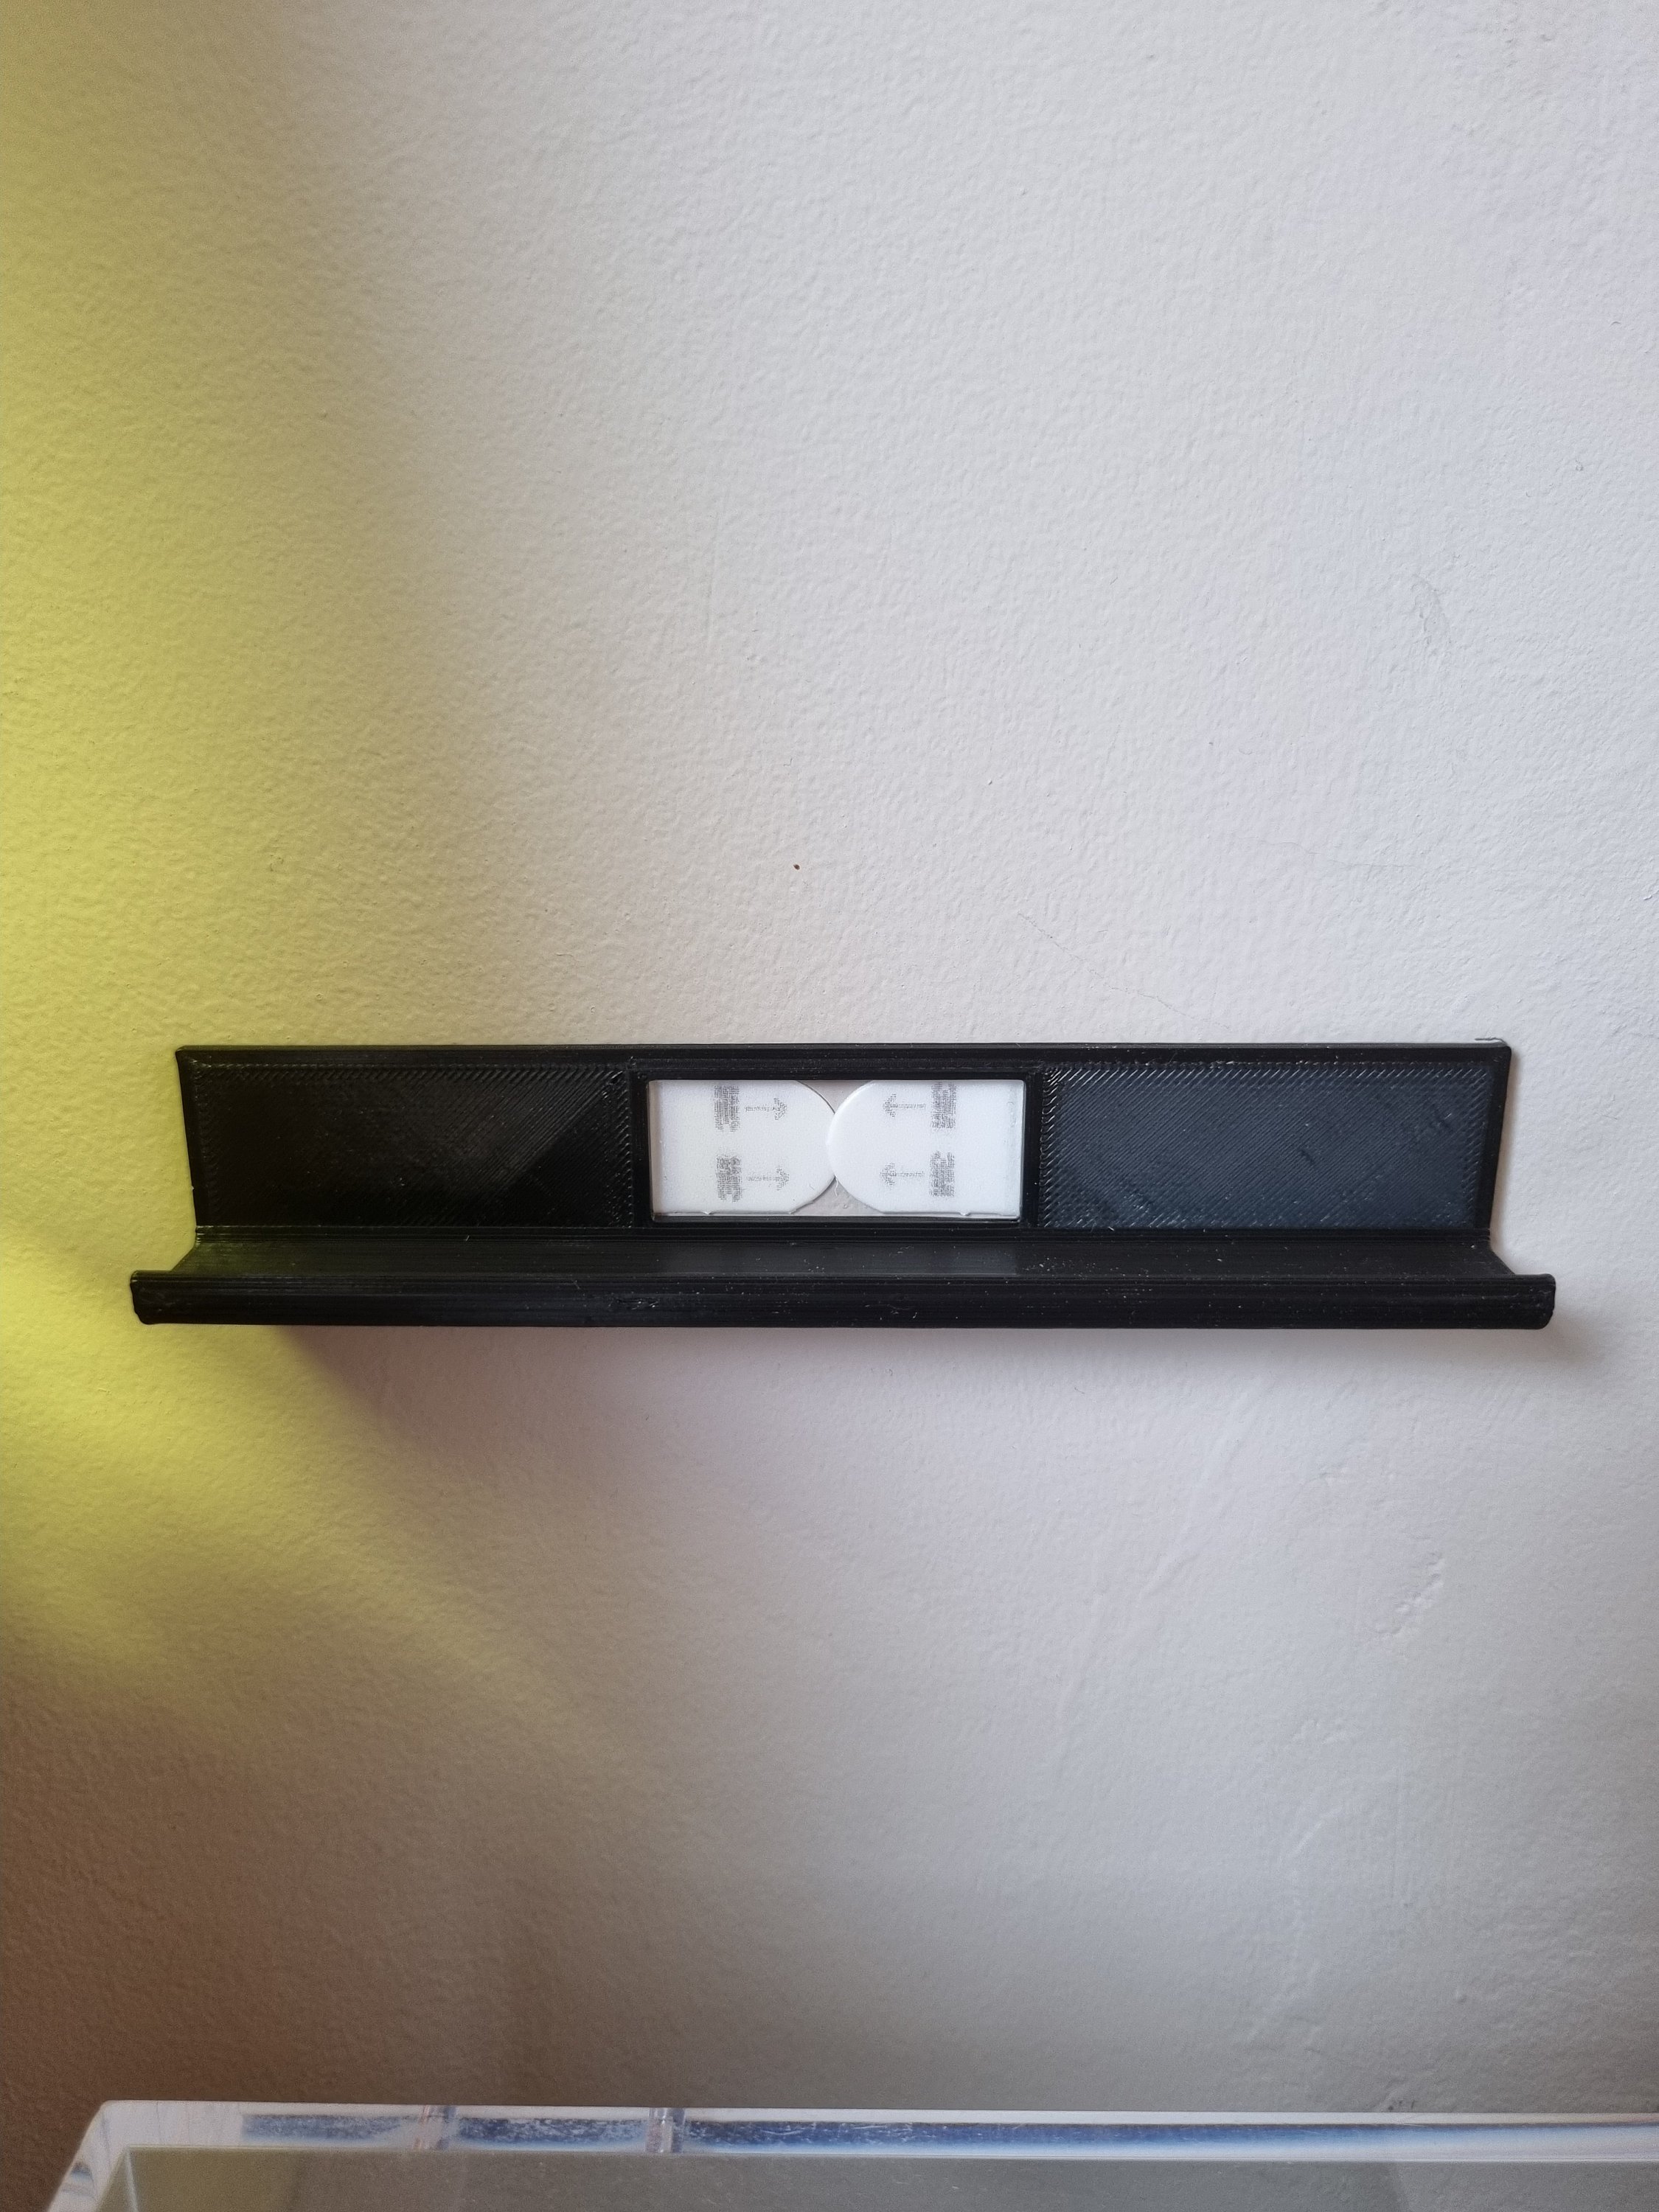
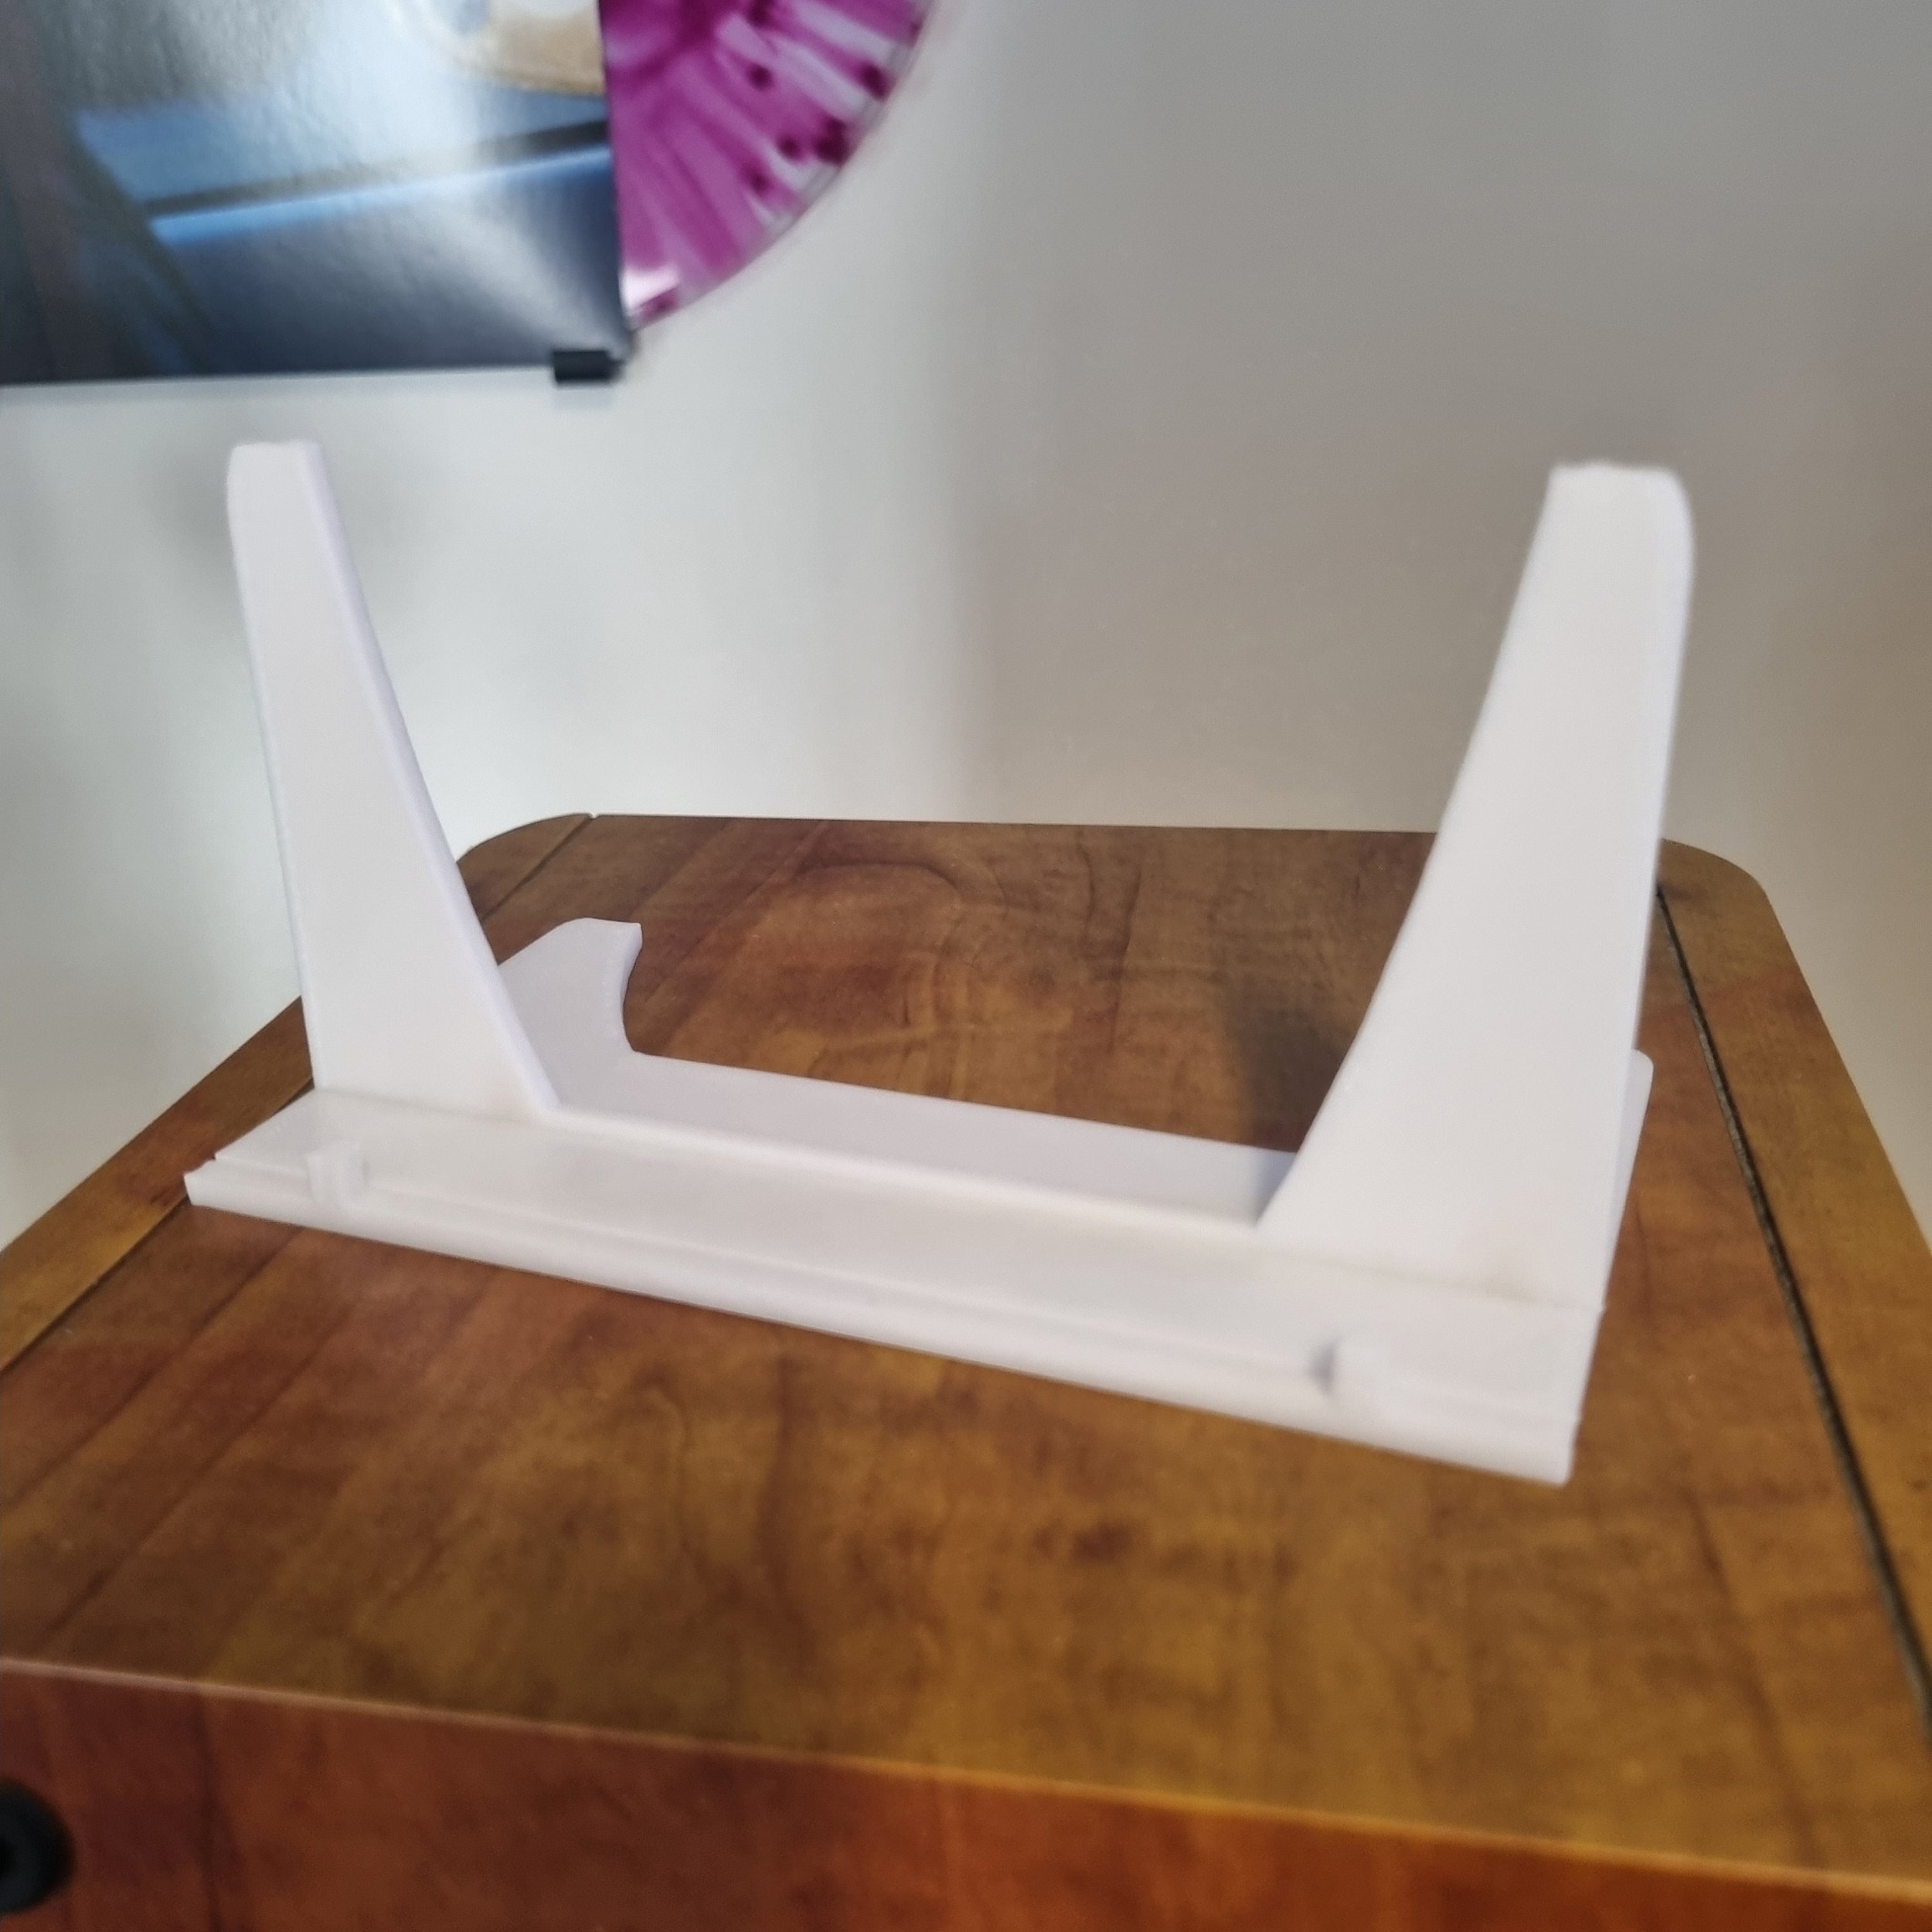
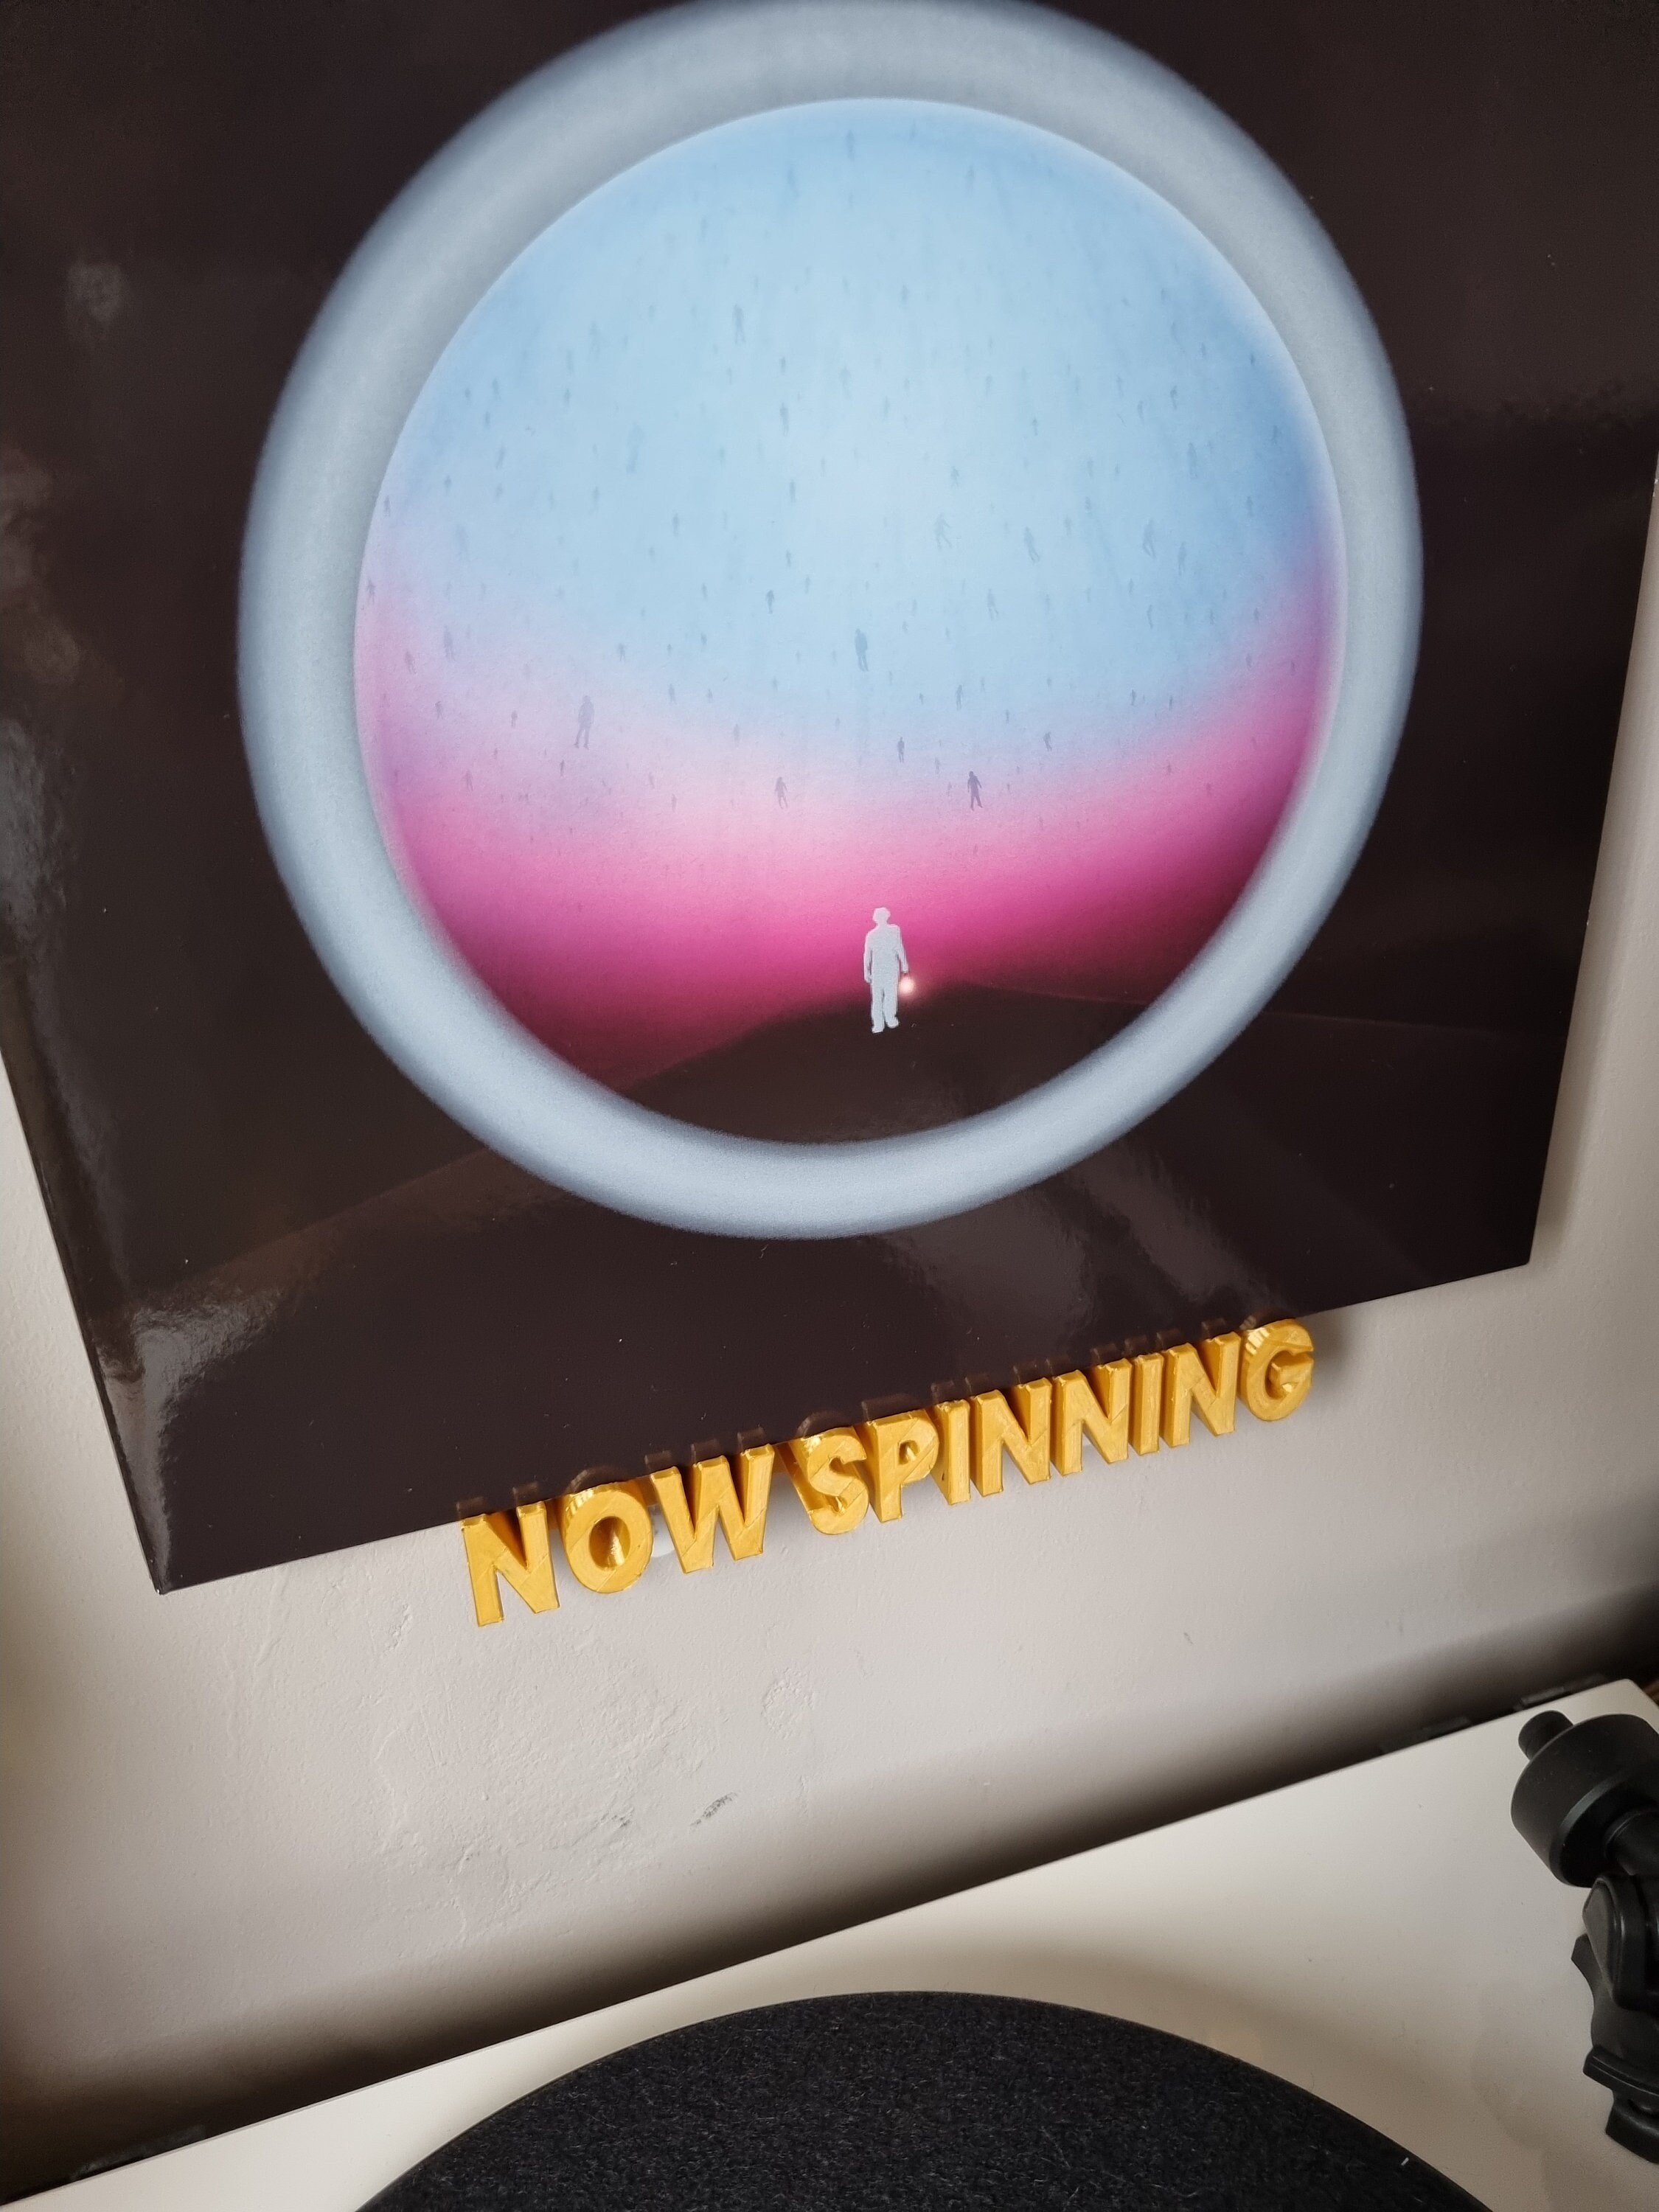
You can choose to buy either a set of 4 hangers, or a bundle with 4 hangers plus brackets for 4 sleeves (see pictures).
If you'd like multiples, just add more to your basket. (If you'd like a really specific number, let me know.) I'll include enough Command Strips for the number ordered.
-------
FITTING INSTRUCTIONS (for hangers)
For an even spacing, measure out a grid with dots 15" apart both horizontally and vertically, and place a hanger at each dot. This will ensure a 1.5" gap between records. For a smaller gap, make the dots closer together; for larger make them further apart.
1. Ensure the wall is clean and free of dust, is painted (not wall-papered) and is not flaking, and is flat - not textured like artex. If you need to clean the wall or the shelf, do so with alcohol.
b. Place the Command Strip on the back of the shelf, ensuring it only attaches to the flat surface and doesn't overhang. (The red side should be attached to the hanger; the black to the wall.)
Finally: Remove the other backing strip and press firmly on the back surface of the hanger against the wall for 30 seconds.
FITTING INSTRUCTIONS (for brackets)
1. I find it's easiest to choose a sleeve that has a geometric pattern so you can use that to line them all up perfectly. Pink Floyd's The Wall is perfect!
2. Clean the back of the bracket and the wall with an alcohol wipe or rubbing alcohol to ensure both are clean and free of dust and finger marks.
3. Make sure the wall is painted (not wall-papered - I don't care what anyone says, sticking an adhesive strip to wallpaper is a bad idea), is not flaking, and is flat (not textured like artex or woodchip). (The paint needs to be well-adhered to the wall. If paint peels away, that's a problem with the paint, not the Command Strips.)
4. Place the Command Strip on the back of a bracket, ensuring it doesn't overhang. Pay attention to the side you're sticking - it'll be the side with the red text that goes on the bracket, and the side with the black text goes on the wall. The removal tab will stick out the end, but make it so that’s the flat end and it'll be hidden by the record anyway. Press firmly through the back of the bracket for ten seconds onto a flat surface to stick the Strip firmly to the bracket.
5. I'd suggest you start with one of the bottom corners (see the listing for photos for how to lay them out relative to the sleeve). Remove the other backing strip, line up where you want the record to be on the wall (use a spirit level to ensure it's level) then remove the record and press firmly, with both hands, on the back surface of the bracket for another ten seconds. (It’s important to do the pressing twice - once when you put the strip on the bracket, and again when you stick the bracket to the wall. This will ensure they stick properly.)
6. Repeat this for the other bottom corner, then use the record sleeve to line up where the top one should go. I'd advise lifting it a mm or so off the top of the sleeve to make sure there's enough room to slide a sleeve in and out. Some sleeves are slightly bigger than others so it’s a good idea just to double check you’re not using a particularly small one before you do this.
7. Leave it at least two hours before putting anything on them and check they’re stuck firmly.
-------
Probably worth just noting that the pegs will fit a standard sized spindle hole, but won't fit those weird RCA records with the small hole you occasionally come across. Also, obviously, they won't fit a 45 with a big hole, but I'm working on something else for those.
Any questions or issues please get in touch. I can do custom orders and I can offer discounts for large batches.
Thanks
Rob

