 Image 1 of 6

 Image 2 of 6

 Image 3 of 6

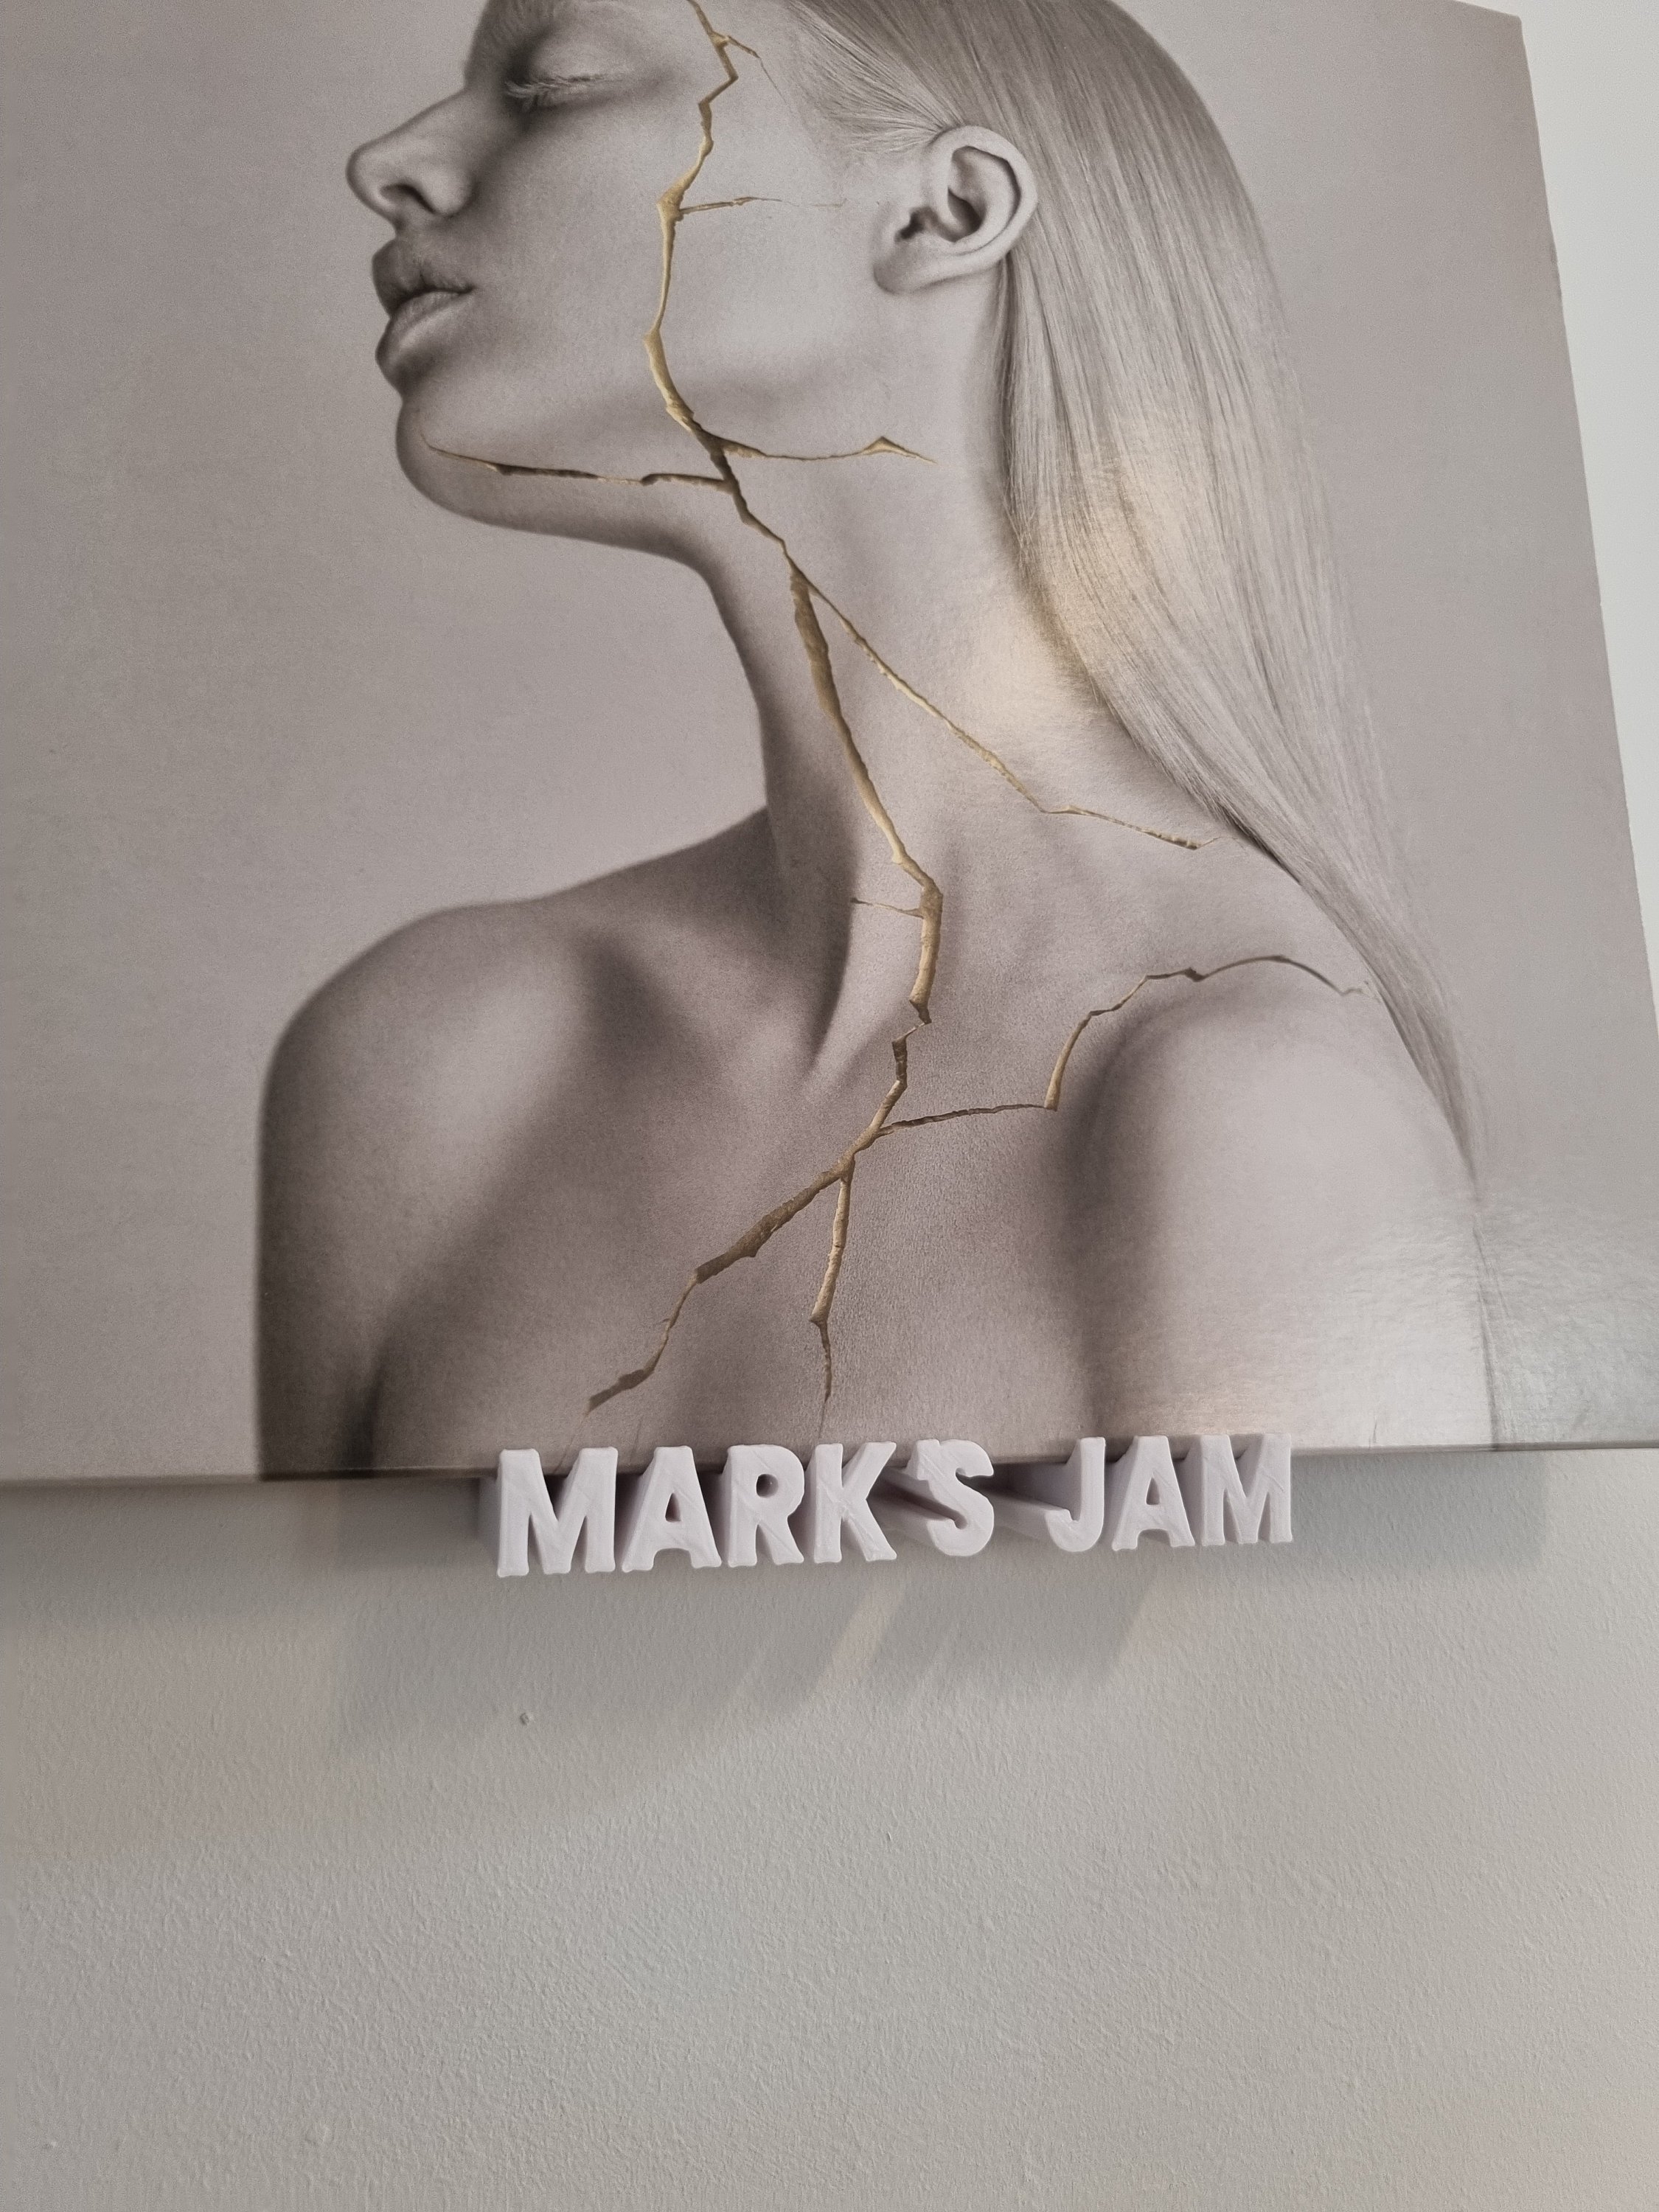 Image 4 of 6

 Image 5 of 6

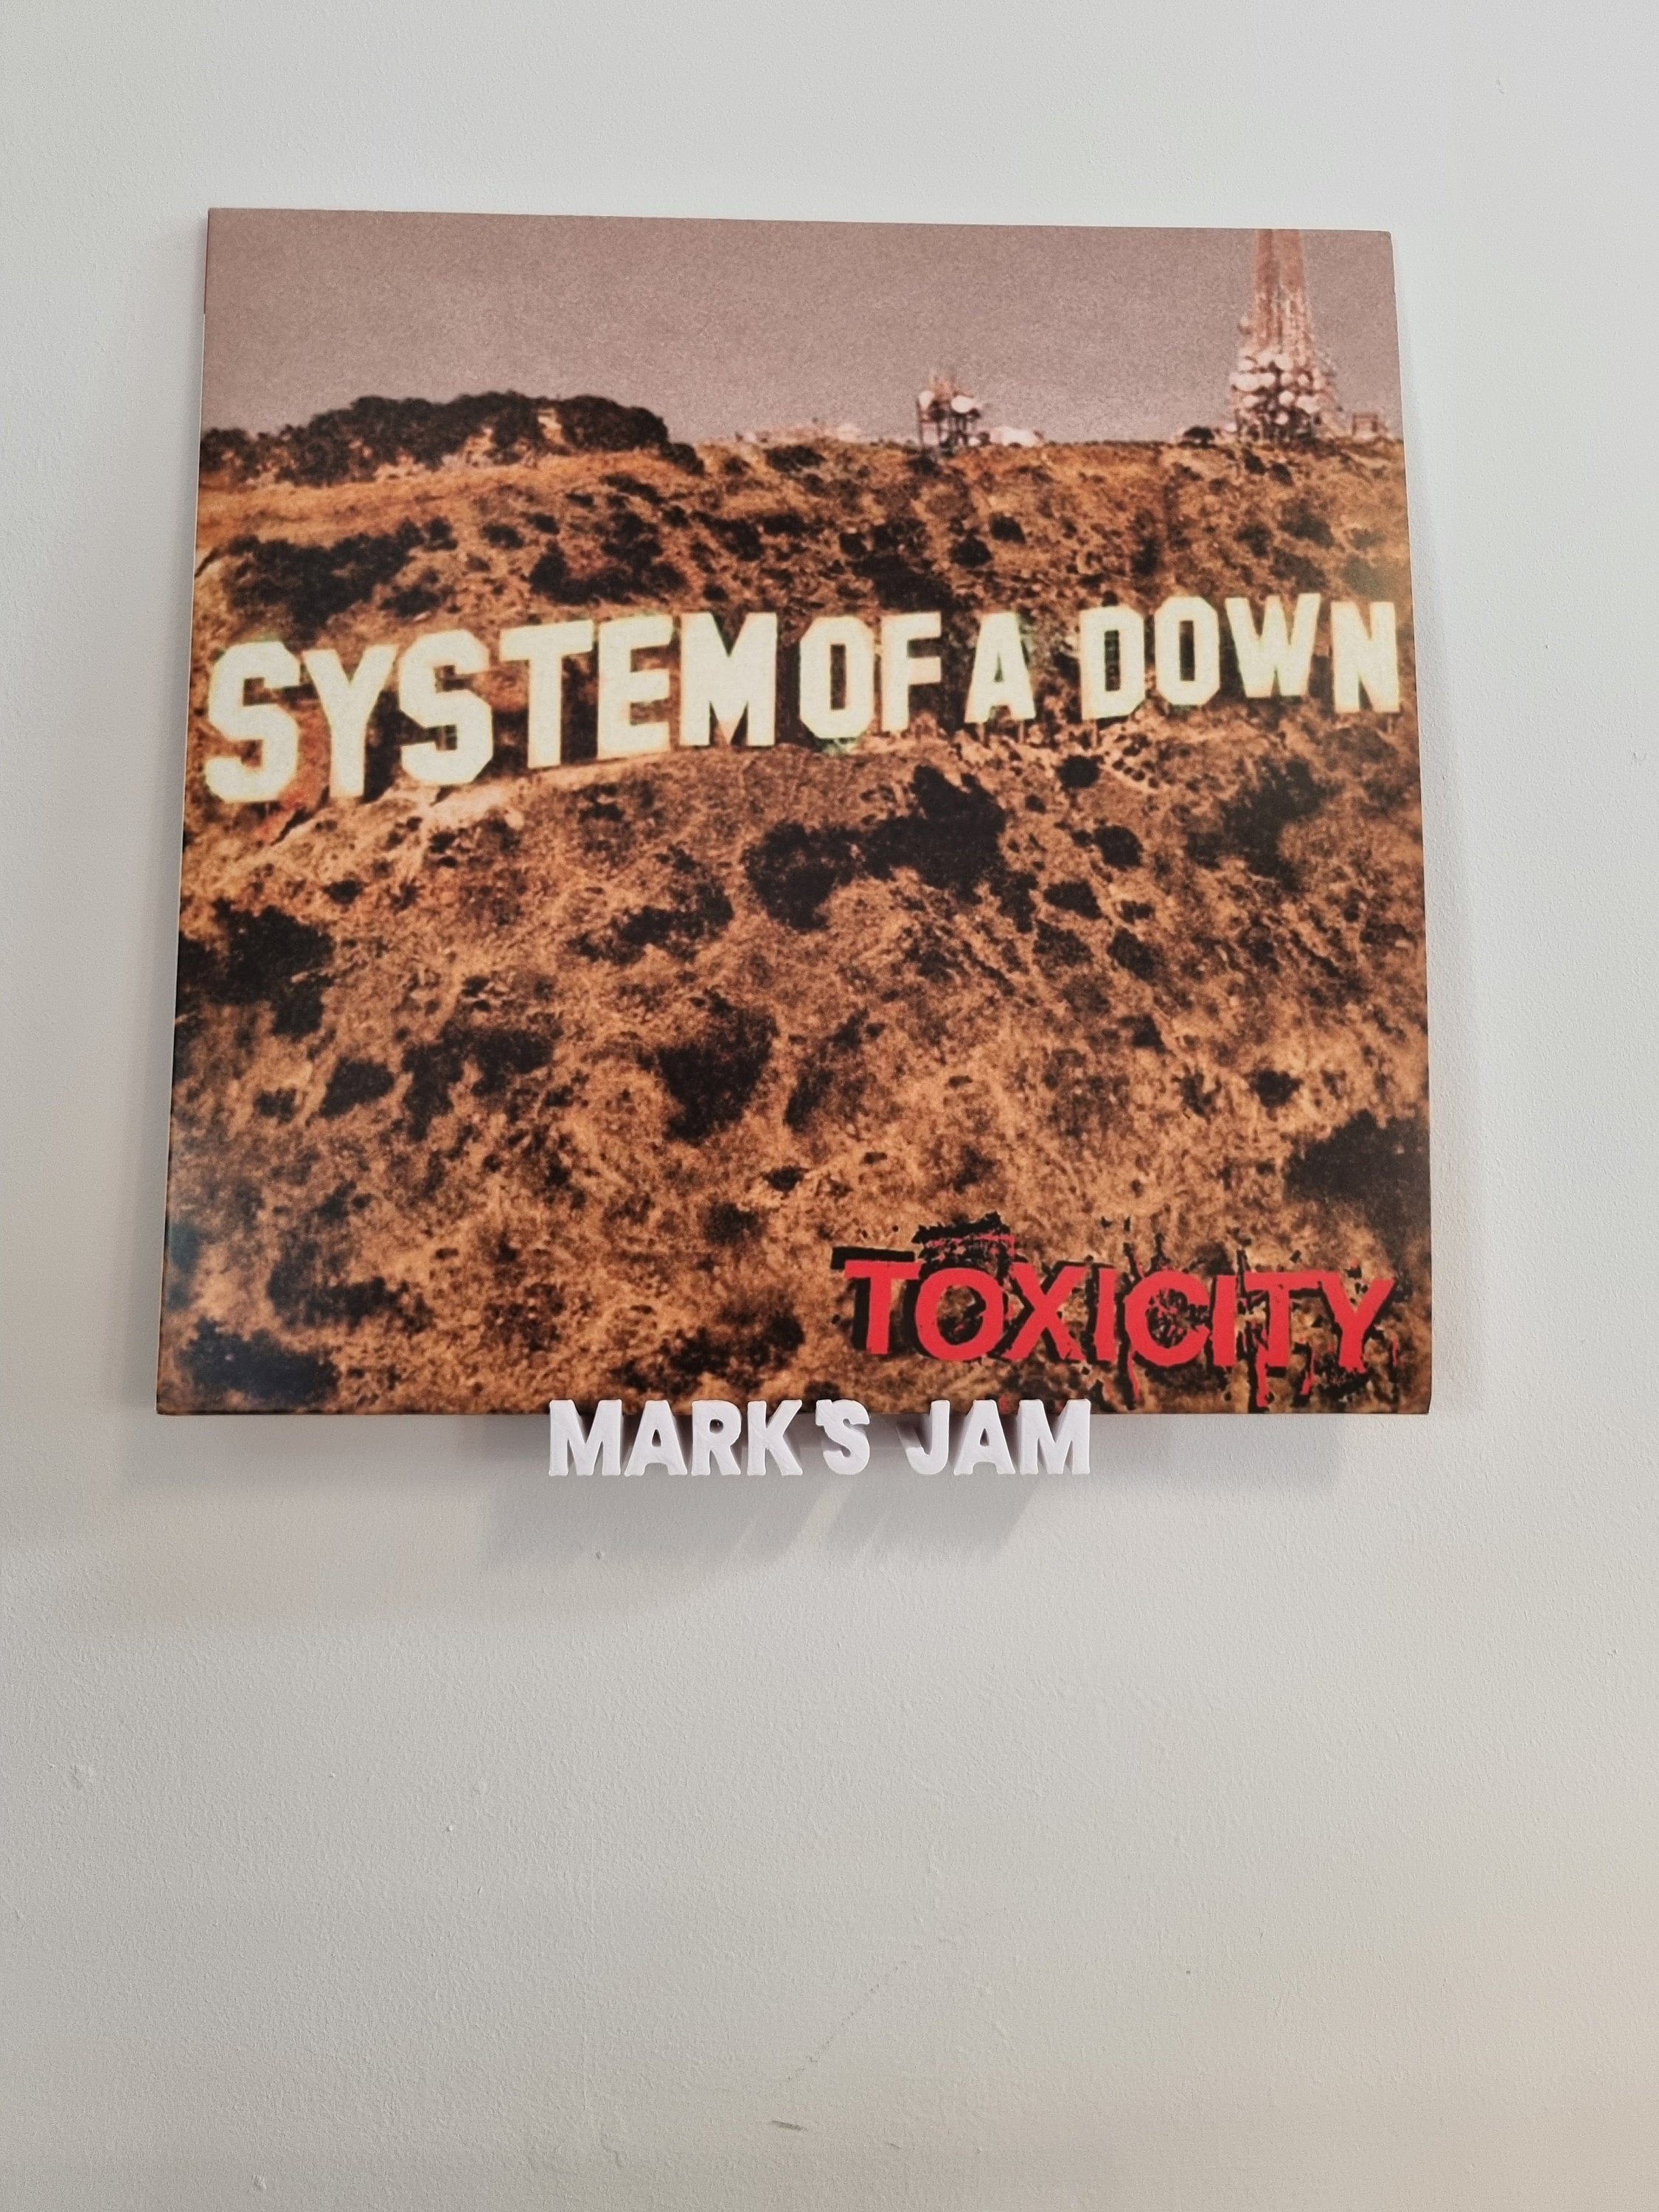 Image 6 of 6


Personalised Vinyl Record Display Shelf, Custom Now Playing, On Deck
£19.99
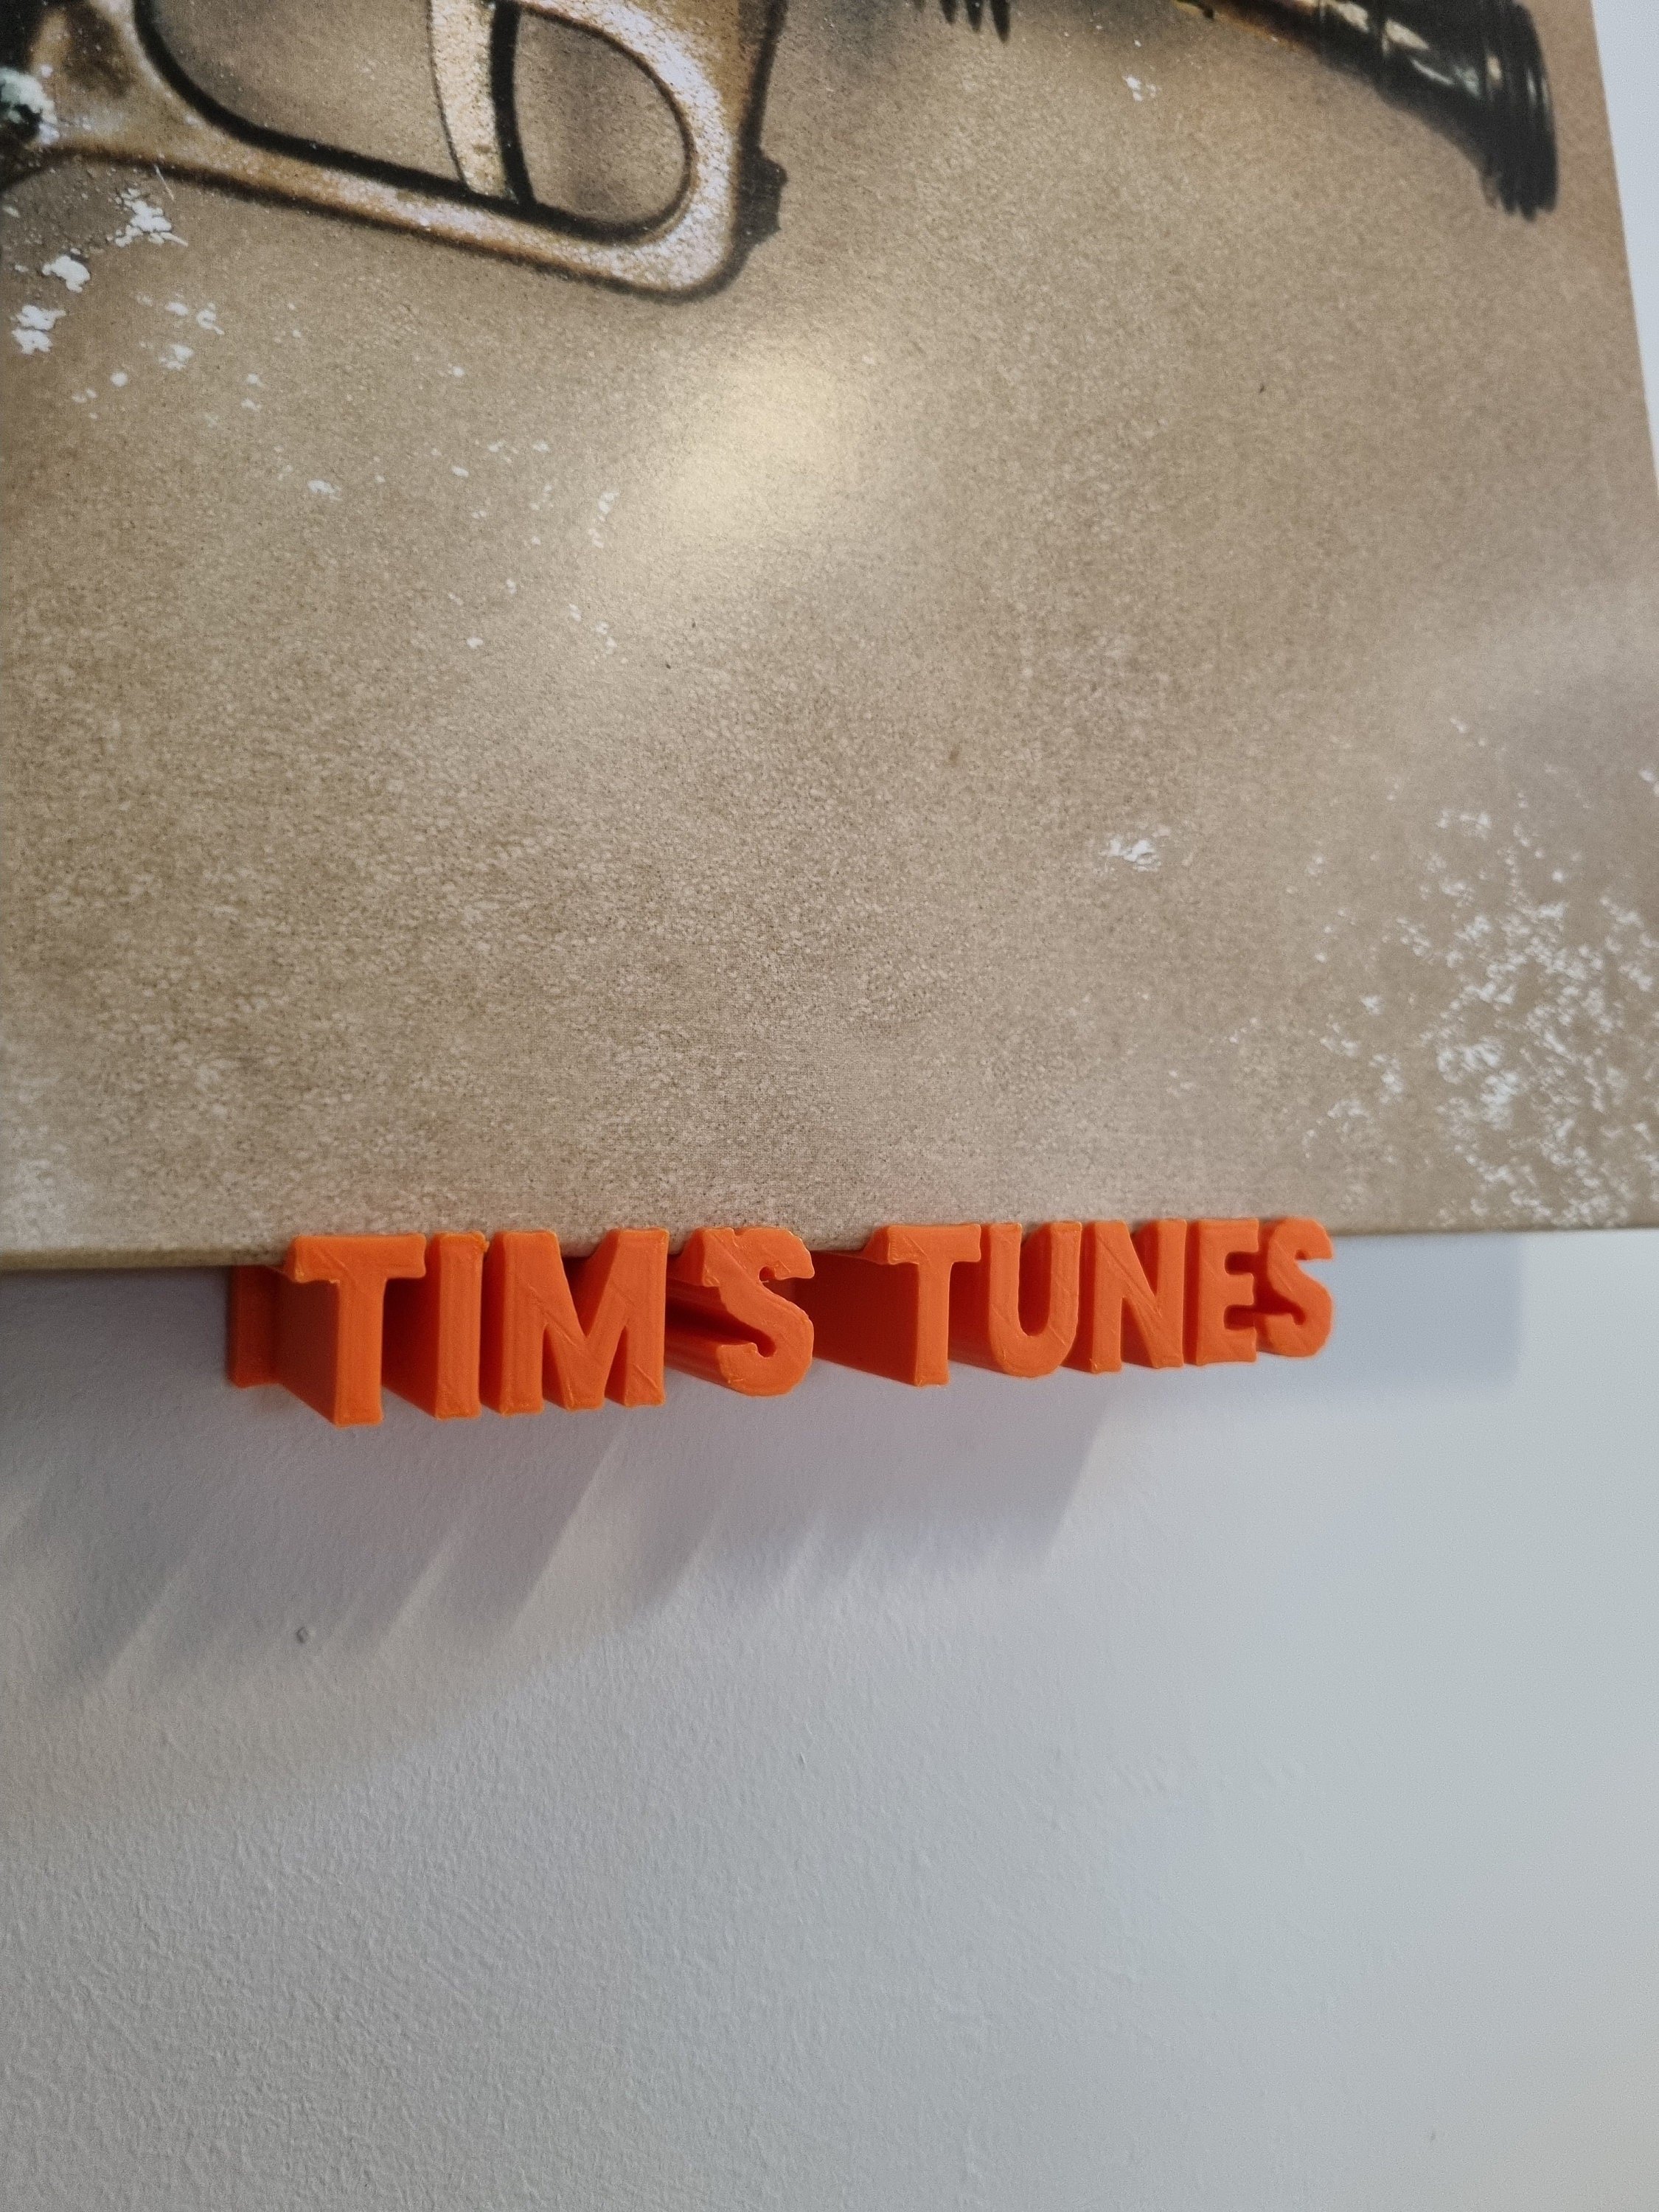
This is a personalised (custom) display shelf to be attached to a wall, for vinyl records or CDs. (I have a separate free-standing version in my shop.) Please see below for fitting instructions.
You can choose your wording. There's no particular letter limit, but if it looks a bit squeezed I might need to make the shelf a bit longer. That's fine by me up to a point, but there's only so much I can fit on a printer so if you're asking for something too long I'll give you a shout.
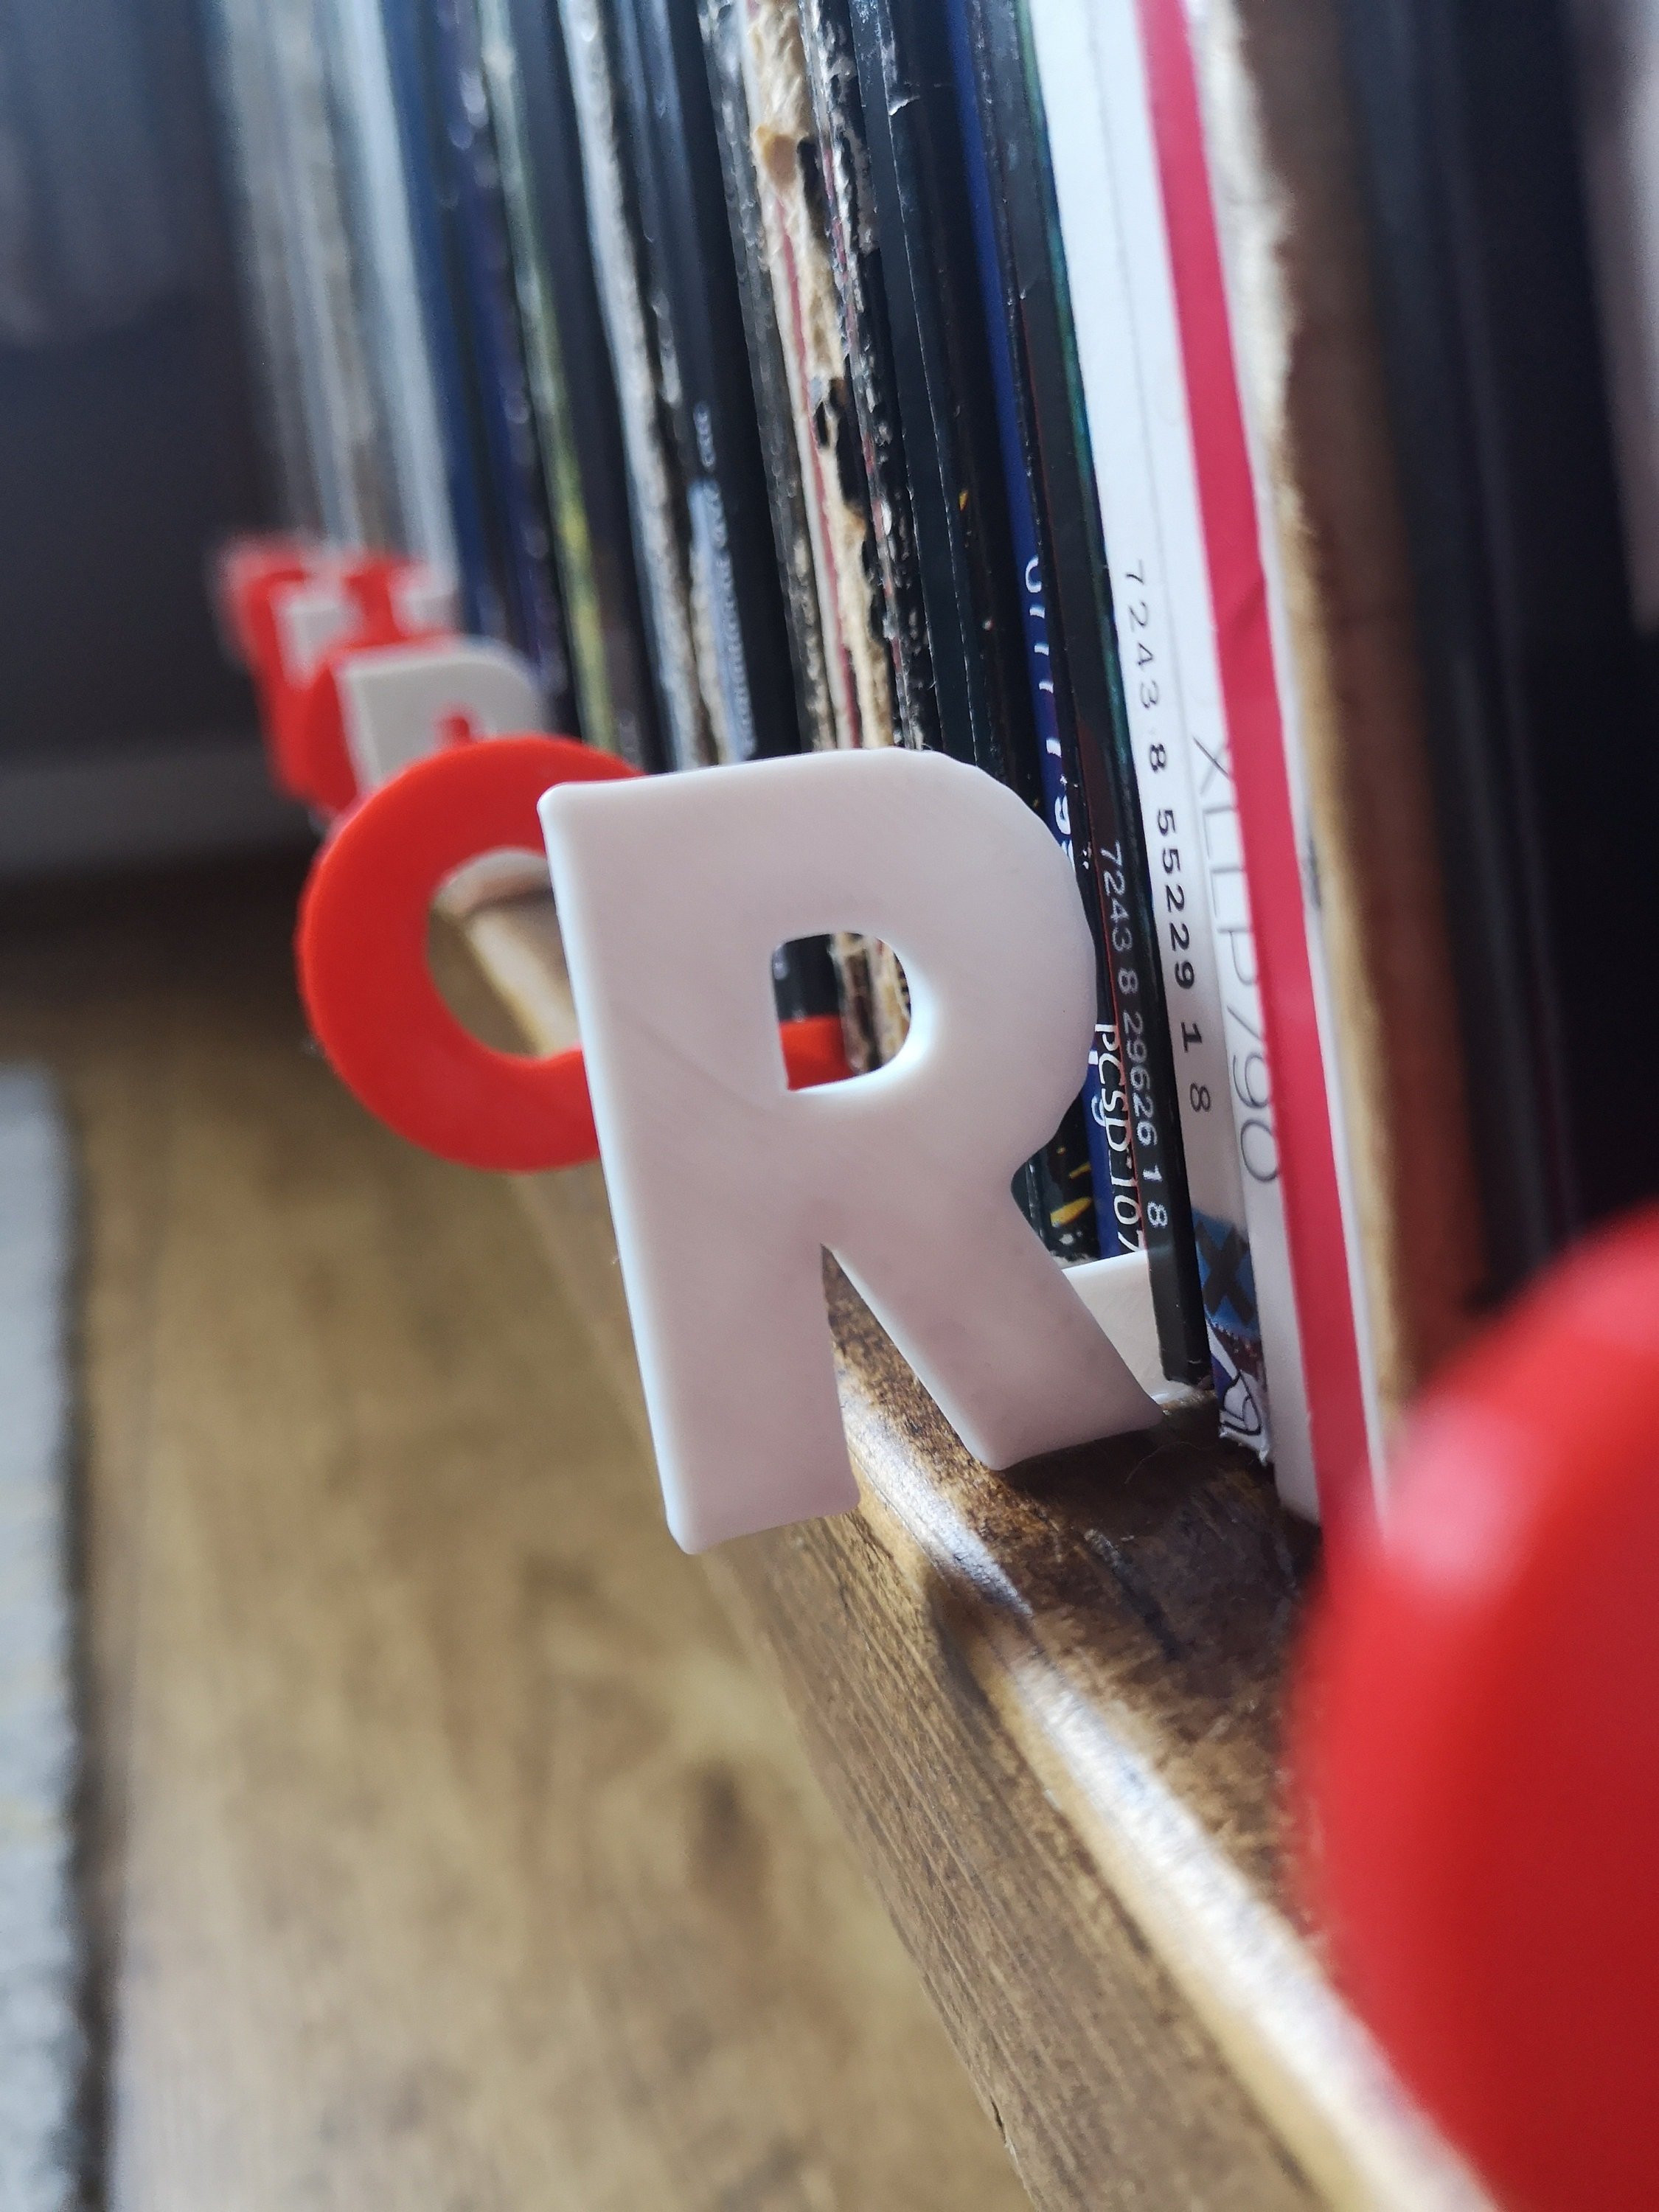
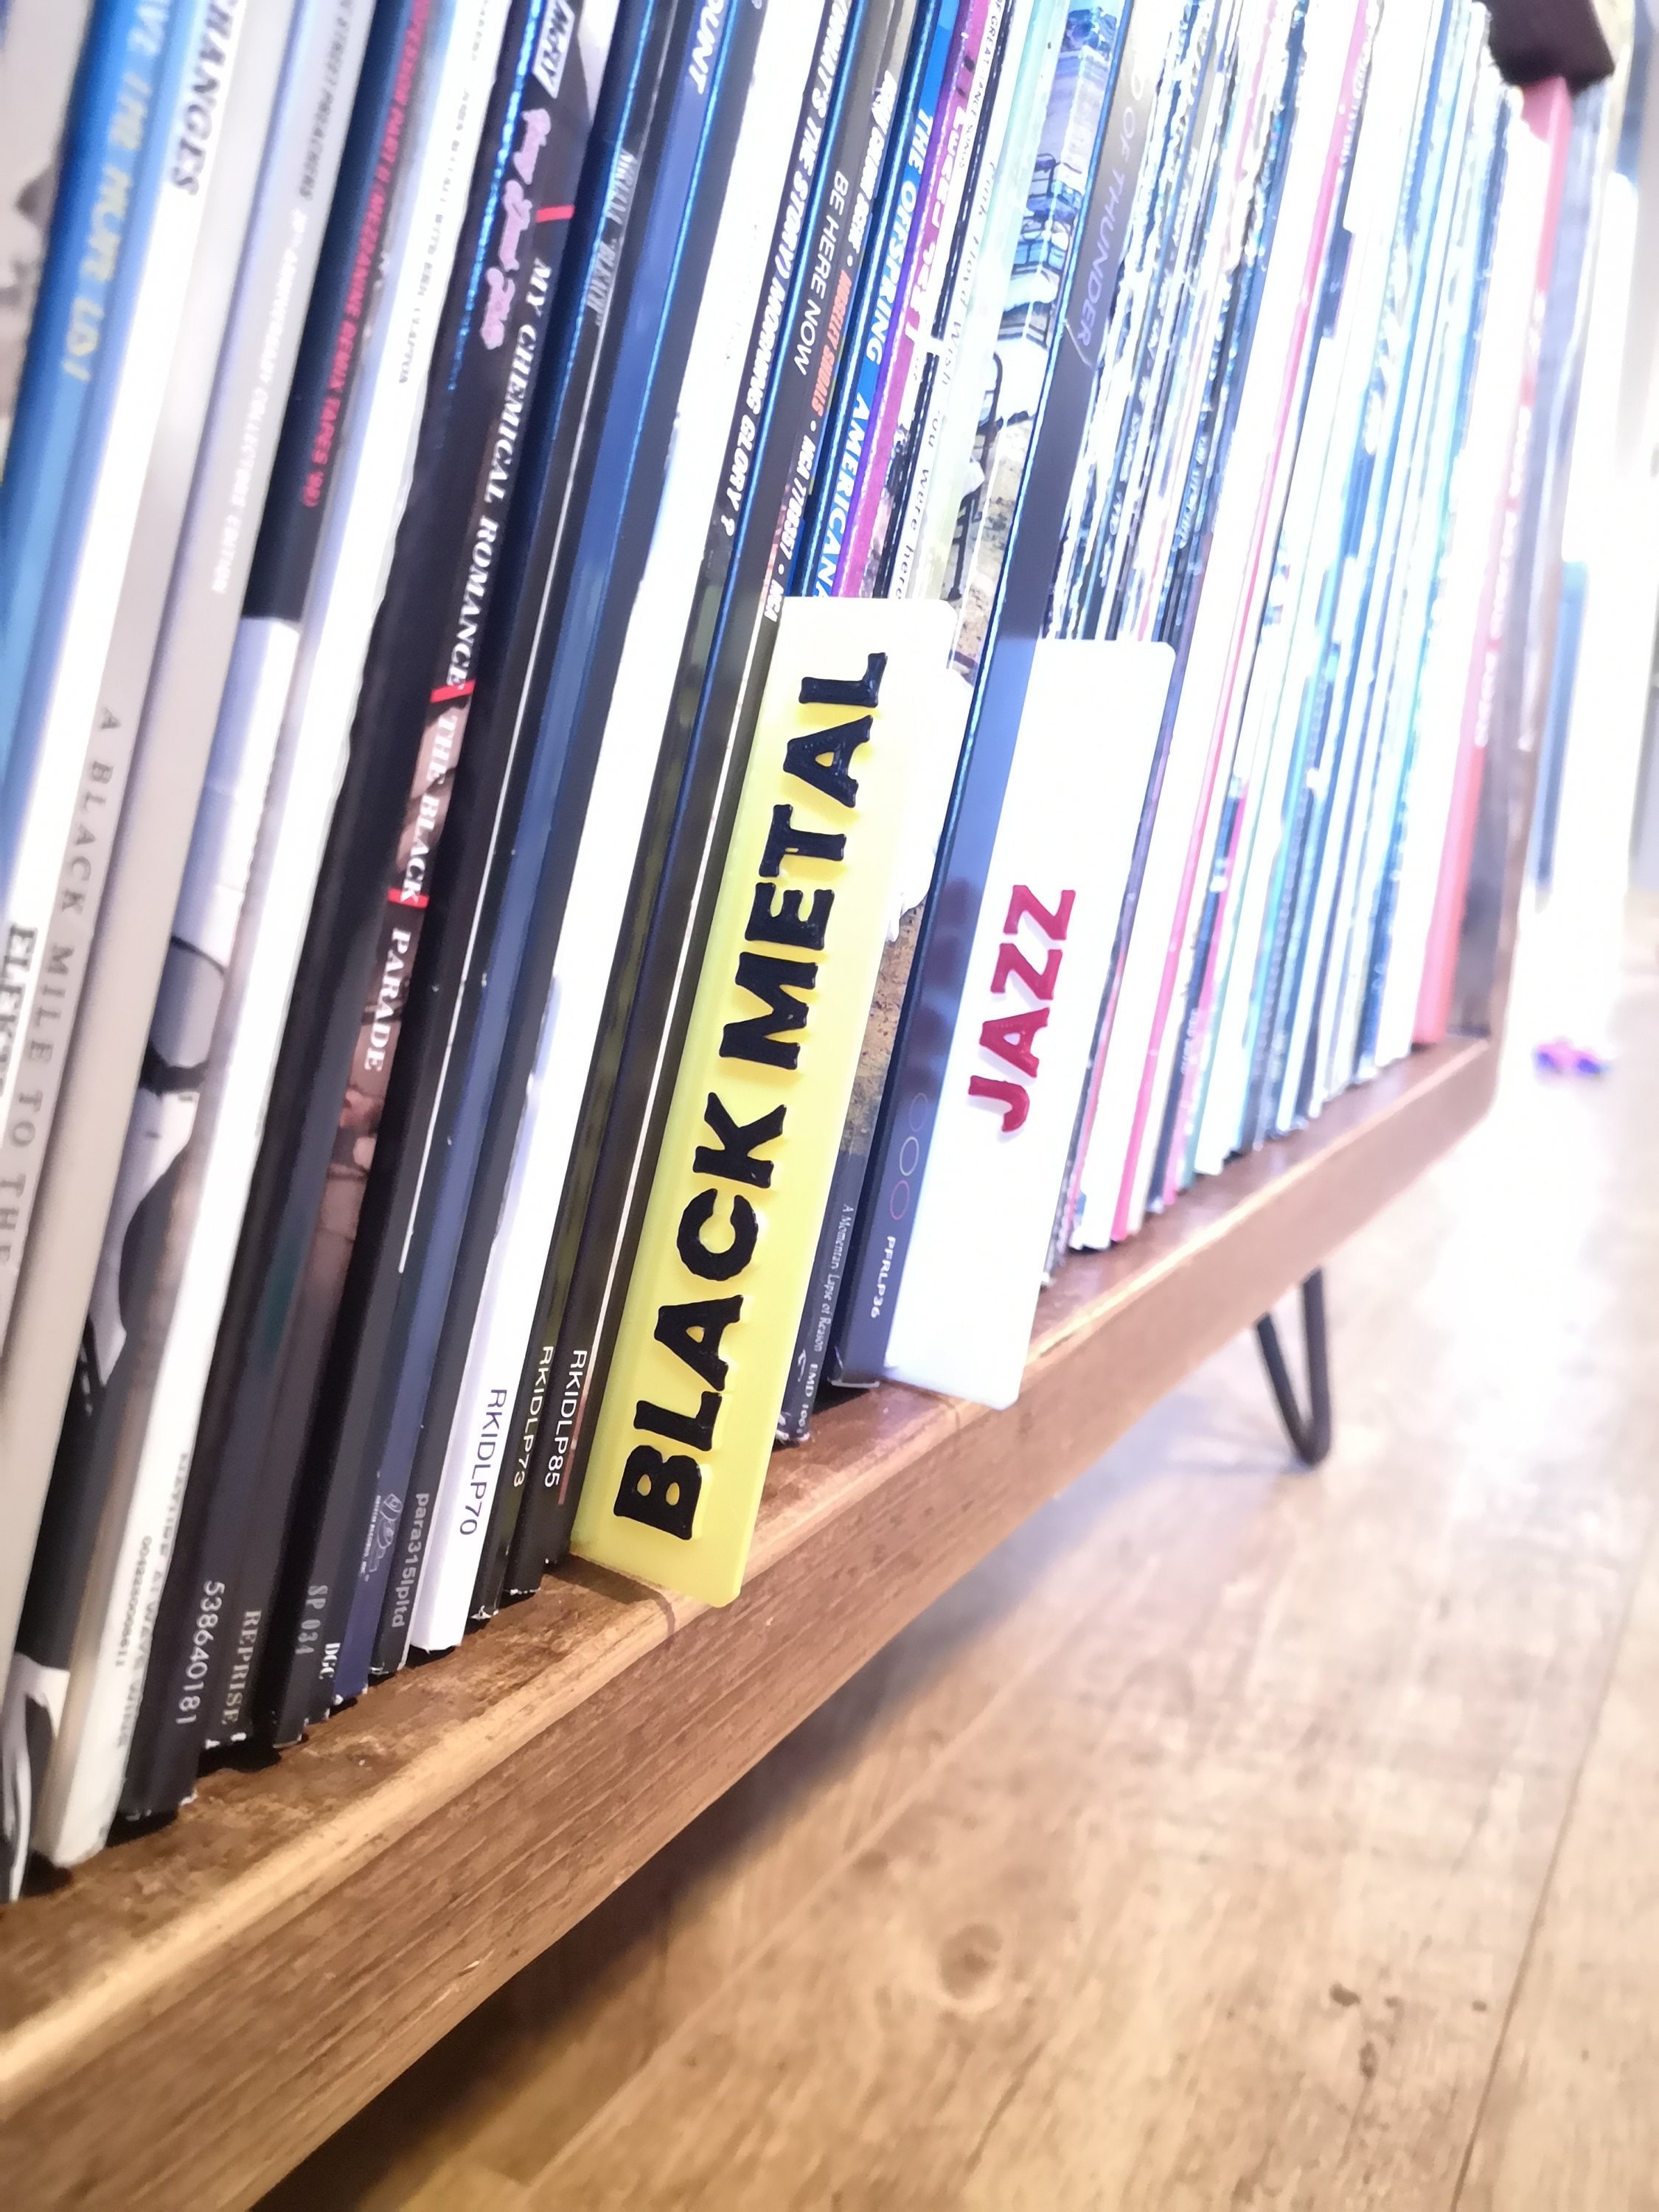
I've given a couple of examples in the photos but really you can have whatever you like. It generally needs to be all in capitals though, because otherwise the letter heights vary and you need a level surface at the top for the sleeve to sit on.
You'll receive one shelf and depending which option you've selected either three No More Nails removable adhesive strips, which you can attach to the back and stick to a wall, or screws and plugs, plus a drilling template (or both). The sticky tabs are rated to hold up to 2kg per strip so you should be alright with most records, though I probably wouldn't try hanging your Tchaikovsky complete works on it.
New doubles that don't stay flat will push themselves away from the wall. They're ok once they've learnt to stay flat, but that doesn't always happen immediately, so please, please bear that in mind if your collection is mostly new doubles or gatefolds. It isn't really about the shelf not being deep enough, it's that you'd need to restrict the front of the sleeve to stop it from opening, so if you find you're having issues because the majority of your collection is brand new, let me know and I'll send you a small hooked shelf that you can use upside down above this one to hold the top of the sleeve in place.
For sticky tabs, your wall needs to be a flat, clean, dry surface. If your wall is textured or wallpapered, you'll need to use screws.
It's a 3D printed item so bear in mind you'll get some surface texture, but it's only really noticeable up close and is, as far as I'm concerned, part of the appeal. Why have something 3d printed if it looks injection moulded?
The shelf measures about 13cm across as standard and is about 3.5cm deep - though as I've said above, I'll make it longer if needed to make the text work.
Fitting instructions (for sticky tabs): don't touch the back of the shelf. If you do, clean it with alcohol or dish soap and dry thoroughly before attaching the sticky tabs. Remove the backing from the tabs one at a time and put them on the back of the shelf. Use all three. Press firmly for 10 seconds or so. Once they're on there, remove the remaining backing, line up carefully (use a spirit level) and then press the shelf firmly into the wall for 10 seconds. Wait a couple of hours before putting any weight on it, then you're good to go.
Fitting instructions (for screws): using the included template, mark where you're going to drill on the wall. Use a spirit level to ensure they're level. Drill two 6mm holes and then insert the Rawlplugs. Screw in so that the face of each screw is 5mm from the surface of the wall, the slot the shelf onto the screws. If it's not quite tight enough or a little loose, remove and turn the screws a quarter turn whichever way you need, and repeat until it's right.
A note about black: the problem with black is that you lose all the definition between the letters, so it doesn't really work very well, in my opinion. People keep asking me for it so I've made it available, but please bear that in mind. If you order black and decide when it arrives that you don't like it, I'm happy to swap though, so don't worry if that happens. (Or, if you have any spray paint, I can recommend a light spray of some lighter colour across the front to help define the letters.)
I also have Now Playing and Now Spinning stuff, record display shelves and a range of dividers available in my shop.
Any questions just give me a shout.
Cheers
Rob
Primary color:
Fixing type (instructions in description):
Quantity:
Add To Cart
This is a personalised (custom) display shelf to be attached to a wall, for vinyl records or CDs. (I have a separate free-standing version in my shop.) Please see below for fitting instructions.
You can choose your wording. There's no particular letter limit, but if it looks a bit squeezed I might need to make the shelf a bit longer. That's fine by me up to a point, but there's only so much I can fit on a printer so if you're asking for something too long I'll give you a shout.
I've given a couple of examples in the photos but really you can have whatever you like. It generally needs to be all in capitals though, because otherwise the letter heights vary and you need a level surface at the top for the sleeve to sit on.
You'll receive one shelf and depending which option you've selected either three No More Nails removable adhesive strips, which you can attach to the back and stick to a wall, or screws and plugs, plus a drilling template (or both). The sticky tabs are rated to hold up to 2kg per strip so you should be alright with most records, though I probably wouldn't try hanging your Tchaikovsky complete works on it.
New doubles that don't stay flat will push themselves away from the wall. They're ok once they've learnt to stay flat, but that doesn't always happen immediately, so please, please bear that in mind if your collection is mostly new doubles or gatefolds. It isn't really about the shelf not being deep enough, it's that you'd need to restrict the front of the sleeve to stop it from opening, so if you find you're having issues because the majority of your collection is brand new, let me know and I'll send you a small hooked shelf that you can use upside down above this one to hold the top of the sleeve in place.
For sticky tabs, your wall needs to be a flat, clean, dry surface. If your wall is textured or wallpapered, you'll need to use screws.
It's a 3D printed item so bear in mind you'll get some surface texture, but it's only really noticeable up close and is, as far as I'm concerned, part of the appeal. Why have something 3d printed if it looks injection moulded?
The shelf measures about 13cm across as standard and is about 3.5cm deep - though as I've said above, I'll make it longer if needed to make the text work.
Fitting instructions (for sticky tabs): don't touch the back of the shelf. If you do, clean it with alcohol or dish soap and dry thoroughly before attaching the sticky tabs. Remove the backing from the tabs one at a time and put them on the back of the shelf. Use all three. Press firmly for 10 seconds or so. Once they're on there, remove the remaining backing, line up carefully (use a spirit level) and then press the shelf firmly into the wall for 10 seconds. Wait a couple of hours before putting any weight on it, then you're good to go.
Fitting instructions (for screws): using the included template, mark where you're going to drill on the wall. Use a spirit level to ensure they're level. Drill two 6mm holes and then insert the Rawlplugs. Screw in so that the face of each screw is 5mm from the surface of the wall, the slot the shelf onto the screws. If it's not quite tight enough or a little loose, remove and turn the screws a quarter turn whichever way you need, and repeat until it's right.
A note about black: the problem with black is that you lose all the definition between the letters, so it doesn't really work very well, in my opinion. People keep asking me for it so I've made it available, but please bear that in mind. If you order black and decide when it arrives that you don't like it, I'm happy to swap though, so don't worry if that happens. (Or, if you have any spray paint, I can recommend a light spray of some lighter colour across the front to help define the letters.)
I also have Now Playing and Now Spinning stuff, record display shelves and a range of dividers available in my shop.
Any questions just give me a shout.
Cheers
Rob
You can choose your wording. There's no particular letter limit, but if it looks a bit squeezed I might need to make the shelf a bit longer. That's fine by me up to a point, but there's only so much I can fit on a printer so if you're asking for something too long I'll give you a shout.
I've given a couple of examples in the photos but really you can have whatever you like. It generally needs to be all in capitals though, because otherwise the letter heights vary and you need a level surface at the top for the sleeve to sit on.
You'll receive one shelf and depending which option you've selected either three No More Nails removable adhesive strips, which you can attach to the back and stick to a wall, or screws and plugs, plus a drilling template (or both). The sticky tabs are rated to hold up to 2kg per strip so you should be alright with most records, though I probably wouldn't try hanging your Tchaikovsky complete works on it.
New doubles that don't stay flat will push themselves away from the wall. They're ok once they've learnt to stay flat, but that doesn't always happen immediately, so please, please bear that in mind if your collection is mostly new doubles or gatefolds. It isn't really about the shelf not being deep enough, it's that you'd need to restrict the front of the sleeve to stop it from opening, so if you find you're having issues because the majority of your collection is brand new, let me know and I'll send you a small hooked shelf that you can use upside down above this one to hold the top of the sleeve in place.
For sticky tabs, your wall needs to be a flat, clean, dry surface. If your wall is textured or wallpapered, you'll need to use screws.
It's a 3D printed item so bear in mind you'll get some surface texture, but it's only really noticeable up close and is, as far as I'm concerned, part of the appeal. Why have something 3d printed if it looks injection moulded?
The shelf measures about 13cm across as standard and is about 3.5cm deep - though as I've said above, I'll make it longer if needed to make the text work.
Fitting instructions (for sticky tabs): don't touch the back of the shelf. If you do, clean it with alcohol or dish soap and dry thoroughly before attaching the sticky tabs. Remove the backing from the tabs one at a time and put them on the back of the shelf. Use all three. Press firmly for 10 seconds or so. Once they're on there, remove the remaining backing, line up carefully (use a spirit level) and then press the shelf firmly into the wall for 10 seconds. Wait a couple of hours before putting any weight on it, then you're good to go.
Fitting instructions (for screws): using the included template, mark where you're going to drill on the wall. Use a spirit level to ensure they're level. Drill two 6mm holes and then insert the Rawlplugs. Screw in so that the face of each screw is 5mm from the surface of the wall, the slot the shelf onto the screws. If it's not quite tight enough or a little loose, remove and turn the screws a quarter turn whichever way you need, and repeat until it's right.
A note about black: the problem with black is that you lose all the definition between the letters, so it doesn't really work very well, in my opinion. People keep asking me for it so I've made it available, but please bear that in mind. If you order black and decide when it arrives that you don't like it, I'm happy to swap though, so don't worry if that happens. (Or, if you have any spray paint, I can recommend a light spray of some lighter colour across the front to help define the letters.)
I also have Now Playing and Now Spinning stuff, record display shelves and a range of dividers available in my shop.
Any questions just give me a shout.
Cheers
Rob

