 Image 1 of 10

 Image 2 of 10

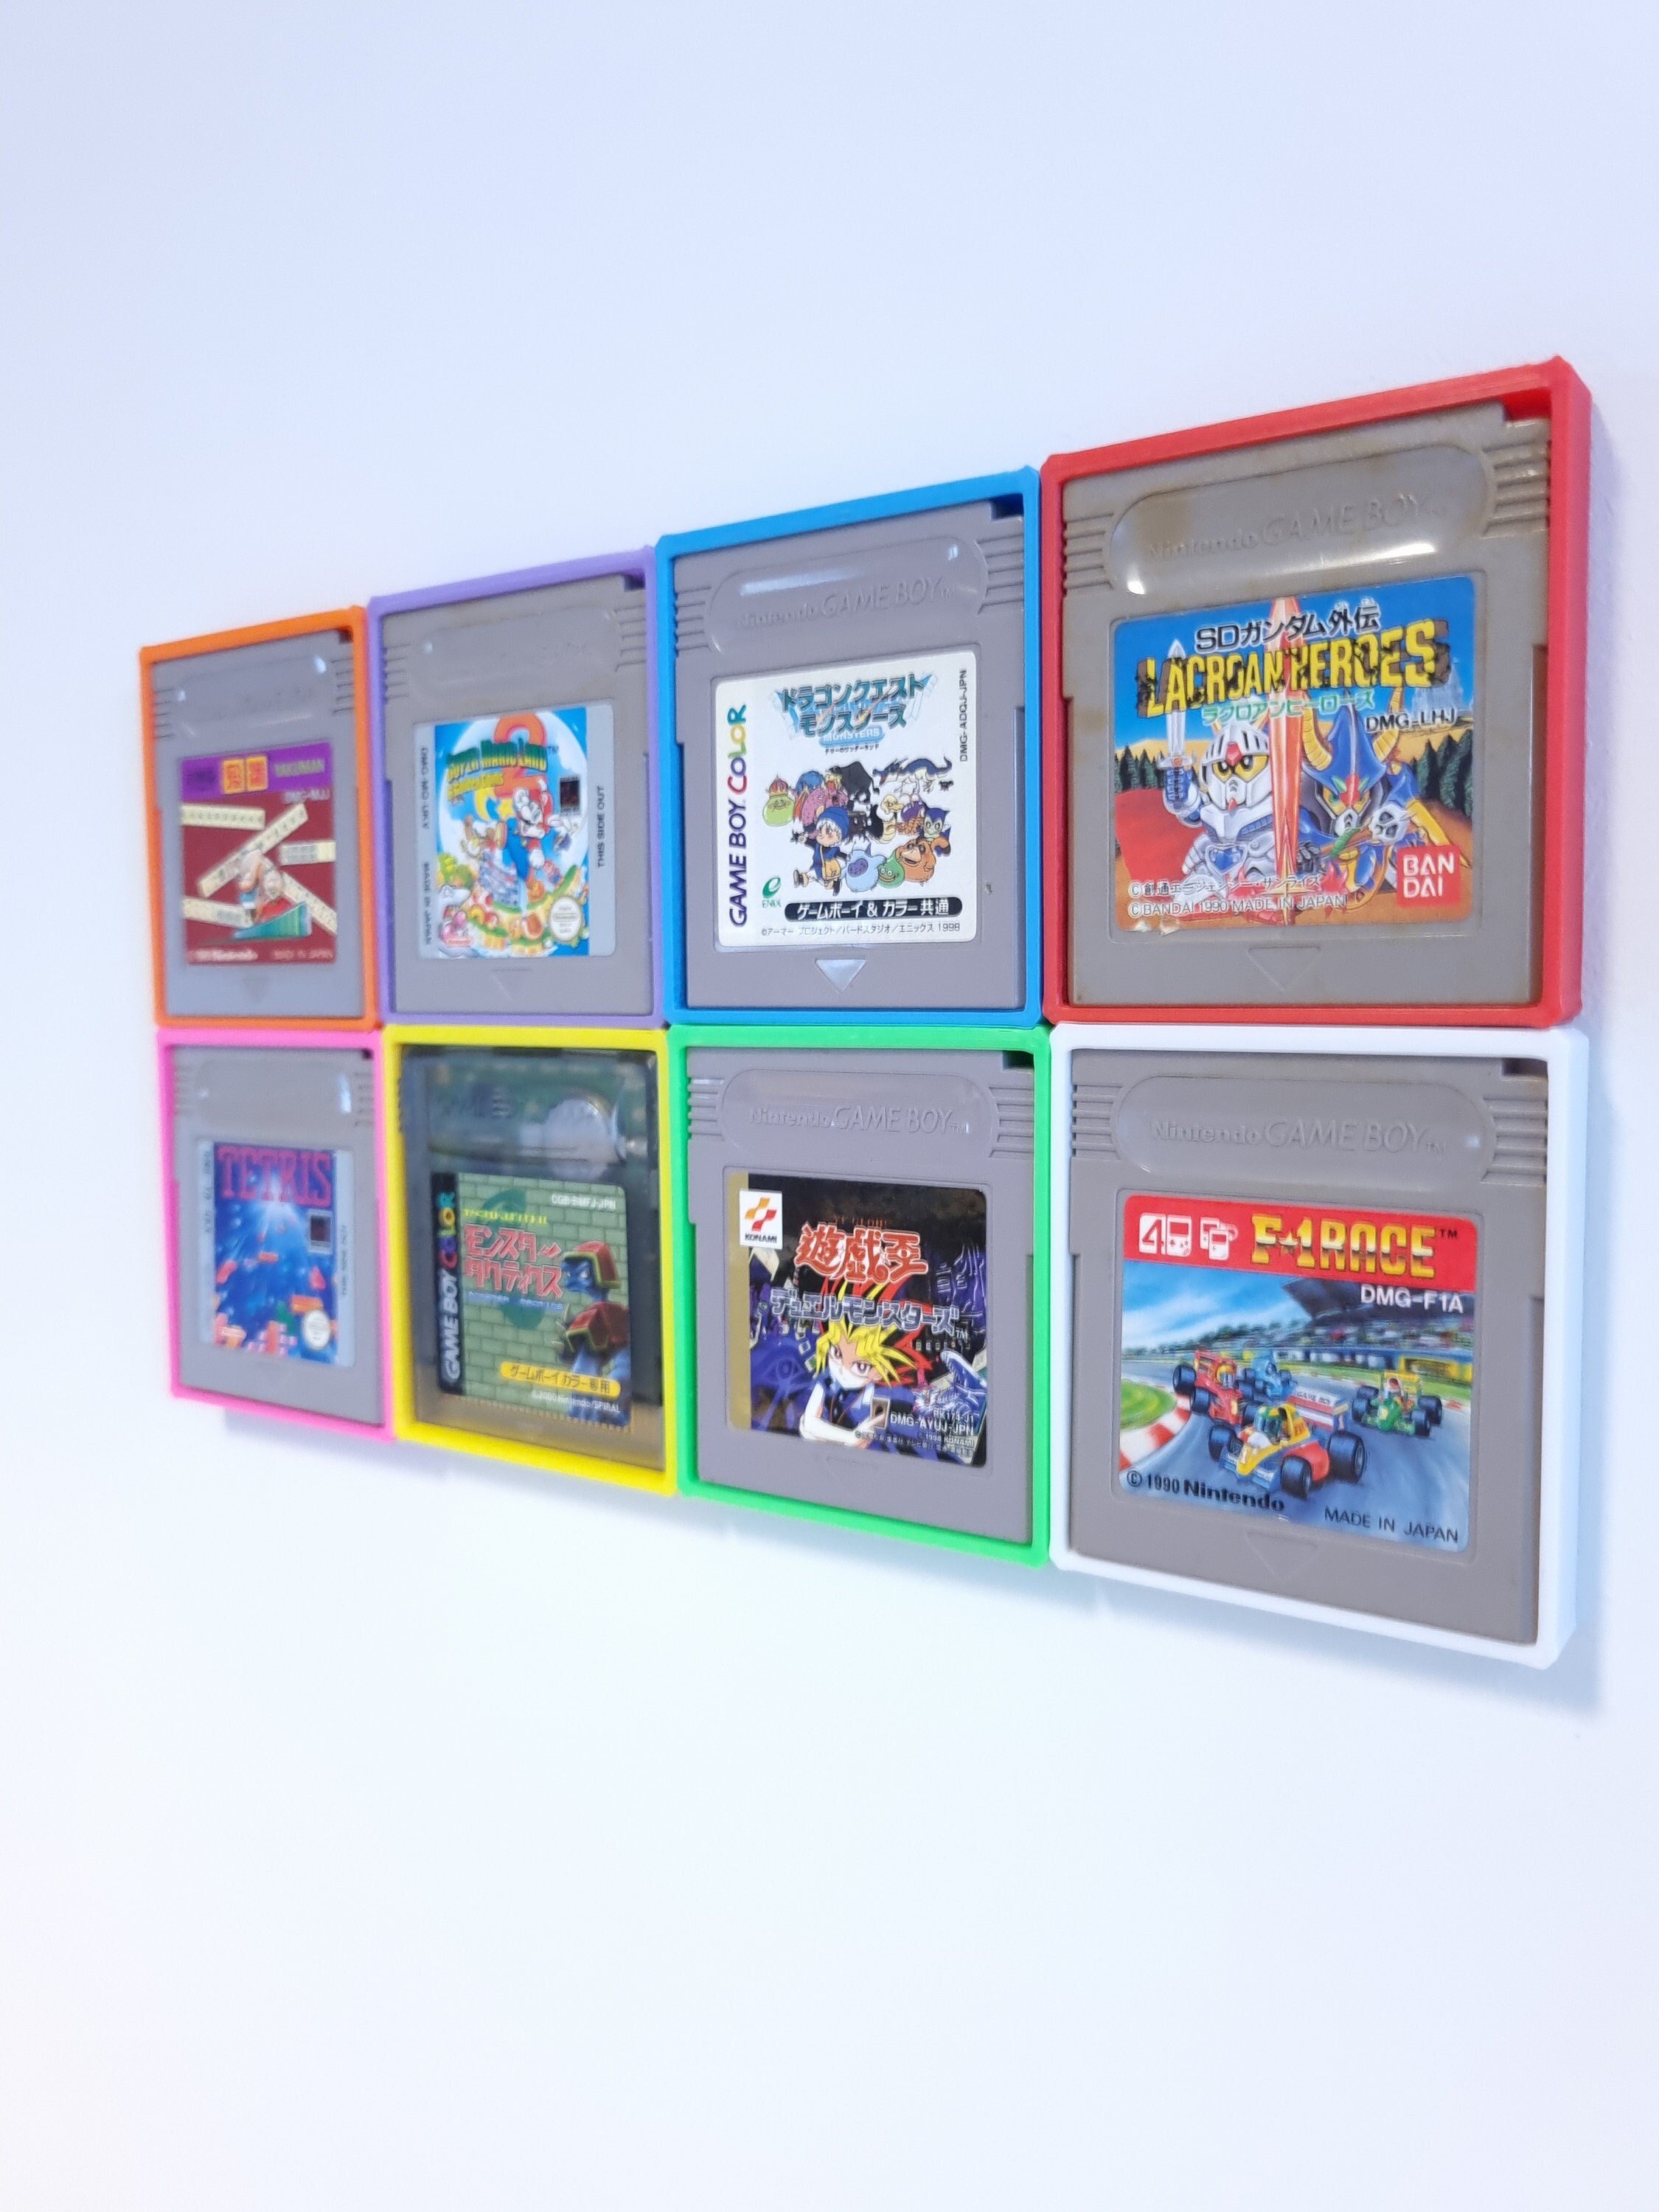 Image 3 of 10

 Image 4 of 10

 Image 5 of 10

 Image 6 of 10

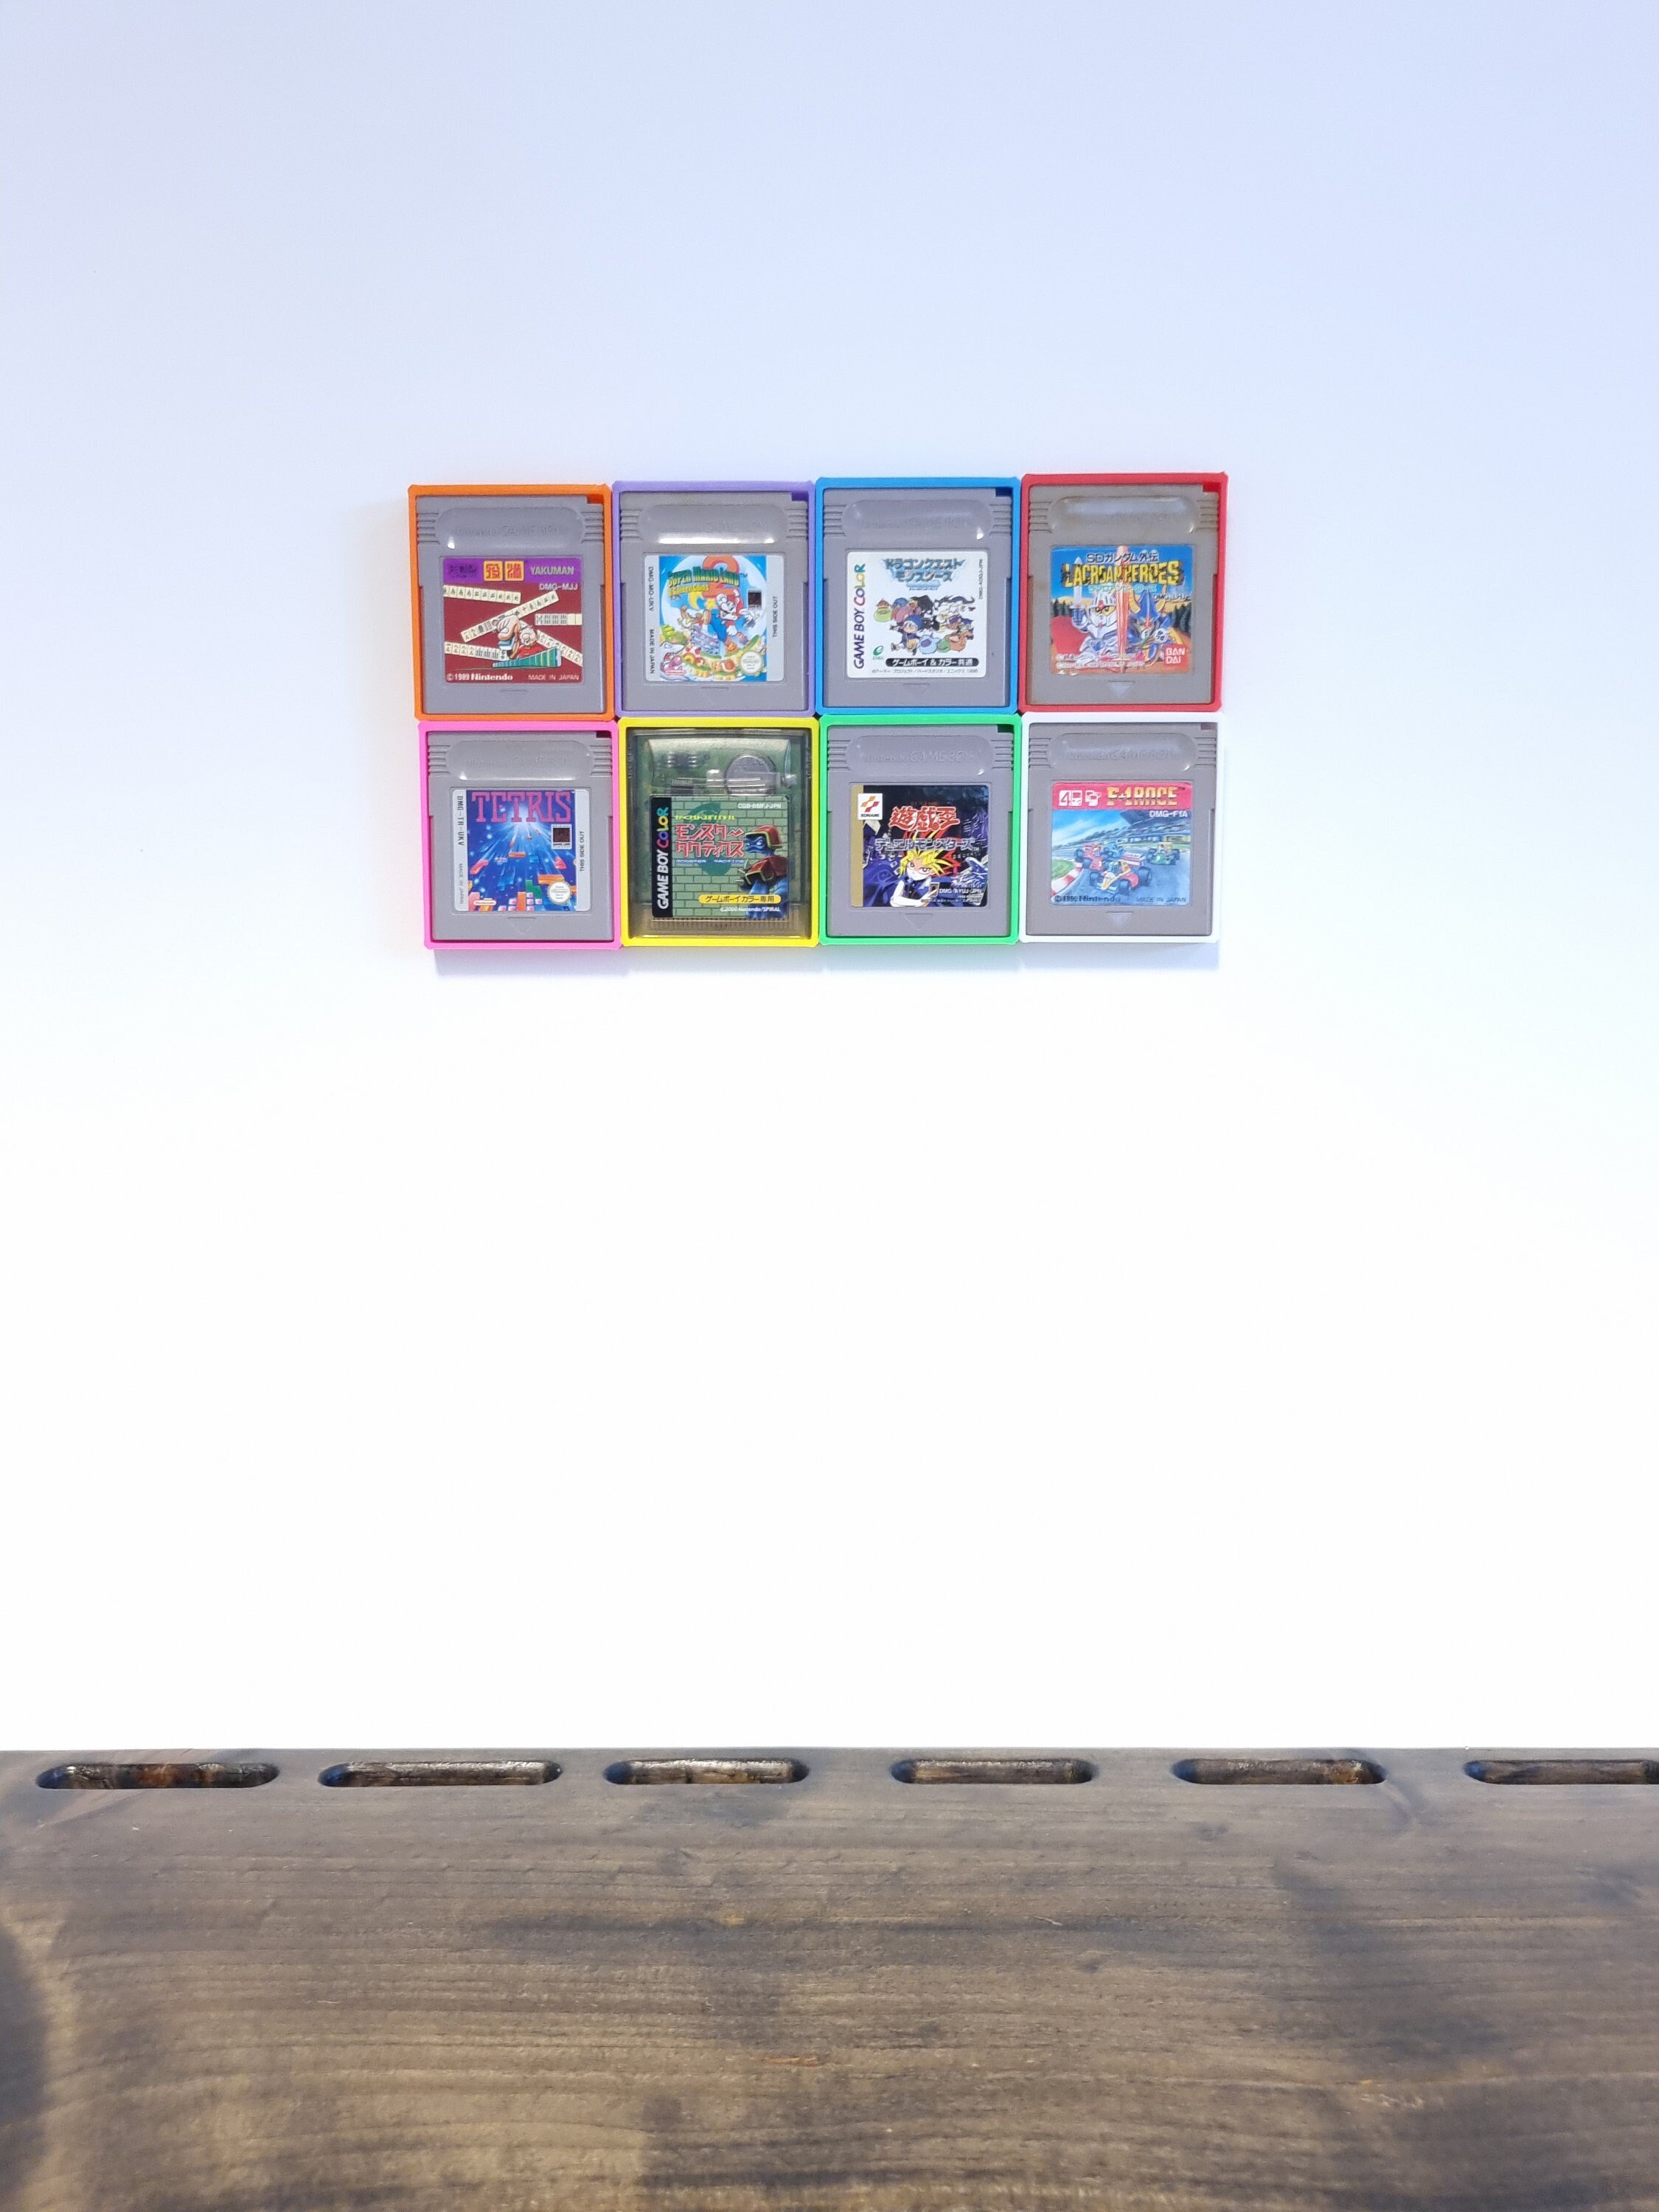 Image 7 of 10

 Image 8 of 10

 Image 9 of 10

 Image 10 of 10


GameBoy Game Display Tiles for Nintendo GameBoy and GameBoy Color Cartridges | GameTiles
from £3.85
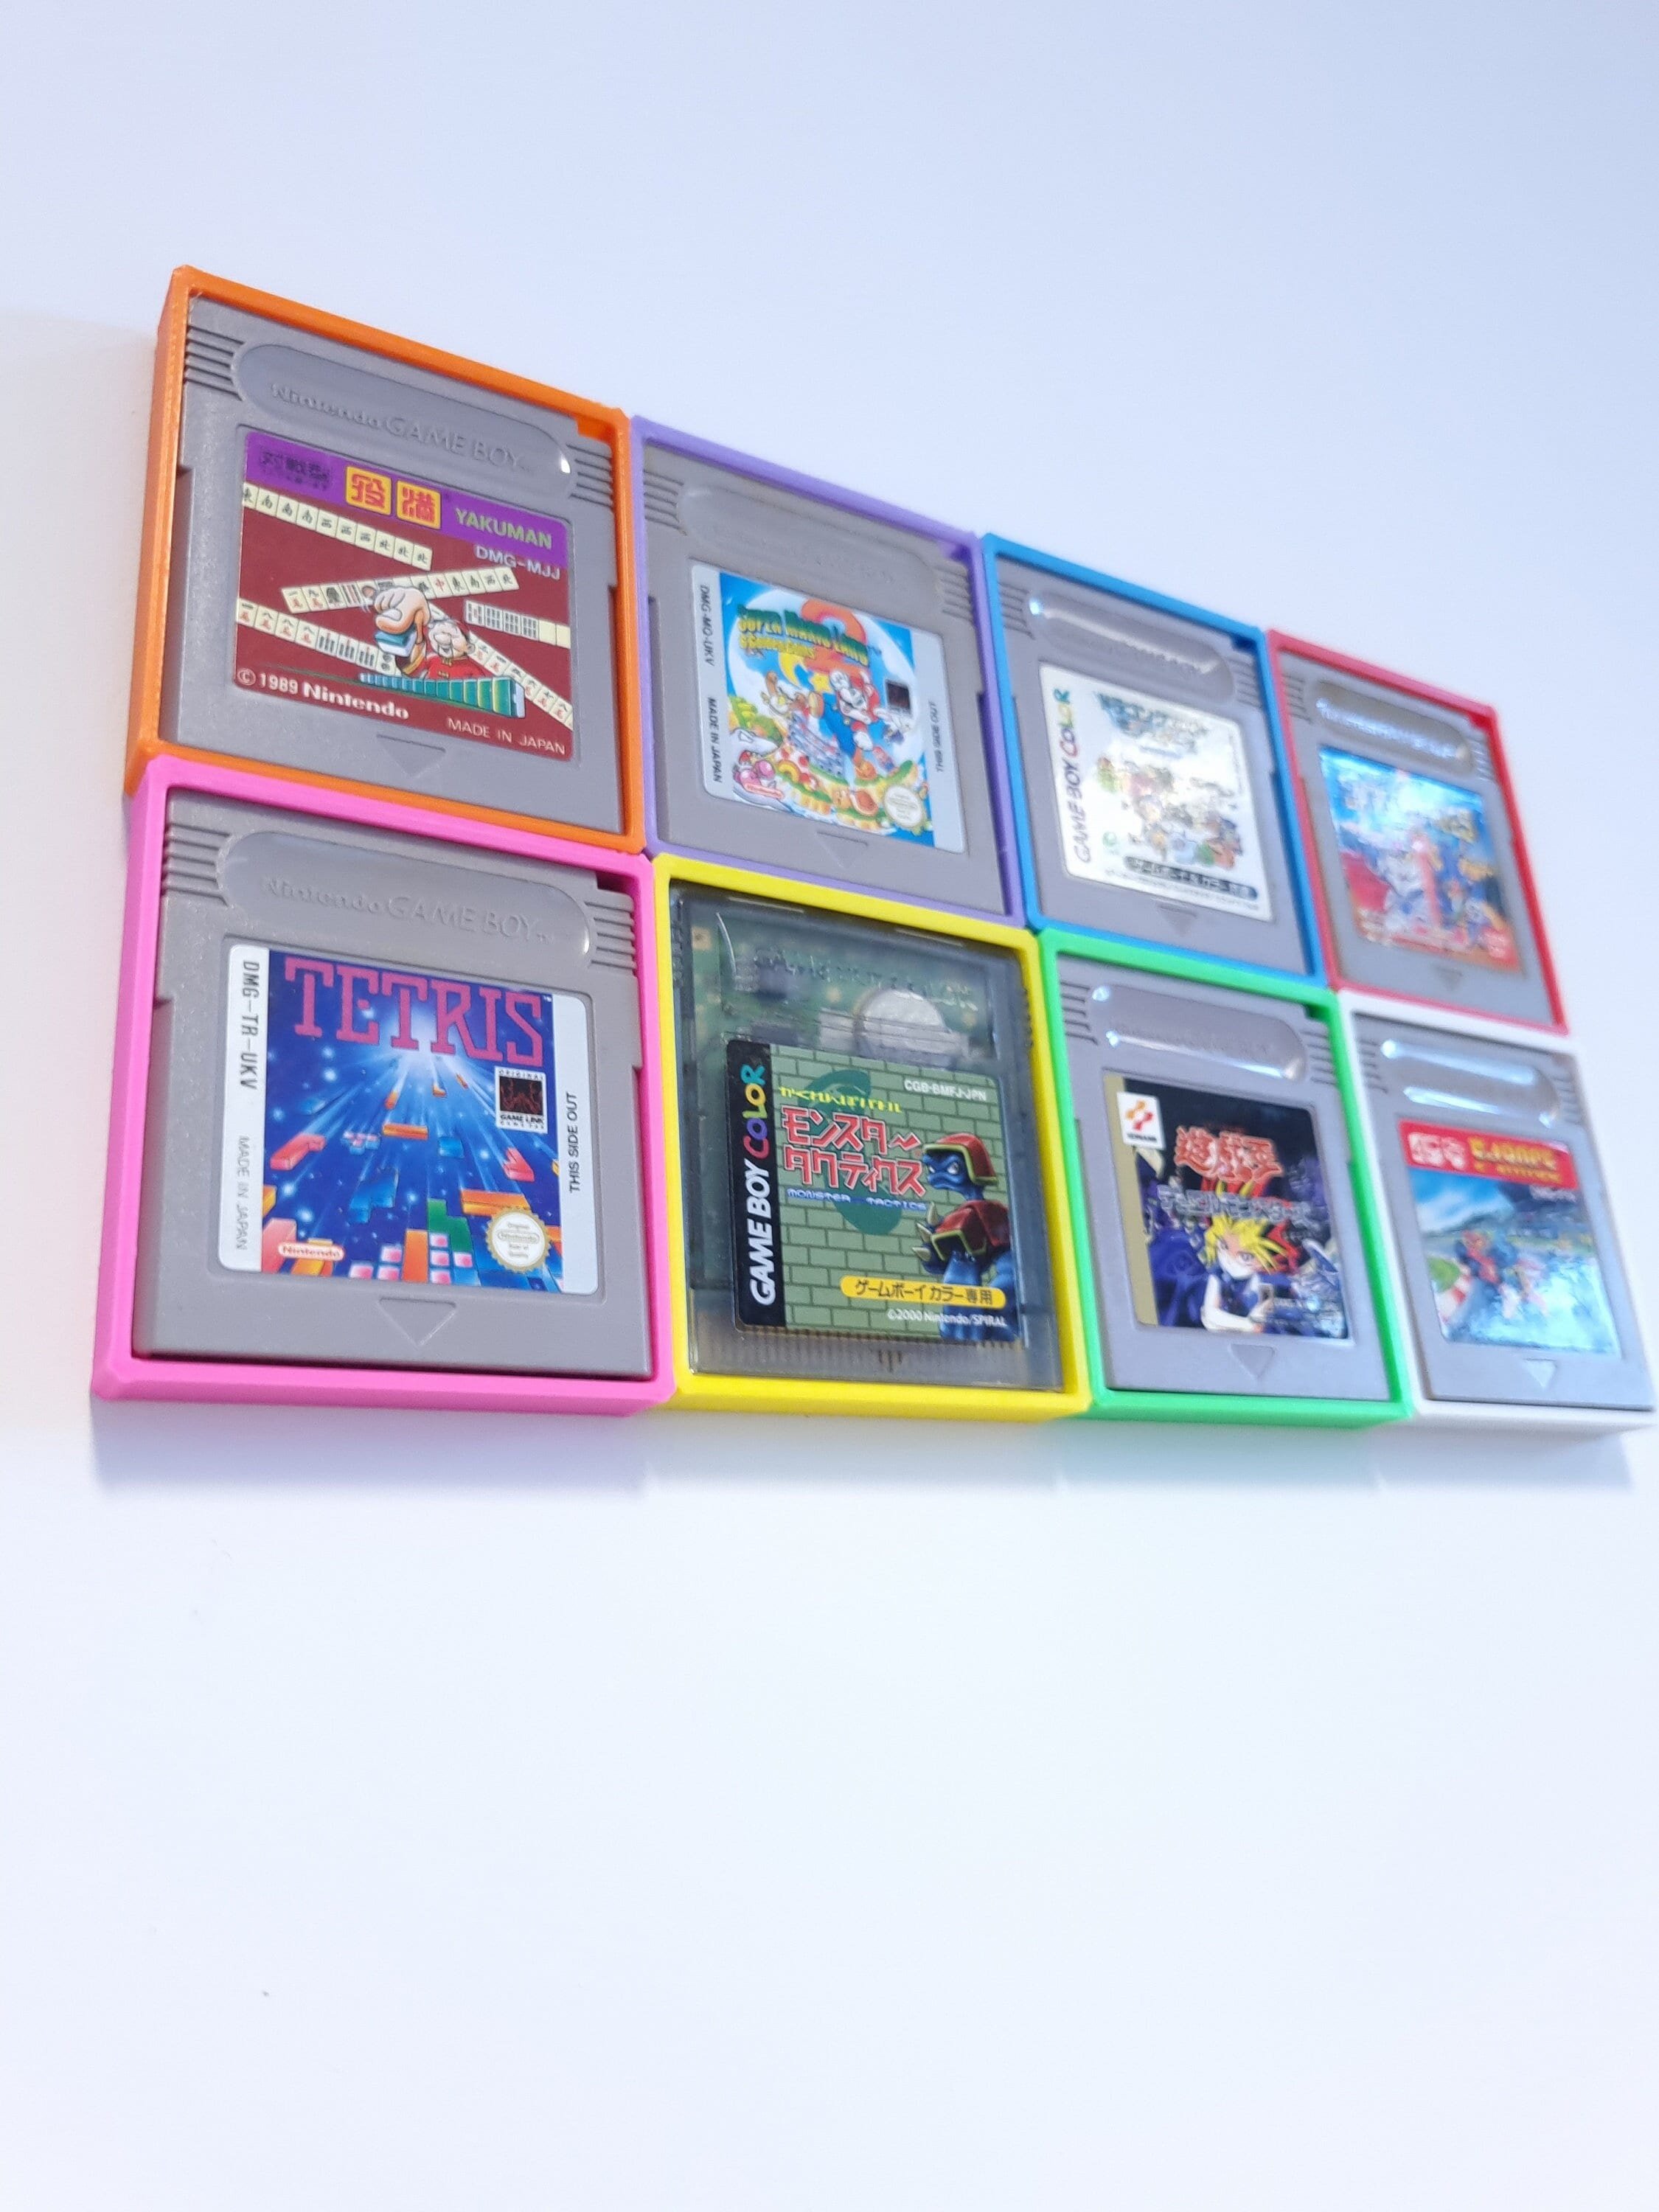
Display your GameBoy and GameBoy Color games on the wall with these GameTiles (TM) (well, not TM, but it should be shouldn't it). Each GameTile holds one game cartridge.
These are 3D printed in whatever colour you choose. You can select multiples from the dropdown but if you want them in different colours just add a note. Each GameTile comes with a Command Strip to attach it to the wall.
To fit your GameTile to the wall, remove the red backing paper and attach to the back of the frame so that the tab (the one you pull to remove it) is facing into the gap. Then remove the black backing paper (it says 'Wall' all over it) and line your GameTile up on the wall wherever you want it. The gap should be at the bottom, as in the photos. Press the Tile against the wall firmly for 10 seconds, then leave it for an hour or so before putting a game in.
To put your game into the GameTile, insert from the bottom up, There's a small lip at the top to keep the game in, so you want to put it up behind that lip and then push the bottom in so it sits over the ridge that runs along the bottom. To remove a game, push in at the top and lift slightly, so that the game is angled out at the bottom. Stick a finger nail in and remove. (There's not a lot of play, because I want the game to look like it's properly framed, but there's just enough that it'll pivot on the ridge running along the middle of the back so that you can remove them.)
These are 3D printed so there will be some surface texture, which is a natural result of the fact that the process involves laying down a tiny bead of plastic in layers. It's tidy, but it's not a completely flat or shiny surface like something that's been injection moulded. I think it's part of the appeal though.
Now, I don't have a huge collection of games, so I've checked these with the ones I have, but if you have any issues just shout. I'm sure there'll be some weird cartridges out there that are slightly different, and if you've got something like that I'll put something together for you. (You might find some are slightly tighter than others, but they should be fine. I'm talking about weird protrusions or non-OEM things.)
Anyway, I love these - obviously - so I hope you do too. I'll be making Tiles for other cartridges in due course so if you want some making for something specific just shout and I'll bump it up the list.
Cheers
Rob
Primary color:
Buy in multiples of...:
Quantity:
Add To Cart
Display your GameBoy and GameBoy Color games on the wall with these GameTiles (TM) (well, not TM, but it should be shouldn't it). Each GameTile holds one game cartridge.
These are 3D printed in whatever colour you choose. You can select multiples from the dropdown but if you want them in different colours just add a note. Each GameTile comes with a Command Strip to attach it to the wall.
To fit your GameTile to the wall, remove the red backing paper and attach to the back of the frame so that the tab (the one you pull to remove it) is facing into the gap. Then remove the black backing paper (it says 'Wall' all over it) and line your GameTile up on the wall wherever you want it. The gap should be at the bottom, as in the photos. Press the Tile against the wall firmly for 10 seconds, then leave it for an hour or so before putting a game in.
To put your game into the GameTile, insert from the bottom up, There's a small lip at the top to keep the game in, so you want to put it up behind that lip and then push the bottom in so it sits over the ridge that runs along the bottom. To remove a game, push in at the top and lift slightly, so that the game is angled out at the bottom. Stick a finger nail in and remove. (There's not a lot of play, because I want the game to look like it's properly framed, but there's just enough that it'll pivot on the ridge running along the middle of the back so that you can remove them.)
These are 3D printed so there will be some surface texture, which is a natural result of the fact that the process involves laying down a tiny bead of plastic in layers. It's tidy, but it's not a completely flat or shiny surface like something that's been injection moulded. I think it's part of the appeal though.
Now, I don't have a huge collection of games, so I've checked these with the ones I have, but if you have any issues just shout. I'm sure there'll be some weird cartridges out there that are slightly different, and if you've got something like that I'll put something together for you. (You might find some are slightly tighter than others, but they should be fine. I'm talking about weird protrusions or non-OEM things.)
Anyway, I love these - obviously - so I hope you do too. I'll be making Tiles for other cartridges in due course so if you want some making for something specific just shout and I'll bump it up the list.
Cheers
Rob
These are 3D printed in whatever colour you choose. You can select multiples from the dropdown but if you want them in different colours just add a note. Each GameTile comes with a Command Strip to attach it to the wall.
To fit your GameTile to the wall, remove the red backing paper and attach to the back of the frame so that the tab (the one you pull to remove it) is facing into the gap. Then remove the black backing paper (it says 'Wall' all over it) and line your GameTile up on the wall wherever you want it. The gap should be at the bottom, as in the photos. Press the Tile against the wall firmly for 10 seconds, then leave it for an hour or so before putting a game in.
To put your game into the GameTile, insert from the bottom up, There's a small lip at the top to keep the game in, so you want to put it up behind that lip and then push the bottom in so it sits over the ridge that runs along the bottom. To remove a game, push in at the top and lift slightly, so that the game is angled out at the bottom. Stick a finger nail in and remove. (There's not a lot of play, because I want the game to look like it's properly framed, but there's just enough that it'll pivot on the ridge running along the middle of the back so that you can remove them.)
These are 3D printed so there will be some surface texture, which is a natural result of the fact that the process involves laying down a tiny bead of plastic in layers. It's tidy, but it's not a completely flat or shiny surface like something that's been injection moulded. I think it's part of the appeal though.
Now, I don't have a huge collection of games, so I've checked these with the ones I have, but if you have any issues just shout. I'm sure there'll be some weird cartridges out there that are slightly different, and if you've got something like that I'll put something together for you. (You might find some are slightly tighter than others, but they should be fine. I'm talking about weird protrusions or non-OEM things.)
Anyway, I love these - obviously - so I hope you do too. I'll be making Tiles for other cartridges in due course so if you want some making for something specific just shout and I'll bump it up the list.
Cheers
Rob


